How to Do Light Painting Photography with a 4-Foot Tube
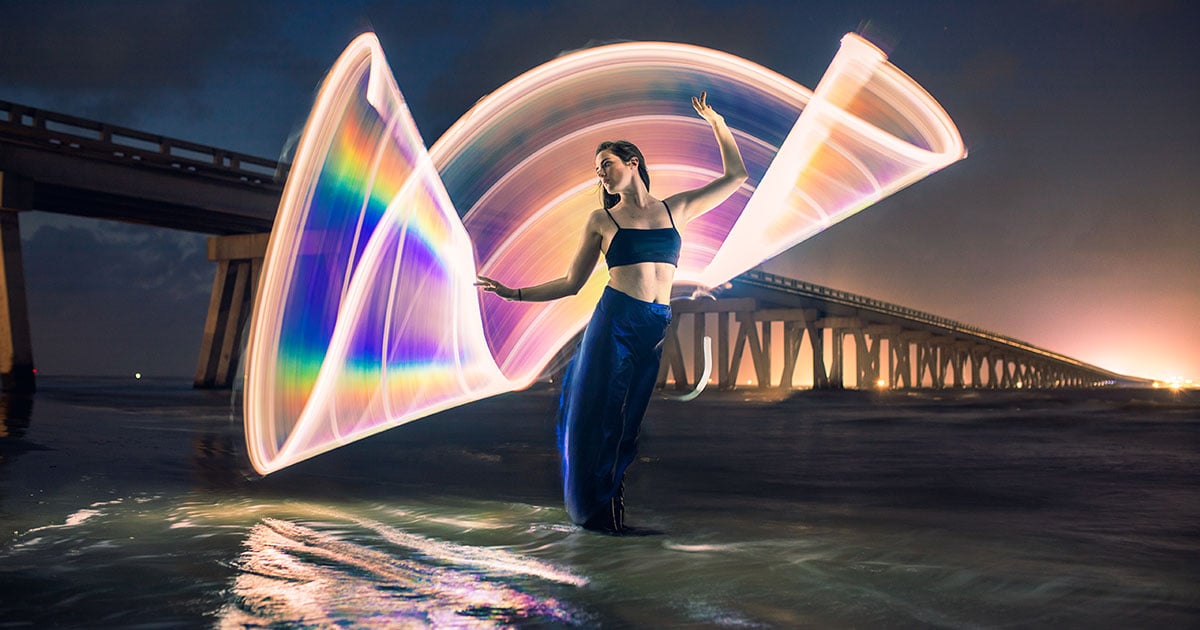
In this post, I’ll be sharing how I shoot light painting photos using a 4-foot fluorescent tube protector. The technique is quite simple and can lead to very interesting results.
Here’s the basic instructions:
Required Equipment
1. Camera (with manual functions)
2. Lens (anywhere from 18mm to 35mm)
3. Tripod
4. Wireless remote (I use a basic Yongnuo trigger pair which cost $30)
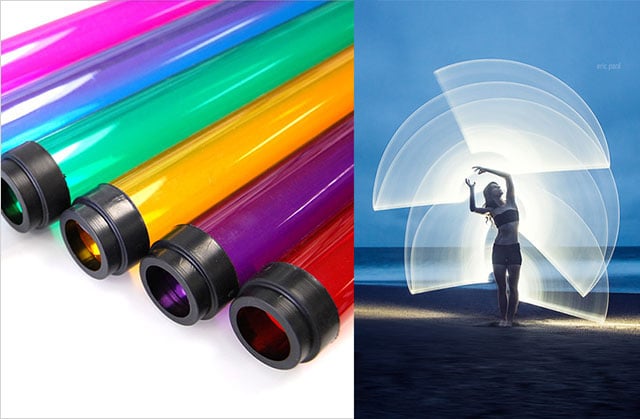
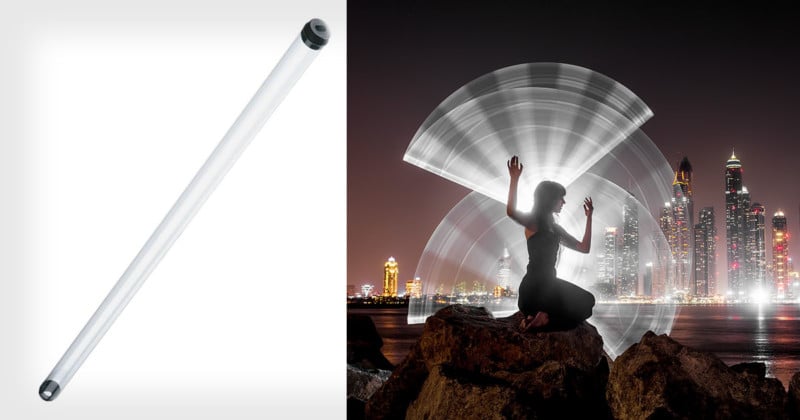
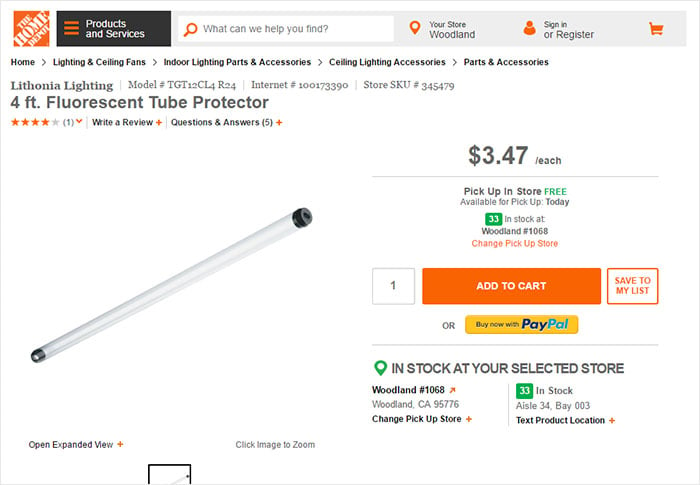
5. 4′ T8 or T12 Fluorescent tube protector (Get it at Home Depot for $3.50)
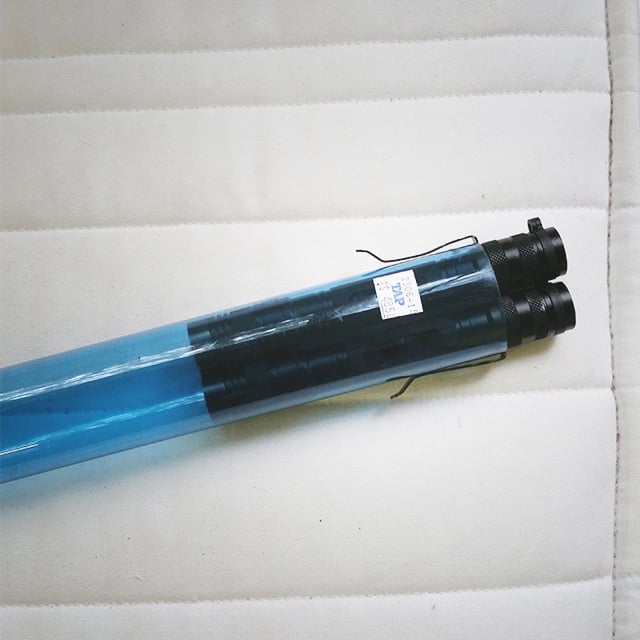
6. Powerful flashlight. The one I use is EagleTac D25A2 (AA batteries are easier to find when traveling and the size is perfect to fit one inside a T8 tube or 2 inside a T12. Any good quality LED flashlight with 300 lumens will do the work.)
Getting Started
Set the camera on the tripod and connect your wireless trigger. Configure the camera: I use bulb mode, ~ISO 800, and f/5.6. Insert the flashlight (one or two) inside the tube. This is how I do it (in a 12 blue tube from TAP Plastic):
Turn on the flashlight, go behind your model, make sure he/she isn’t moving at all, press down and hold the trigger, wave the light and release the trigger. The best way to understand how I do it is by looking at this behind-the-scenes light-painting video:
Tips and Tricks
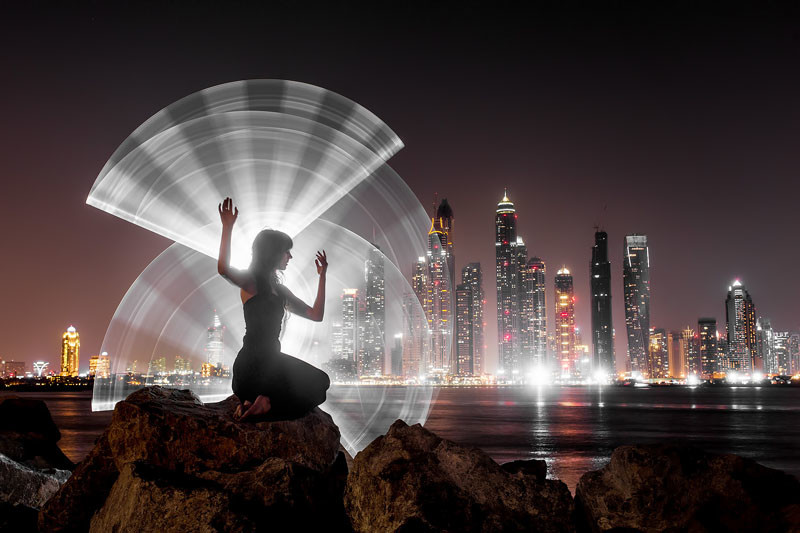
Most of my exposure durations are one second only. This is how I get very sharp images. To create stripes, set one of the two flashlights on strobe mode.
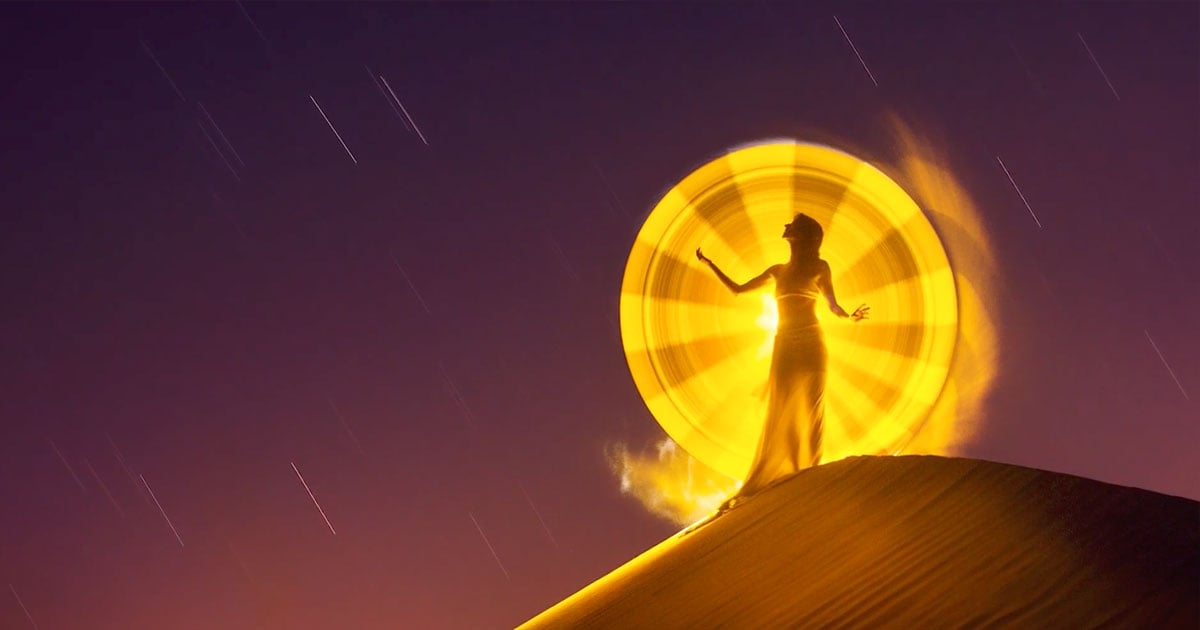
On some of my pictures, you’ll see some sort of feathers outside the light pattern. I achieve this by filling the tube with sand and swinging the whole thing.
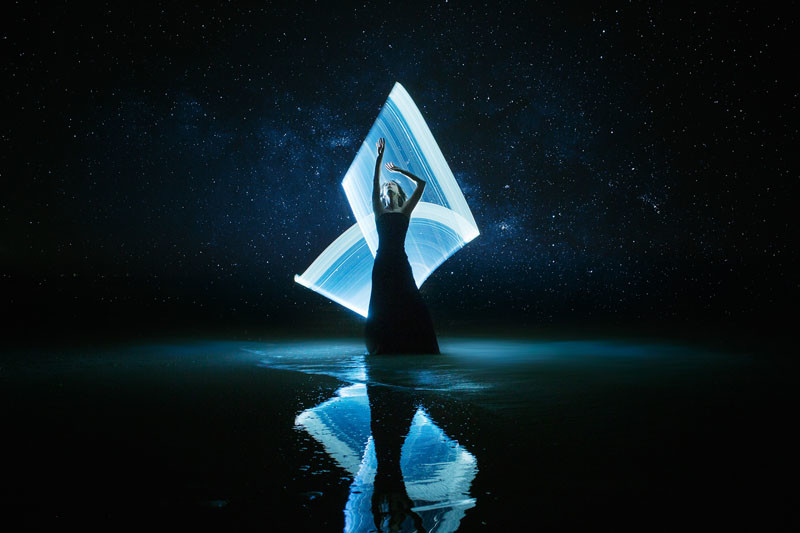
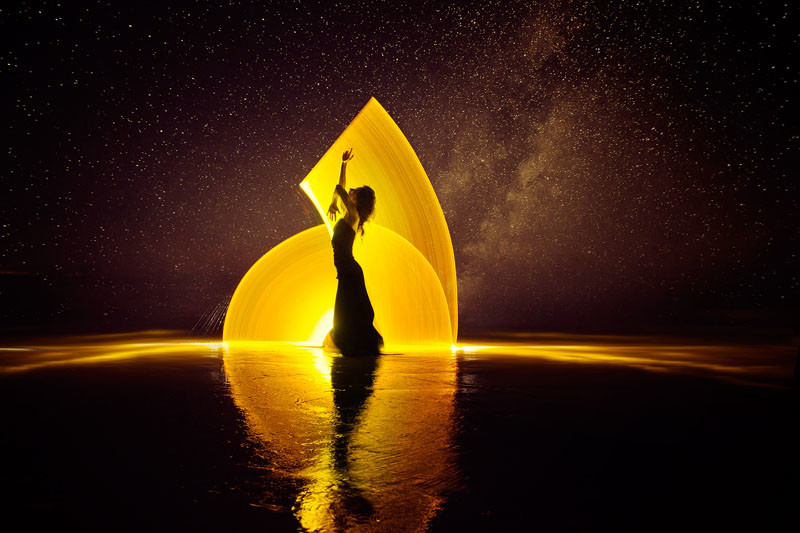
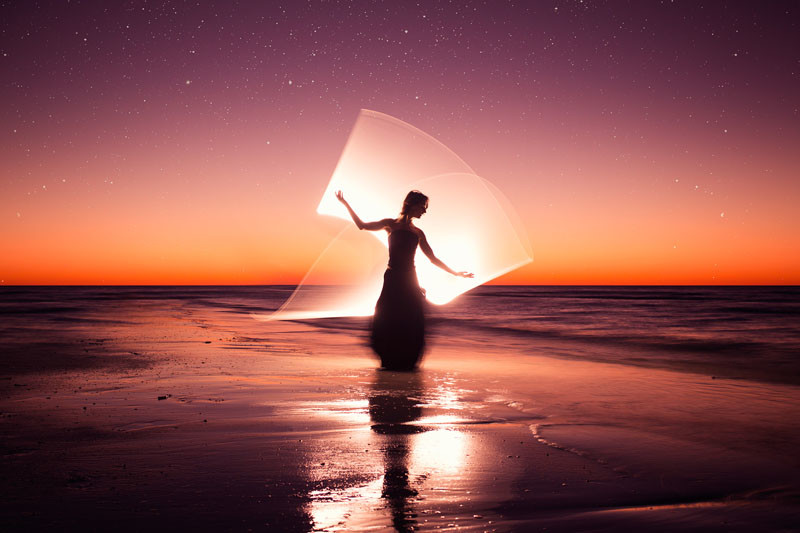
Want to hide yourself? Wear black clothing and try to hide your feet behind the model. You’ll notice on my pictures that Kim is wearing a dress most of the time. Sometimes you can hide behind the sand dune, a rock, etc.
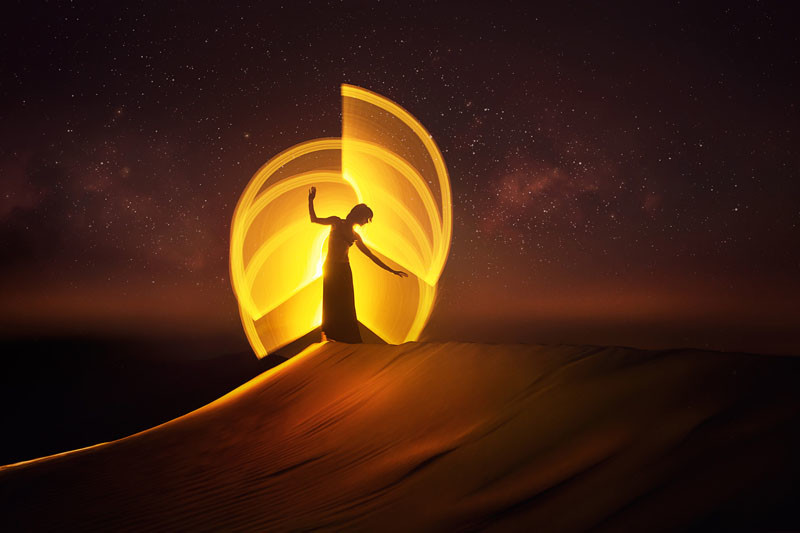
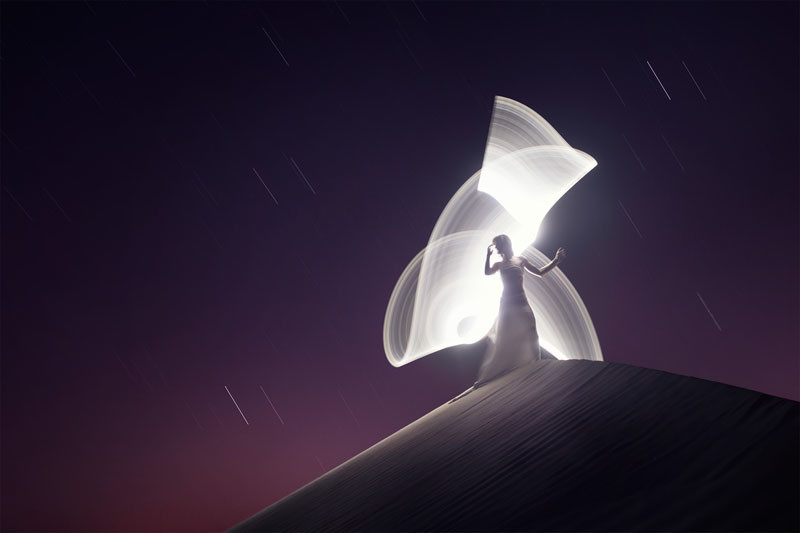
Need to create a perfect circle? Find a central point on the model’s back, and rotate your wrist around it.


Take a second longer (30 second) exposure if you want to get more details in the stars (then process the composite in your favorite editing software).

And that’s how I create my light painting photos using a 4-foot light tube. Good luck!
About the author: Eric Pare is a Canadian photographer and visual artist who has received widespread attention for his light painting photography. He shares his work and knowledge online through his learning group, gear page, Instagram, and website.