10 Astrophotography Ideas You Can Do From Your Backyard
With many of us stuck in lockdown, quarantine, and self-isolation, I thought I’d share 10 ideas for astrophotography that you can do from home, even if you live in a light-polluted town or city. If there’s one thing that this pandemic has taught us, it’s that we’re all in this together and astrophotography and astronomy only help to solidify that sense of unification.
1. Light Painting with Sirius
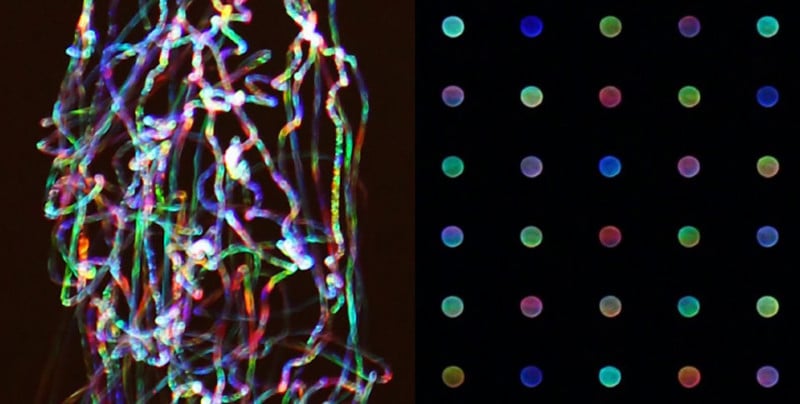
Sirius is the brightest star in the night sky and can be seen from both the Northern and Southern Hemispheres. At the moment it’s in the south-west after sunset and sets in the west later in the evening (though don’t confuse it with the brighter Venus). Once you’ve located it you’ll notice that it twinkles quite profoundly, especially when it’s low on the horizon as its light becomes more disturbed by the turbulent layers in Earth’s atmosphere in a process known as stellar scintillation.
You can use this twinkle for creative artistic effect. Put Sirius in the frame, make sure it’s slightly out of focus to accentuate its twinkle and flickering colors, and then intentionally move your camera during a long exposure to light-paint with it. Also, check out the example above where astronomer Steve Brown arranged multiple photos of an out of focus Sirius in an almost pop-art fashion.
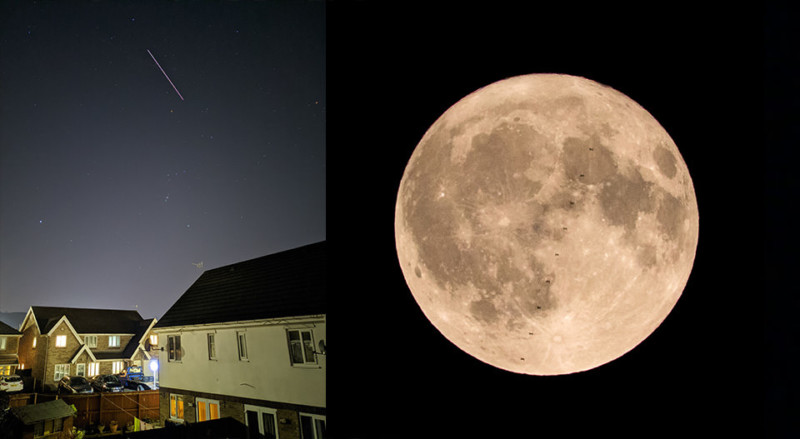
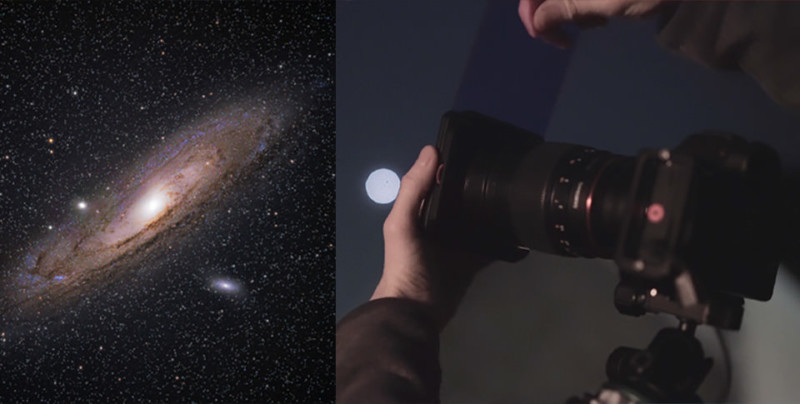
2. Moon Photography
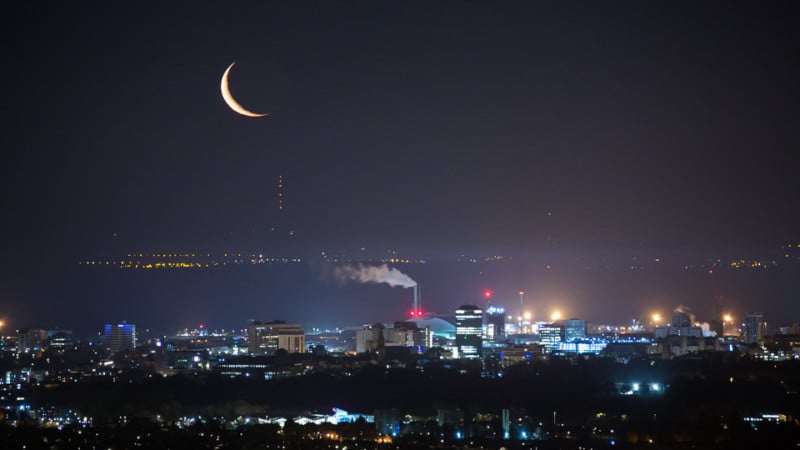
No matter how much light pollution there is in your area it will never wash out the Moon! It also opens up a whole host of different photographic opportunities. You could shoot a wide-angle shot and include some foreground interest. It’s also a great excuse to whip out the telephoto lens and get a better view of the surface details and phase.
Crescent moons and full moons are particularly good for telephoto shots as they are low on the horizon during the twilight hours. You could also try an HDR shot and combine 2 exposures, one for the illuminated side and one for the dark side.

3. Planets
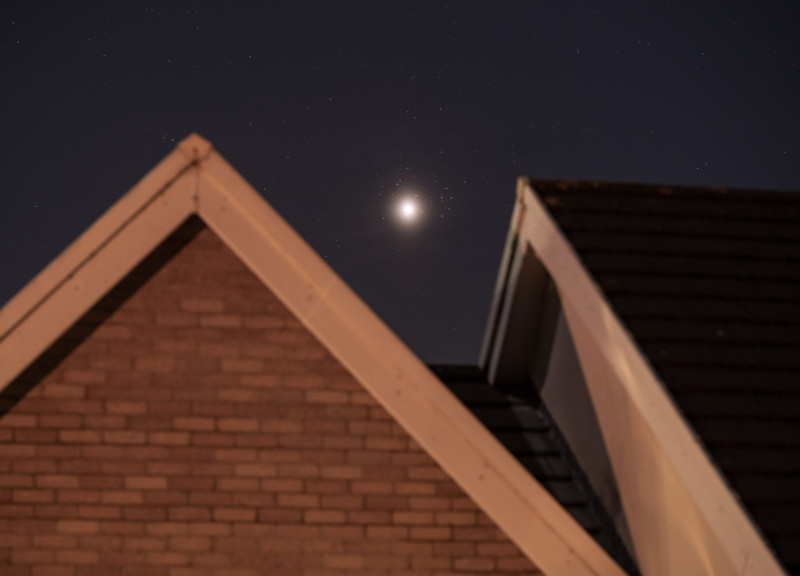
Planets, unlike the stars, reflect the light of our Sun and are much more visible in light-polluted areas. At the moment you’ll spot Venus shining insanely bright in the western skies and it will be around until about May. If you have a south-eastern view them you can also spot Jupiter, Saturn, and Mars together in the dawn skies.
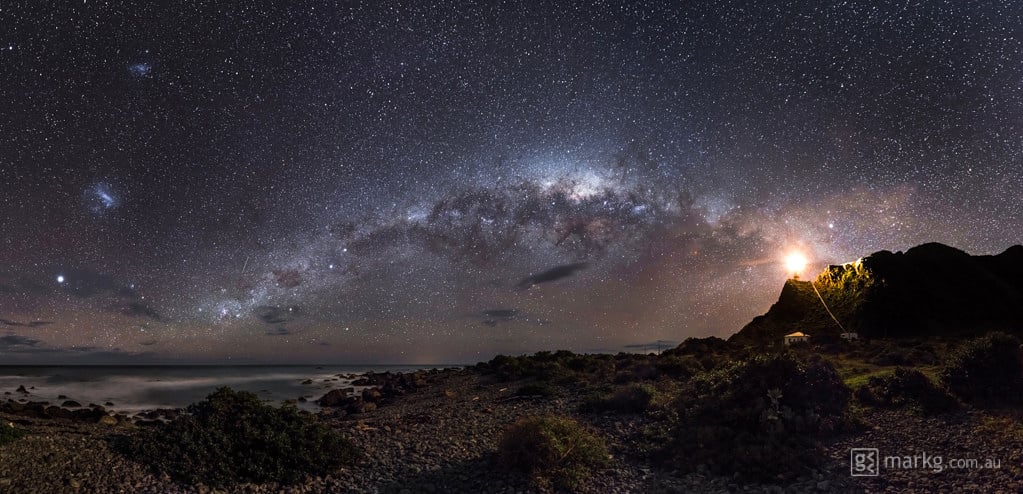
4. Star Trails
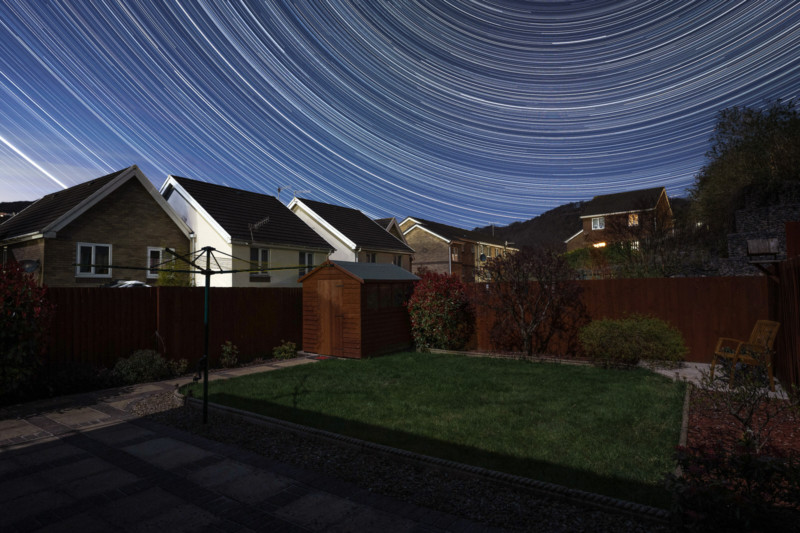
Even if you can’t see that many stars in the sky you’ll be surprised at how many your camera will pick up. You can do star trails even if you live in London! Take multiple exposures of 20-30 seconds, set the ISO to 800 and adjust your aperture until you have a good overall exposure, but don’t over-expose! Leave a 1-2 second interval in between the shots you take.
If you have a new camera and a good spec SD card then you can get away with 1 second, but if you have an older camera or a low-end SD card then go for 2-3 seconds. There’s nothing worse than missing an exposure and having a big gap between your trails. Talking of gaps, you can stack all the exposures in the free software StarStax, which has a gap-filling mode. Nice!
If your camera doesn’t have a built-in intervalometer I recommend the Pixel TW-283 for reasons I explain in the video above. It may also be worth putting a lens warmer on to prevent any condensation forming on the front glass element. There’s nothing worse than coming back to find hundreds of photographs of a foggy lens!
5. Shoot a Timelapse
In a similar fashion to star trails, you can shoot multiple exposures using an intervalometer and turn the images into a timelapse video. In order to get smooth motion you need the video to playback at least 24 frames per second, so every 24 images you take will equate to 1-second of footage. In the tutorial video I posted on YouTube you’ll see that I used the same frames from the star trail image to create a timelapse video.
There are many ways you can stitch your images into a timelapse and you can find tonnes online but I’ll be sharing my own tutorial on YouTube very soon so make sure to subscribe to my channel if you don’t want to miss out on that.
6. International Space Station and Starlink Satellites
It’s worth keeping an eye out for any International Space Station flyovers for your location. My favorite app is ISS Detector as it gives you a nice star map showing you how the path will look for your exact location. You could also capture an image of the SpaceX StarLink satellites although that’s a very touchy and controversial subject for astronomers and astrophotographers at the moment. To keep an eye out for those I recommend Heavens Above.
If you’re lucky there may even be an ISS transit of the Moon or the Sun for your location too.
7. Bokeh Stars
If there are not that many stars in sight then one way to accentuate them is to focus on the foreground, so that the stars turn into large bokeh balls. It helps to have a bit of a longer focal length here, something between 50-135mm. Although you can do this technique with 20-24mm lenses too, just be sure to be nice and close to your foreground subject. The technique is easy, just focus on your foreground subject.
8. Constellations
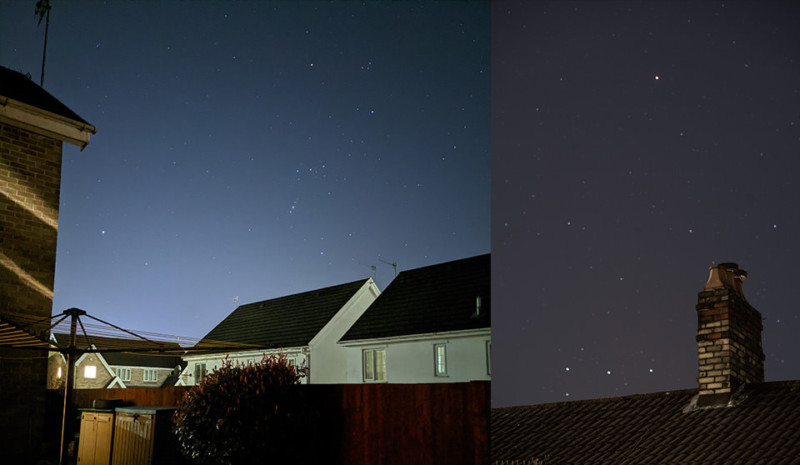
Constellation photography in dark sky locations can actually be quite difficult. Your camera picks up so many smaller stars that the constellation gets lost in the chaos. A little bit of light pollution or moonlight washes away the smaller stars and helps the conspicuous constellations to stand out. Use an app like Stellarium to locate them. Some of the most obvious ones right now are Orion, Ursa Major, Cassiopeia, and Leo.
9. Pinhole Solar Photography (Solar Can)
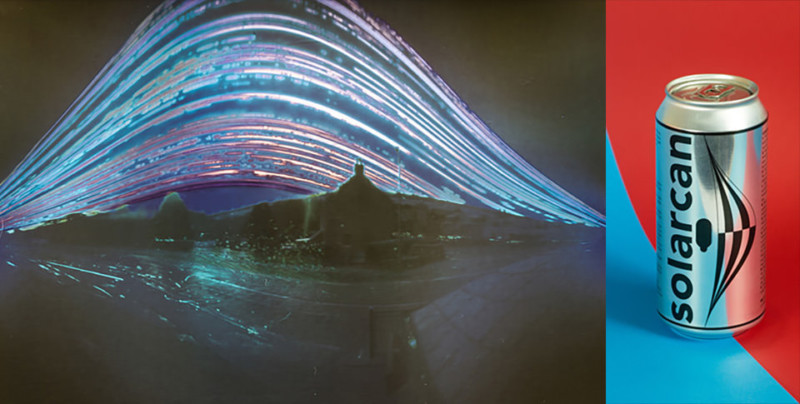
You could try your hand at making your own pinhole camera, or you could buy a ready-made one from SolarCan. Just set it up outside facing the Sun, peel off the black tab to unveil the pinhole and then leave it for at least a week. The resulting image on the film inside the can shows the path of the sun over an extremely long exposure. I’m going to leave mine outside for the duration of the lockdown here in the UK. Then the image will serve as a quarantine souvenir!
10. Deep Space Astrophotography
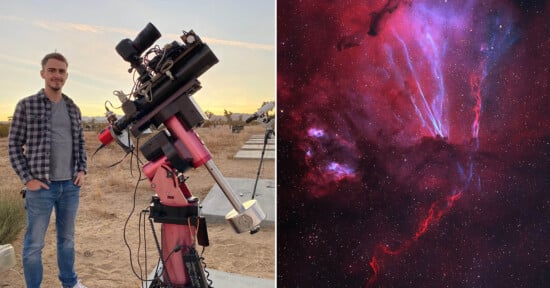
You may be quite surprised at how good a result you can get out of deep space astrophotography in light-polluted areas. With the right light pollution filter you can hone in on your distant target and if you have an astro-modified camera you could even do some narrowband astrophotography. Whilst I dabble in deep space astrophotography, I’m no expert, which is why you should check out the YouTube channels Astro Backyard, Peter Zelinka, and Dylan O’Donnell.
About the author: Alyn Wallace is a landscape astrophotographer based in South Wales, UK. The opinions expressed in this article are solely those of the author. You can find more of Wallace’s work on his website, Facebook, Twitter, YouTube, and Instagram. This article was also published here.