Shooting a Conceptual Photo Series About the Life of an Artist
This is a photo series about the life of an artist and struggles that might come along with it. I got a project grant from NFFF (Nordic Society of Photography) for this project in early 2019.
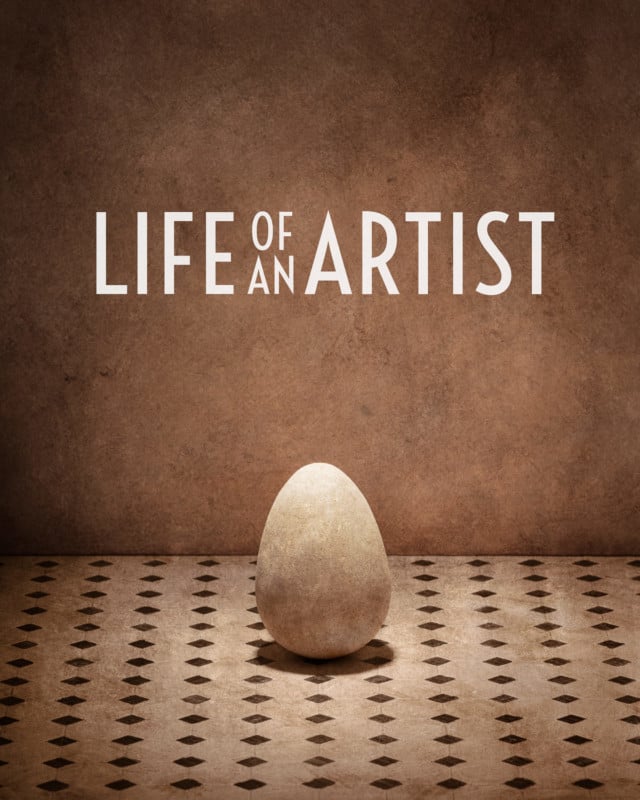
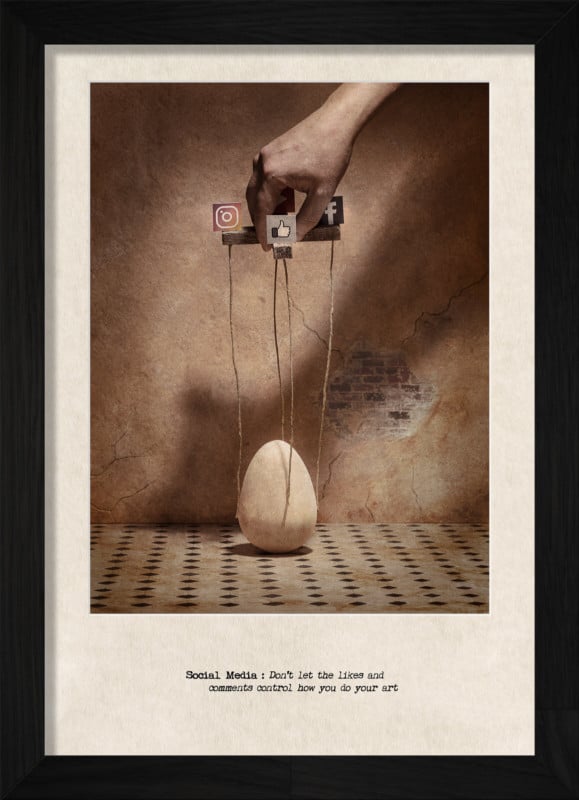
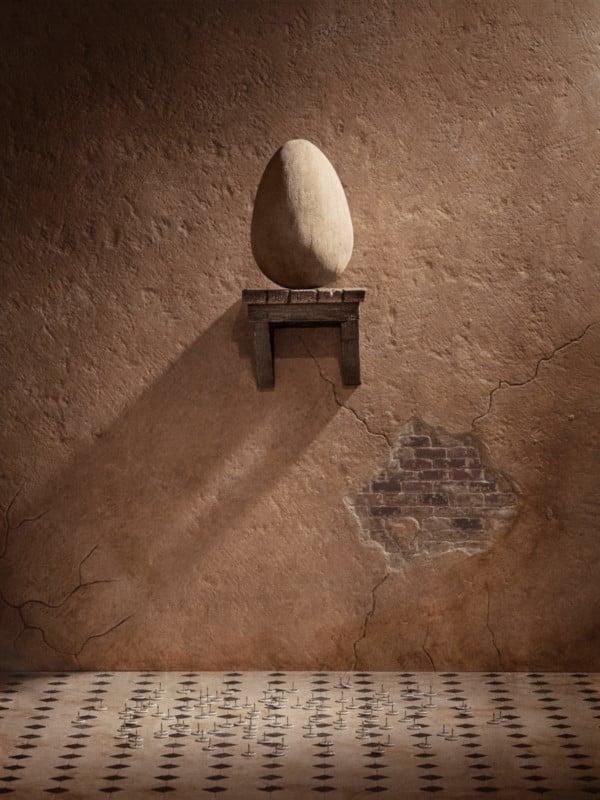
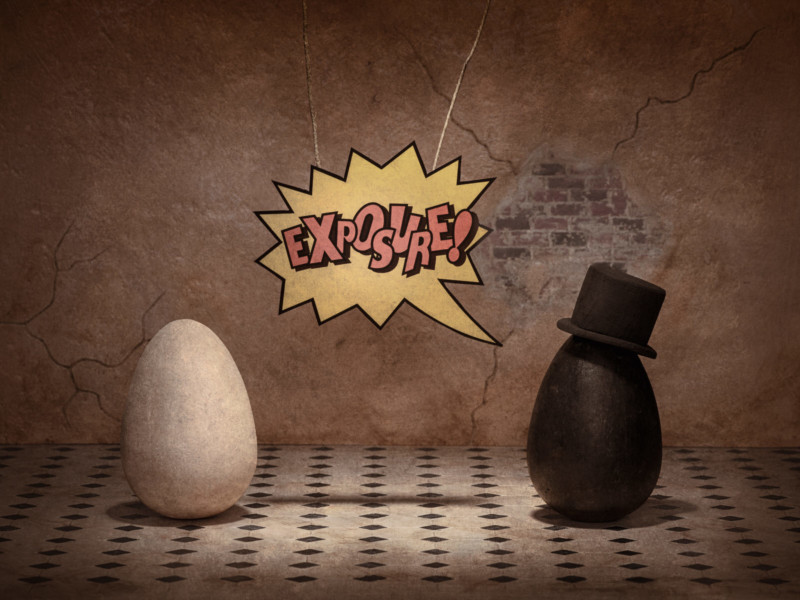
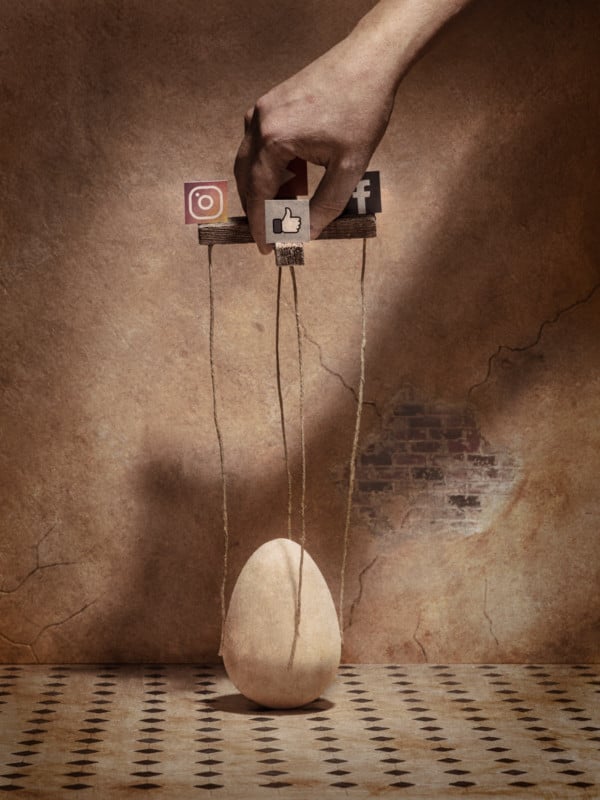
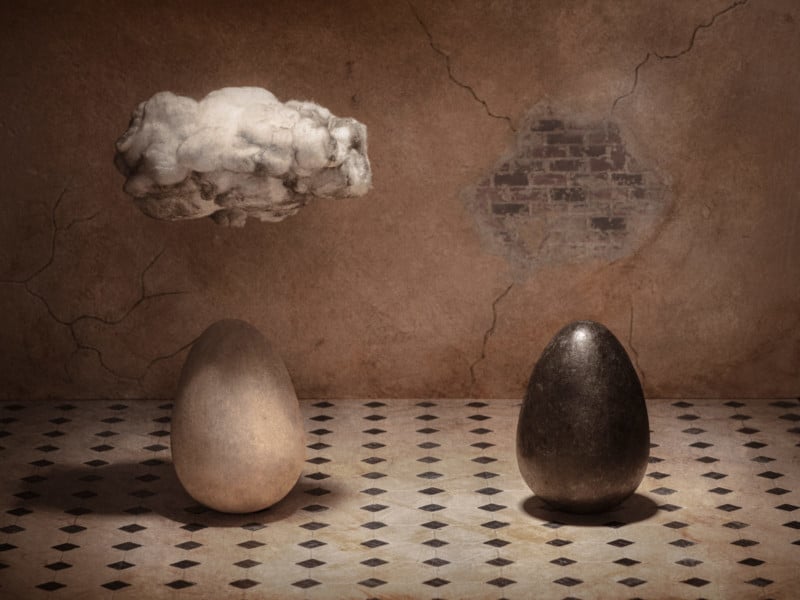
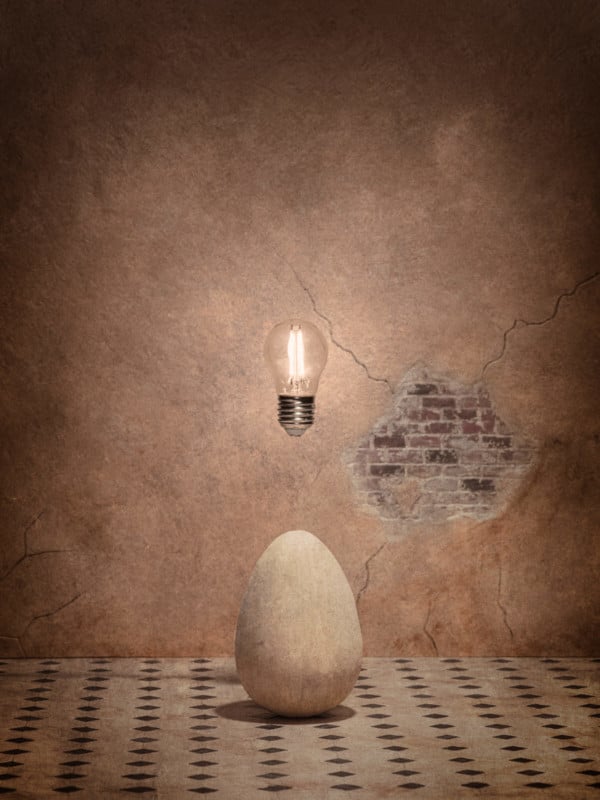
I wanted to make a series of images from the artist’s viewpoint. The egg was chosen to represent the artist because it’s a small and fragile thing. It’s also a minimalistic form that is still familiar to all of the people. I usually like to keep my photos quite simple/minimalistic so this worked well for that.
Model Building
To make this series I had to learn to build miniature sets. I decided to use XPS foam that I was familiar with through YouTube videos (e.g. the Black Magic Craft channel). I bought styrofoam eggs. The height of the egg is 12cm, so I was aiming for roughly 1:10 scale, but mostly I did just what looked good.
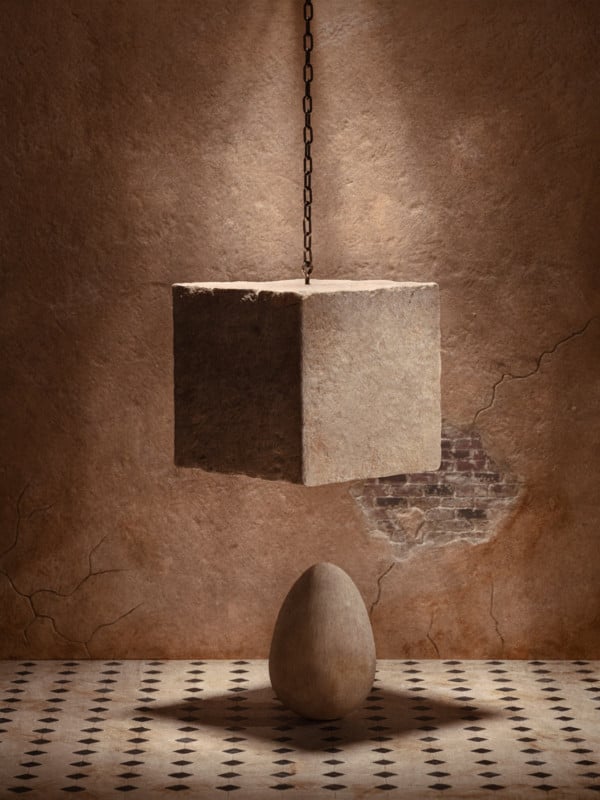
Other stuff like walls, seesaw, and such were built from scratch from XPS boards (50x600x2500mm) that are meant for house insulation. I decided to use the foam because it’s cheap, easy to cut, sand and paint. I used a hot wire cutter to cut smaller parts of the foam. This is a quick and easy way to get different forms and blocks.
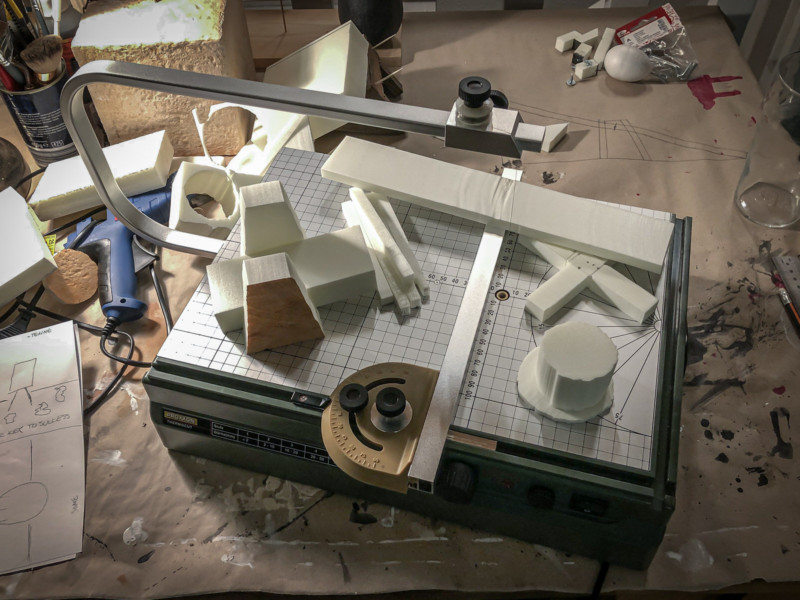
The foam is also easy to texture to make it look like different materials. A stone look can be easily achieved by rolling it with an aluminum foil ball or wood by brushing it with a steel brush. Lines can be easily carved by using simply a pencil. It glues well with hot glue so making objects is quick. The only downside for the hot glue is stringing that is annoying from time to time. For bigger objects like the cube, I used polyurethane glue.
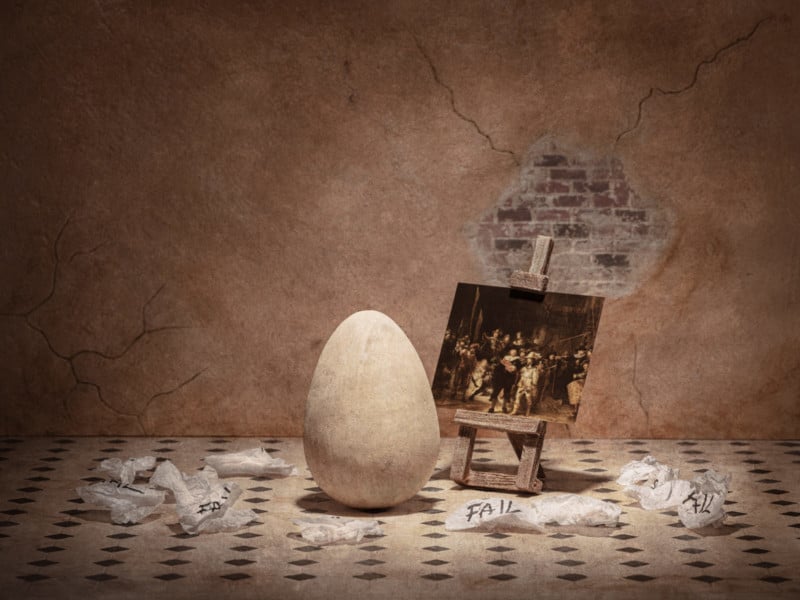
For painting, I used acrylic paints. For primer (first layer) I mixed in some PVA glue and acrylate lacquer to give it a bit harder surface. I then painted them with base color and used washes and dry brushing to give them a more rustic look. Overall I think the objects look quite good in photos and these techniques were not overly complicated to learn. I think I will be using these techniques in the future for building backgrounds for live models in photoshop composites or even on the live scale.
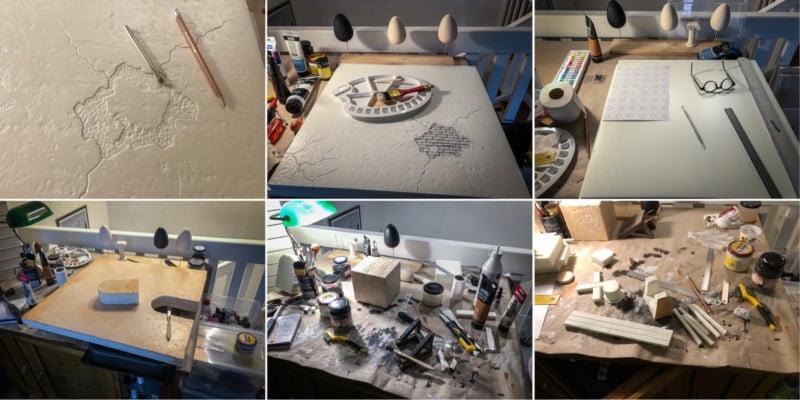
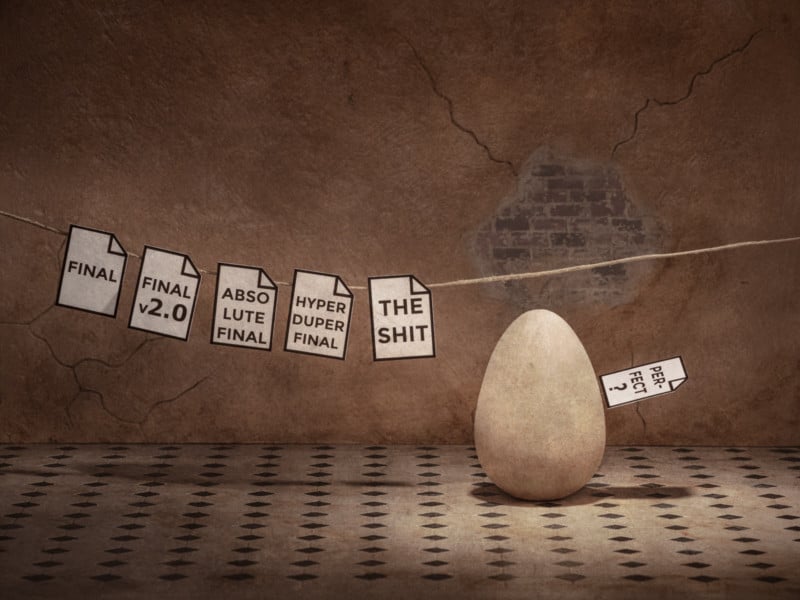
All the signs were drawn in Inkscape and just printed with the inkjet printer. The painting in the “Pillars of Success” is Rembrandt’s The Night Watch. It’s from Rijksmuseum, Amsterdam, Netherlands. They kindly provide lots of photos from old paintings in public domain that can be used eg. as part of your artworks.
Setup
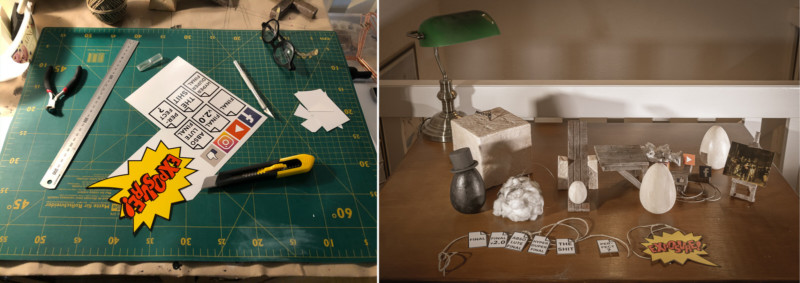
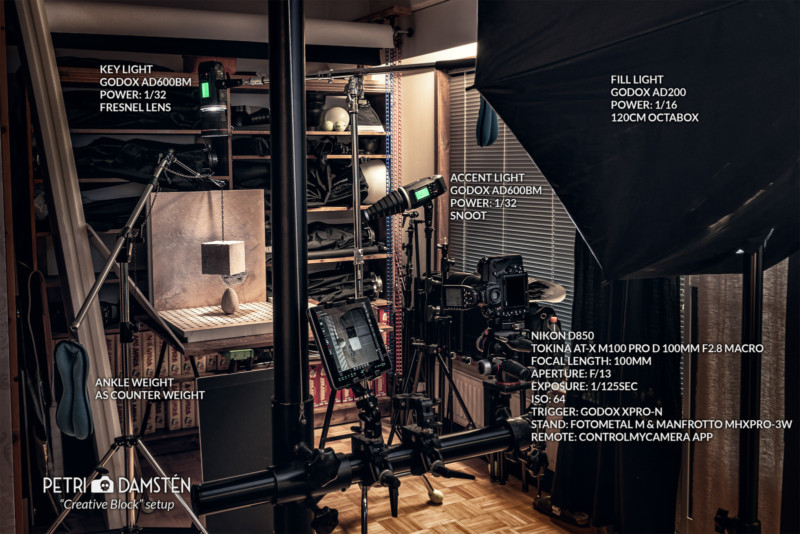
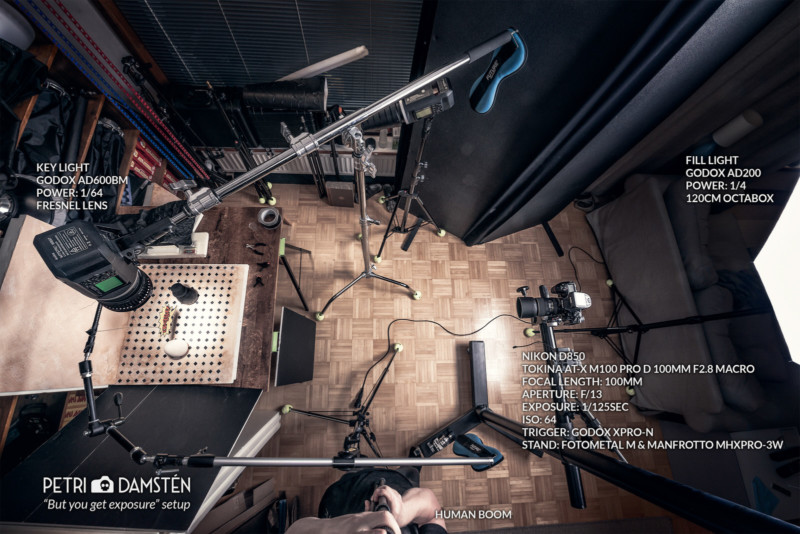
Lighting the smaller set was a bit different than for humans. Mostly I used the Fresnel lens modifier to get a theatrical type of light/smaller beam for the set. All photos were taken in my home studio (yes I know I have serious GAS) which happens to be also our living room. It’s a bit tight even with a smaller setup like this but it works for me. When I needed a bigger preview I used the ControlMyCamera iPad app. I think it works better than the Nikon’s own SnapBridge and with the latest Nikon firmware update, it connects through Wi-Fi without any extra hardware.
Editing
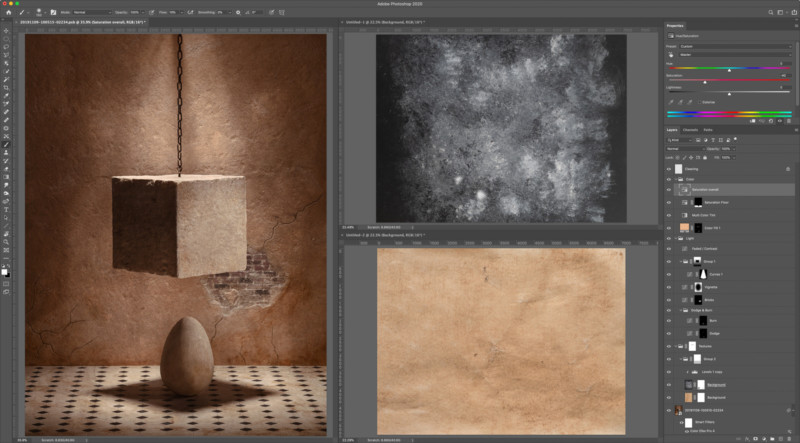
Editing was quite straight forward. I usually do quite a lot of work in Photoshop but this time the images were quite ready. The biggest modification for the images was the use of textures to get a painterly feeling. I usually use my textures either photographed somewhere or hand made. For this, I used coffee stained paper and hand-painted backgrounds. After that, there were just dodging & burning and color grading that I do all of my images.
Presentation
For the exhibition, these images will be framed in A4 sized frames. I want to keep images relatively small since I think it works for this theme well. The plan is to have a frame that has some height so the images sit deeper inside the frame. All images will also have title and description text in the frame in the dictionary kind of way to open and tell more about the image.
The Photos


About the author: Petri Damstén is a fine art photographer based in Kuopio, Finland. The opinions expressed in this article are solely those of the author. His photos have won awards both in Finland and internationally. You can find more of his work on his website, Facebook, Twitter, and Instagram. This article was also published here.