Global and Local Luminance Masking in Lightroom
I have often wanted to carry out global adjustments in Lightroom which target specific luminosity values in an image. Lately, I have discovered a way of achieving this. It is not as precise as, for instance, luminosity masking or blend-if masking in Photoshop, but yet it has the power to give an image that extra punch many of us are looking for in our editing.
First I start out in my regular fashion working the tones and colors until I am reasonably happy with how things look. Next, I zoom out so that I can encircle the image with the Radial Filter. Since I want the filter to affect the entire image I set the feathering to zero.
Needless to say perhaps that after setting the first global radial we can exit the radial filter, resize the image to the working size we prefer and then return to the radial filter.
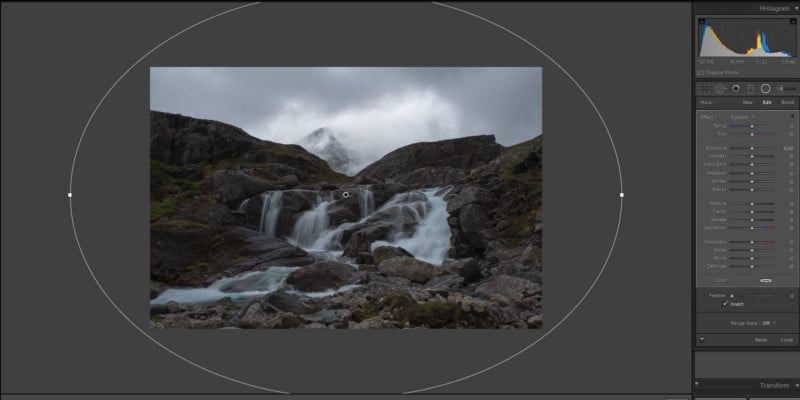
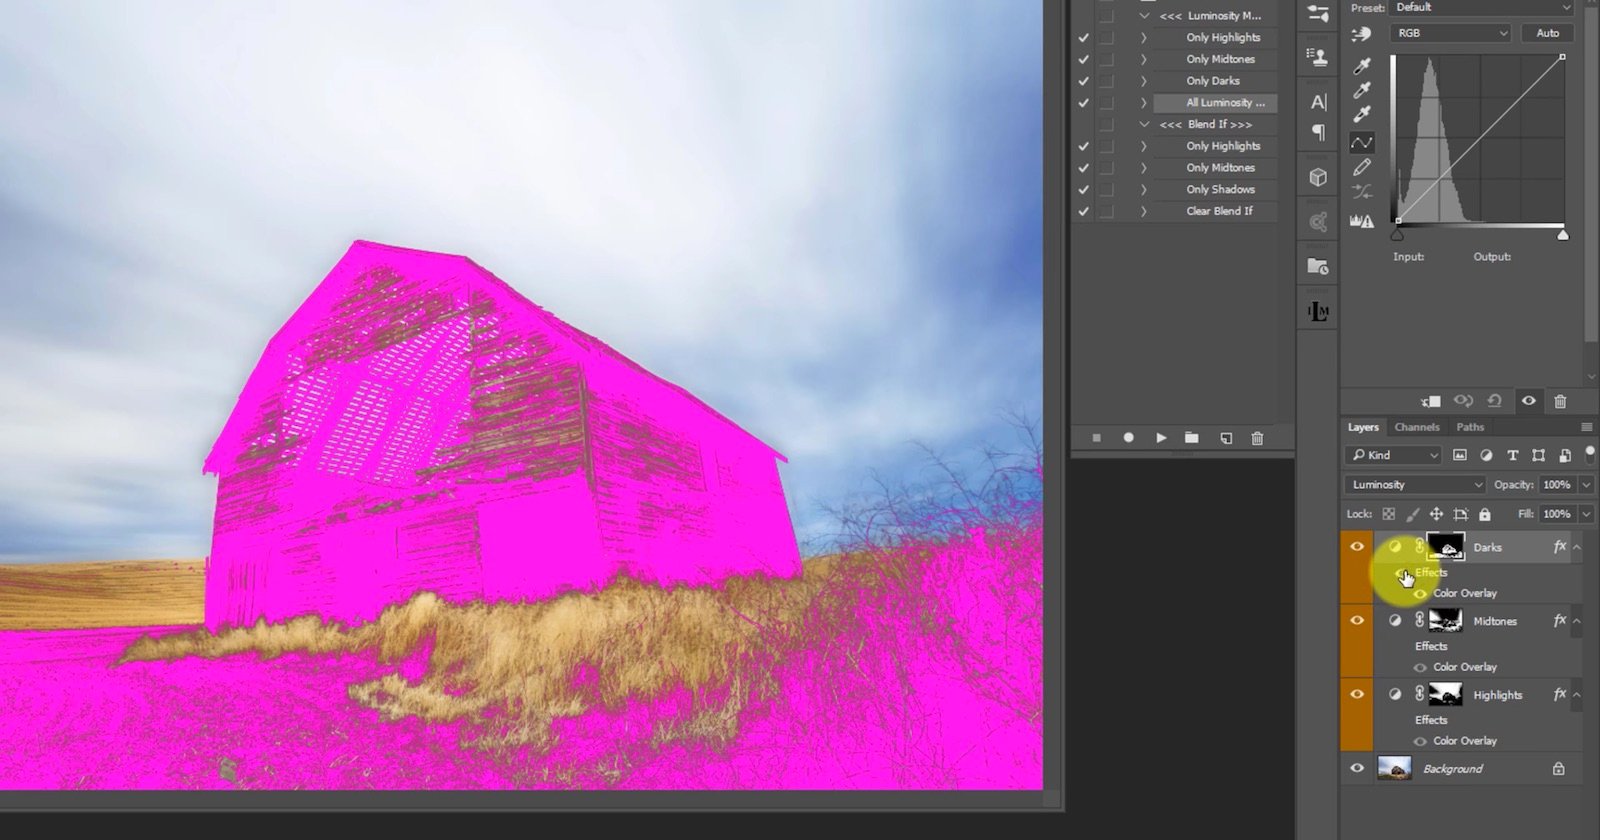
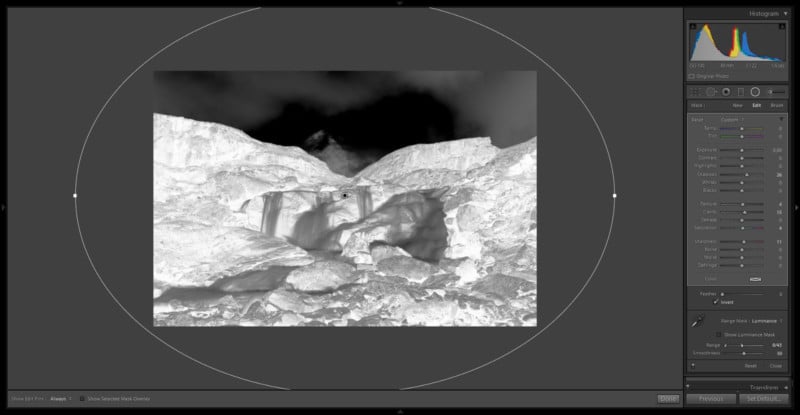
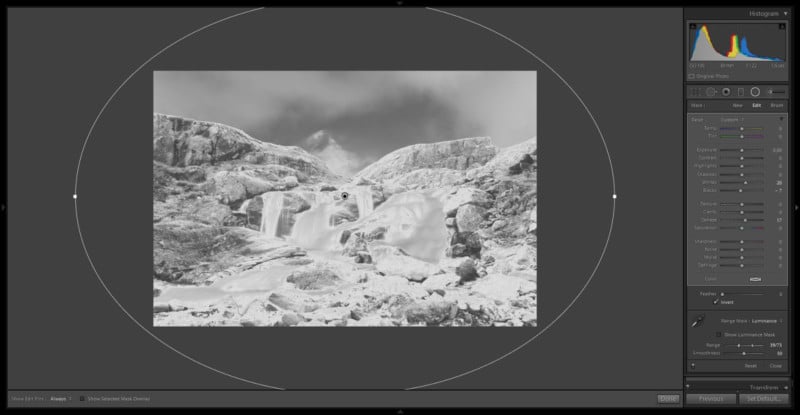
First I would like to do some adjustments to the highlights using the Radial Filter sliders. The adjustments will affect the entire image until I click on Range Mask which is located below the various sliders. I opt for the Luminance feature and while pressing down Alt/Opt I move the left slider towards the right. The left slider protects the shadows whereas the right slider protects the highlights.
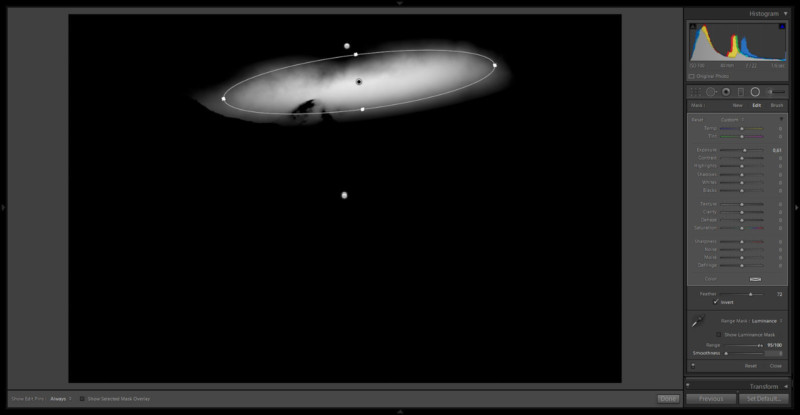
By holding down Alt/Opt when moving the sliders Lightroom offers a mask which reveals what is going on. In regular fashion, it is a black and white mask where white reveals and black conceals.

In other words, the adjustments will have the greatest effect on the white parts of the image.
By right-clicking on the center of the radial filter a new pop menu shows up and I click Duplicate. I double click on “Effect” to zero out everything and also remember to reset the Luminance Range sliders.
I now carry out some adjustments having the darker parts of the image in mind. However, now while pressing down Alt/Opt I move the right Luminance Range mask slider towards the left protecting the highlights.
I also would like to add some midtones contrast. I carry out the adjustments which seem pleasing to me, and next I move both Luminance Range mask sliders towards the middle.
Checking the ‘Show Luminance Mask’ option provides us with a red overlay mask. I prefer to use the masks as illustrated above.
Lightroom also offers a color mask option when we use the local adjustment tools (brush, gradient, radial). I use that mask with great care owing to the fact that it may leave us with edge halos if we push things too far.
Below the Luminance Range mask sliders, we find “Smoothness”. That slider also responds to holding down Alt/Opt so that it is possible to see what happens through a mask when moving the slider.
Assume I would like to enhance some of the highlights in the sky either using the radial filter or the brush tool. After having carried out my adjustments I make sure to protect the darker parts of the sky using the left Range mask slider.
Next, I begin moving the Smoothness slider while pressing down Alt/Opt. To further refine the mask I also play around with the Feathering slider. The mask adjustments resulted in a surprisingly precise mask.
When using masks to refine and constrict adjustments our original adjustments will lose some of their strength. I then often duplicate the adjustment whether it is the brush, radial filter or the gradient tool to achieve the effect I am after.
It is, of course, possible to reverse the order of things; first, determine the mask and then carry out the adjustments, and then further fine-tune the mask if necessary.
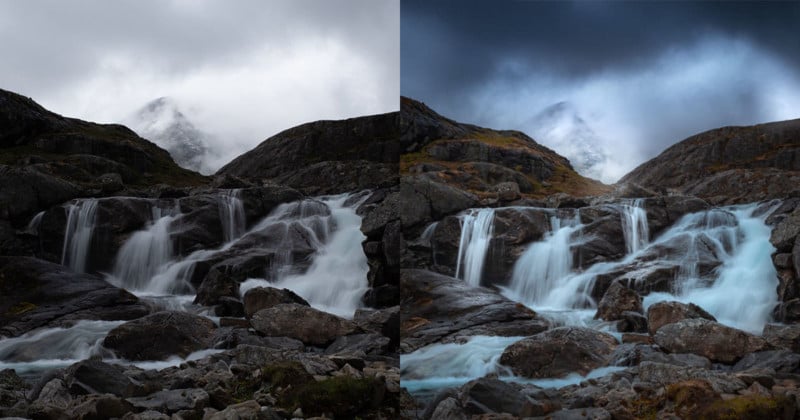
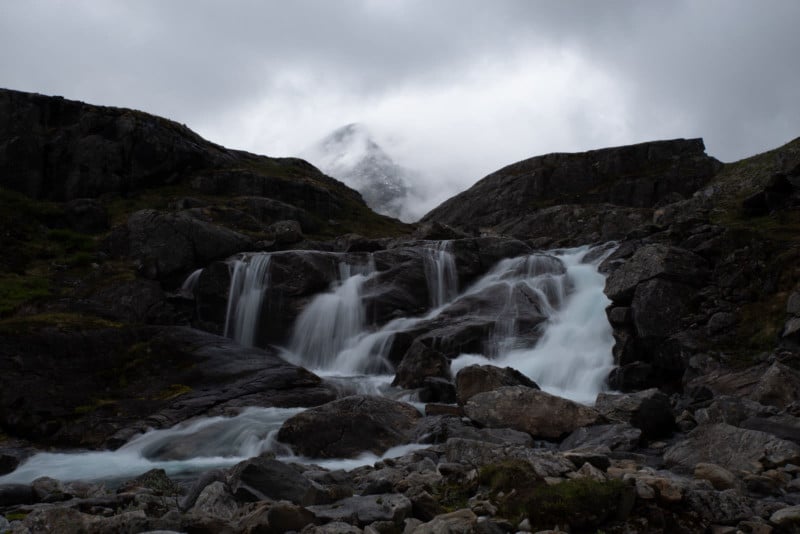
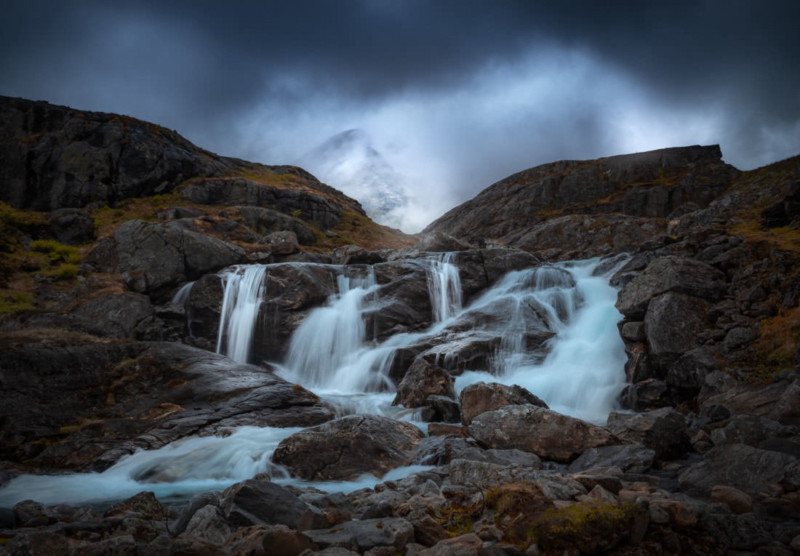
Below is the finished image edited in its entirety in Lightroom by applying both global and local adjustments controlled by Luminance masks.
About the author: Ole Henrik Skjelstad is a landscape photographer and math teacher from Norway. The opinions expressed in this article are solely those of the author. You can find more of Skjelstad’s work on his website, Flickr, 500px, and Instagram. This article was also published here.