
When shooting the night sky, we are looking at points of light that don’t always resolve well with the lenses we have in our bag. Whether the lens is a top-of-the-line “L” from Canon or a third-party lens that cost 1/10th the price, they may both have issues with coma and astigmatism. Here's what you can do to fix these issues and not be stuck with an underperforming piece of glass.
If you’ve ever been in any forum or maybe a Facebook group that centers around shooting the night sky and the Milky Way, you have probably seen someone asking about an issue called coma and astigmatism. Both of these issues can arise even in lenses that are the créme de la créme of glass from first-party manufacturers (and are priced accordingly). Coma and astigmatism can also appear in third-party lenses that many people specifically use for nighttime imaging, but this phenomenon that looks close to coma is in reality a de-centering of the lens elements from incorrect alignment. Many times, it’s easier to return this lens for another if it’s still within the time frame to do so. Unfortunately, not everyone is able to test their glass before a return window is up and they may be stuck with a de-centered lens that is perfect for daytime shooting, but falls apart when capturing starry night skies.
Before we get to fixing the problems, let’s define each of the issues first. Regarding coma, or comatic aberration, what we are referring to is an aberration inherent in some lens designs, possibly due to imperfection in the lens, or other components that results in off-axis point sources, such as stars, that appear to have distortion similar to a tail like a comet. These point sources tend to look like they are moving toward the center of the lens with the “comet tail” pointing in the direction of the corners of the image.

Examples of coma with a full image and near 1:1 top left corner crop
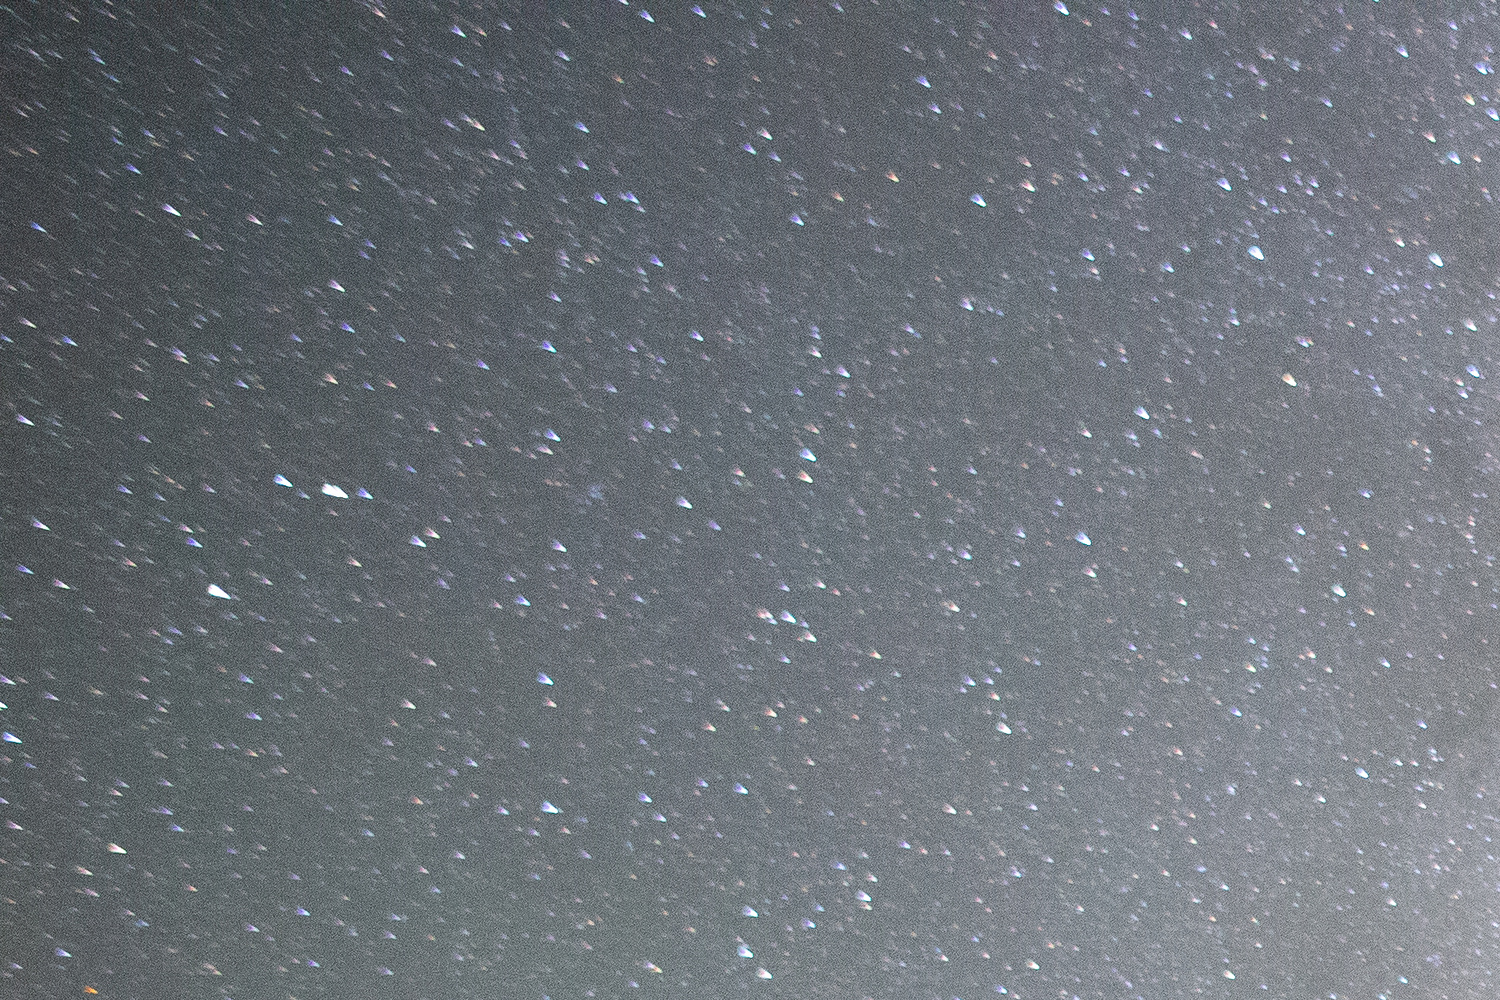
Astigmatism in a lens is where rays that propagate in two perpendicular planes have different foci. If a lens with astigmatism is used to form an image of a cross, the vertical and horizontal lines will be in sharp focus at two different distances. We usually see this issue with a star or any point of light that has wings, and it mainly occurs in the corners of the lens as the direction toward the center of the lens is in focus, but a perpendicular line to this focal point is out of focus, resulting in a “stretched” point of light. This is normally equated to the star having wings.

Example of astigmatism in top right and top left corners of image.
Astigmatism can occur in even the best and priciest lenses due to the optical design and inherent nature of the lens, which may be based around an ultra-wide aperture. Additionally, this issue can be in lens designs that lack an aspherical element to compensate for the astigmatism that is inherent in the optical design. Coma tends to be more of an issue resulting from poor alignment of lens elements in during final assembly and tends to be seen more often in third-party lenses of varying costs. There may not be any rhyme or reason as to who receives a copy of a lens with coma from a given lens manufacturer if the issue is the result of the manufacturing. Severe coma and astigmatism can be tested under any starry sky at a wide aperture to confirm if a lens is showing these issues. It’s always a good idea to test a lens as soon as possible after purchase to see if coma or astigmatism are apparent in your images. If due to final assembly, the coma will be consistent and may only affect one corner of the image, so it’s always a good idea to shoot several images in portrait and landscape orientations to confirm if a corner of the lens is out of alignment.
So, how can we fix this? Just test and exchange our lenses until we find a good copy? Should we take hours in Photoshop making stars that look like comets into circles? All of these issues exist in the corner of the images because the center of most of these lenses are pristine. Why wouldn’t we just use the center of the image circle where the stars look like stars? We would have a smaller image but we can always take a few more images, right?
One of the techniques that I prefer and have repeatedly talked up in night sky imaging is panoramas. It’s easy and requires very little equipment when doing simple panoramic imaging. In this case, we could take three images with about 60-percent overlap and have the same amount of coverage a single image would have. This also means we are only going to be stitching together the consistent part of the images: the center.


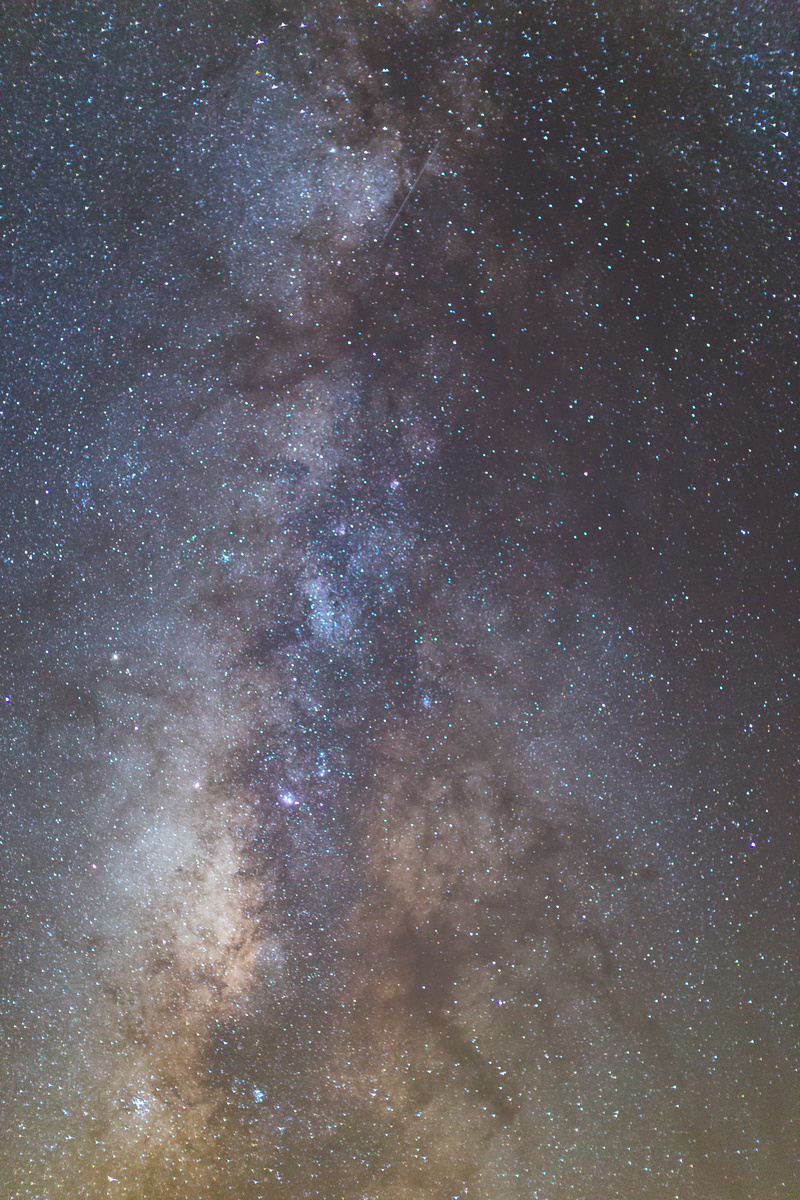
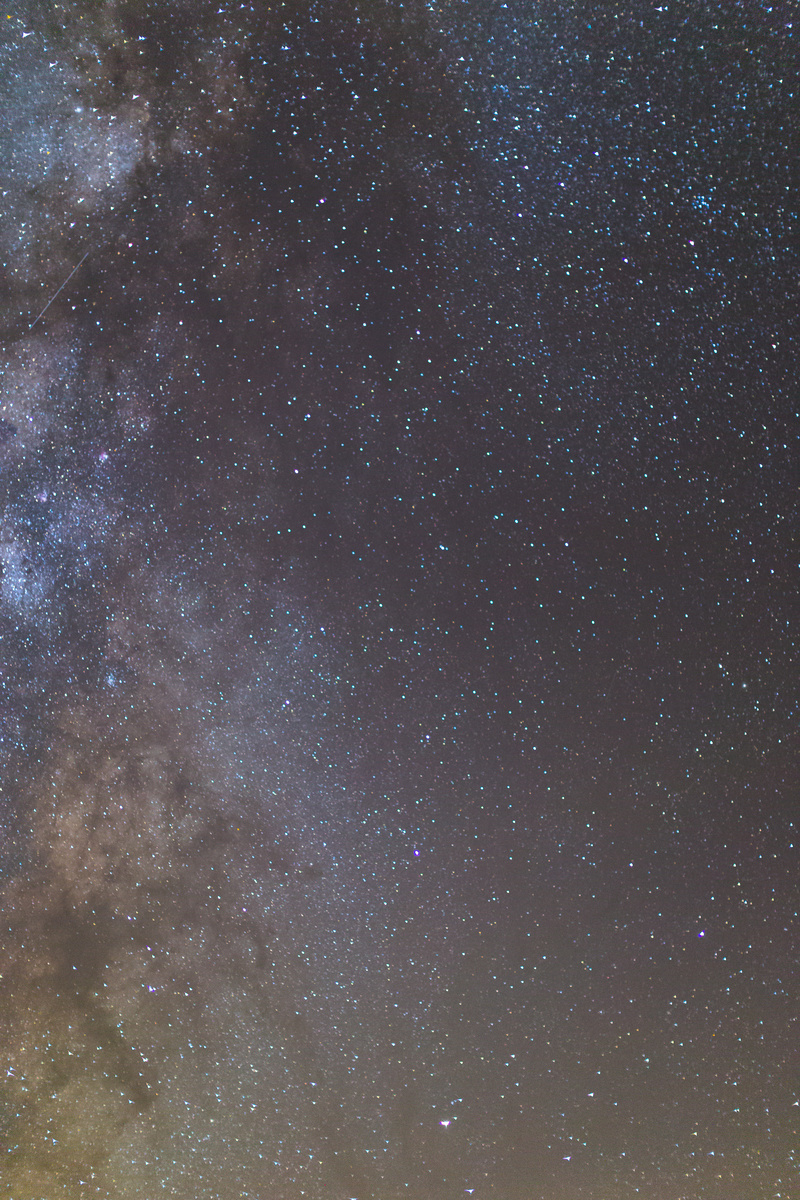
Big Bend Milky Way Center Second Row Full Images Pre Stitch
In the case of say a 14mm lens on a full frame camera, where many times I’m shooting a thirty-second single exposure, we are now only adding one additional minute of work (two more images) to fix what may be an inherent optical design issue with maybe a $1,500 lens. For those that may be thinking about noise; yes, we could do stacking here, but let's work with one issue at a time. Lightroom and Photoshop both create panoramas seamlessly in post fairly quickly with current-generation computers and will ignore most issues in corners of the frame that don’t match the center, where the stitching will take place.
Breaking down the way to shoot this panorama is simple. For shooting a vertical panorama, place your camera in landscape orientation and take three images with a 60-percent (about 2/3) overlap, raising your camera angle as you capture each image. If you’re shooting a horizontal panorama, place your lens in portrait orientation and shoot three images with a 60 percent (about 2/3) overlap rotating the camera over the ball head. In post, you combine these images in Lightroom or Photoshop and crop to the same field of view of the original lens. You can also crop the coma and astigmatism issues out of the panorama, which will be very close to the lenses original field of view. Lastly, you can also shoot wider than your single lens can image and create a nightscape that many have never seen before simply due to the field of view.


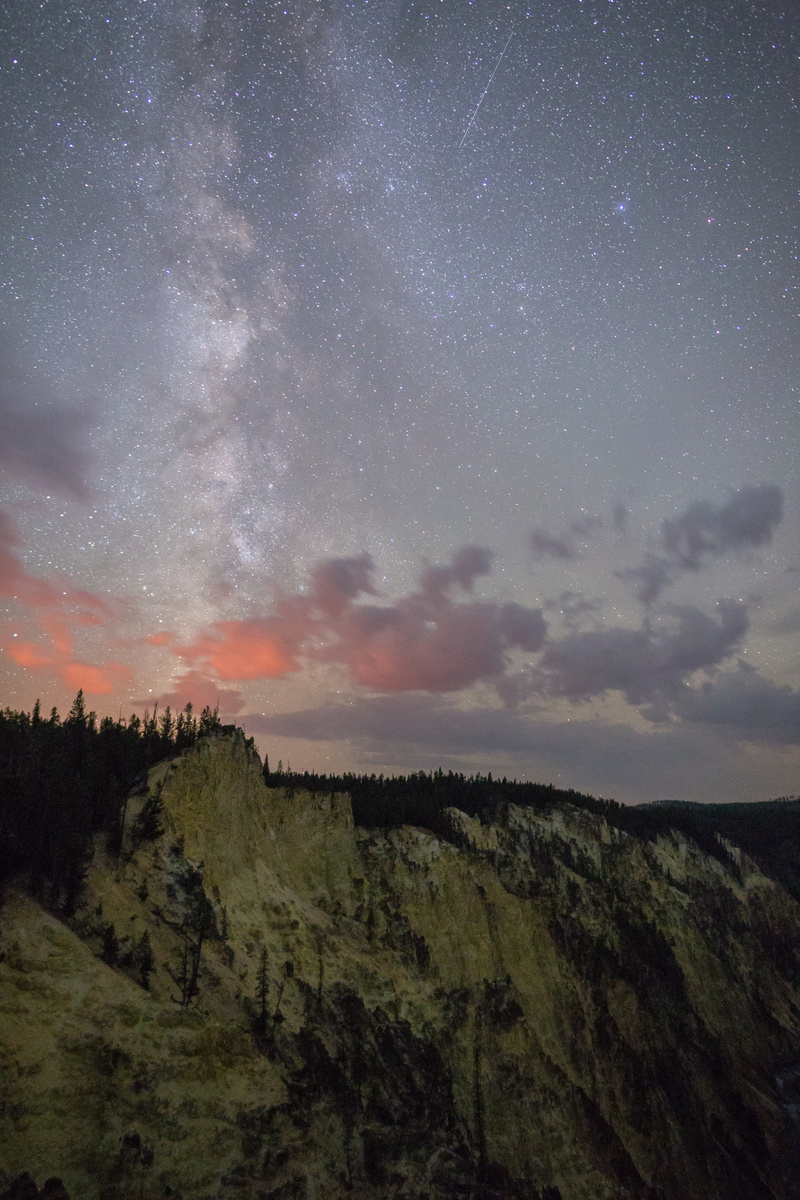

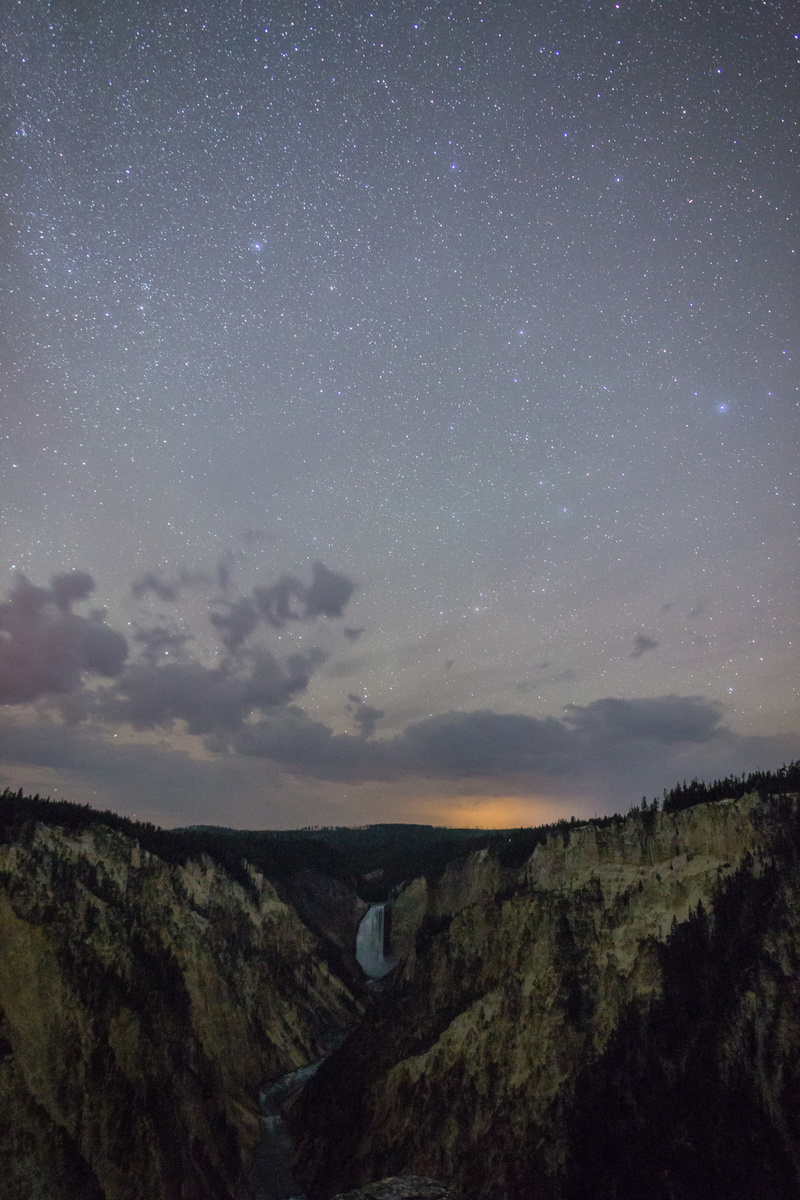

Simple Panorama Yellowstone Lower Falls
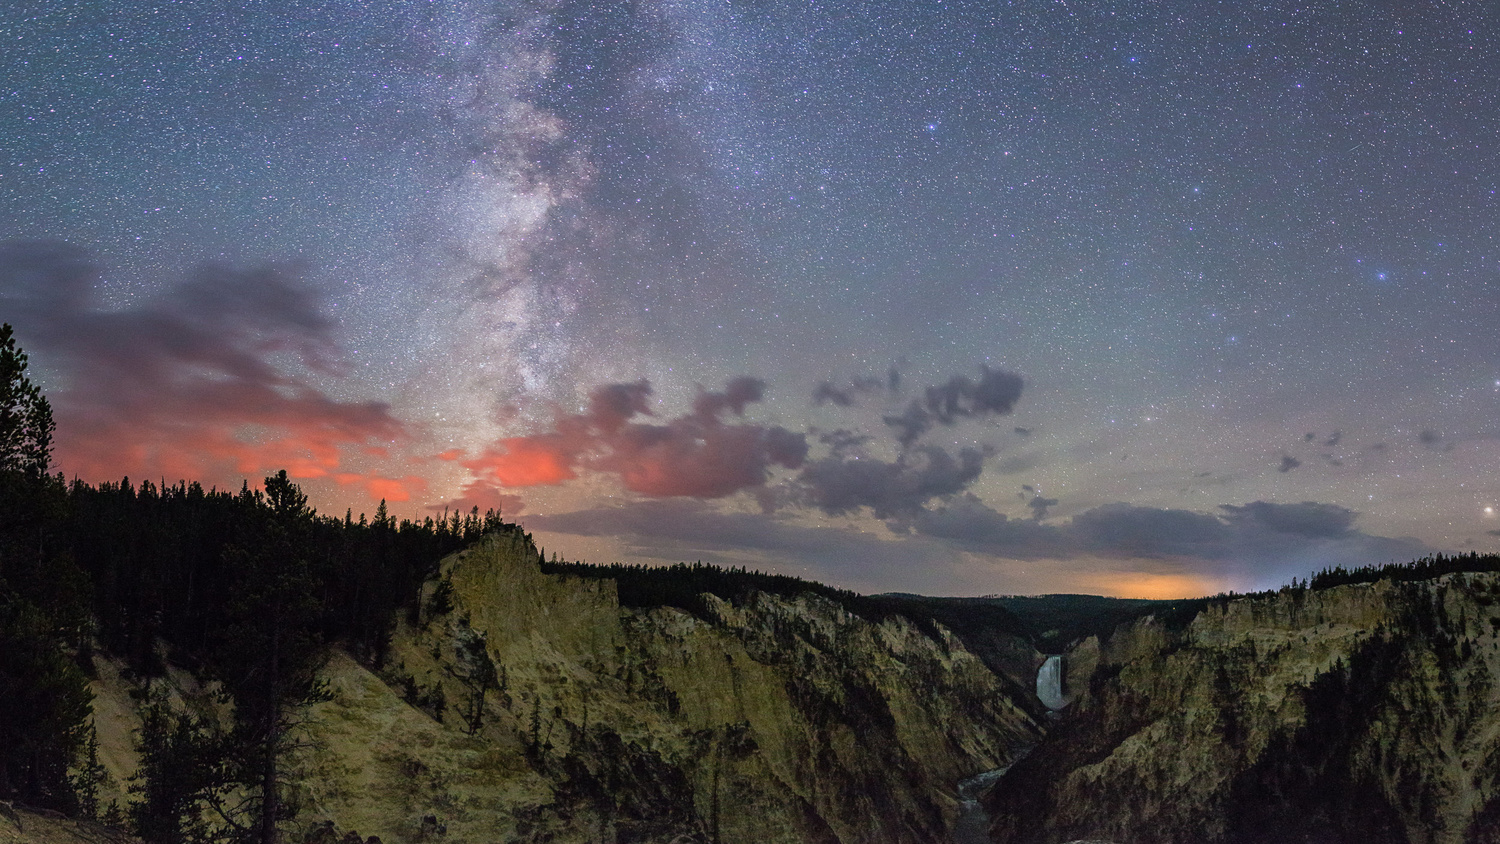
Stars And Fire Over Yellowstone Lower Falls
The only additional equipment for doing simple panoramas would be an L bracket and a nodal slide to correct any possible issues with parallax. If you’re shooting panoramas at an ultra-wide field of view, for instance with a 14mm lens on full frame, it’s highly unlikely you’ll ever encounter parallax issues with stitching unless you’re shooting very close foregrounds (within several feet of the lens). Also, if you're only shooting the night sky, stars are on the same plane within our field of view and view point and will not have parallax issues. When combining foregrounds and midgrounds into an image, we normally start to experience parallax at lens choices of 24mm and longer (smaller field of view). When decreasing your field of view, a nodal slide is required for panoramas to avoid parallax in foreground and midground imaging. Again, if you’re shooting with an ultra-wide lens choice, an L bracket is about all you may need and for no other reason than it’s easier to rotate a horizontal panorama over the ball head than off to the side and around a ball head.
Many panoramas I put together are between 24mm and 85mm ,and though it’s possible to create a panorama with only an L bracket and a nodal slide, I’d rather use a panoramic head for medium and telephoto lenses. I personally invested in a 3-axis panoramic head from Nodal Ninja called the M2 about five years ago (when it was twice as expensive) and have used it for nearly all my night-imaging for several years. When shooting tighter imaging and stitching a panorama from those images, you have an additional benefit of increased resolution size of the image, decreased noise due to increased resolution, and the ability to create images wider than any lens today can create in a single capture.
I bring this up because you can go easy or intricate with your imaging depending on the work you want to do in post. More images means more work to put everything together in this case. This technique makes lenses with the worst coma and astigmatism (ahem Canon's EF 50mm f/1.2L) near fantastic by simply working around the issue. You have a plethora of more options for lenses this way, whether it’s a 14mm, 24mm, or a 50mm. Just remember, the lenses that most nightscape and Milky Way photographers start out with are on the wider side, where additional equipment is not necessarily needed.
Here're some breakdowns of an image that was created in 2016 with the 50L using this technique:

The Galaxy Volcanic: Milky Way Over the Chisos Mountains
The image "The Galaxy Volcanic" above was created with 14 images total with a Canon 50mm f/1.2L lens. The image overall would have benefited from an additional row at the top to crop out all the astigmatism inherent in the lens choice. You live and you learn.


Lightroom Breakdown: Final Big Bend Milky Way Image With Crop Shown and 1:1 Crop
Below are the cropped images of the bottom row of the panorama, staying around the Omega Nebula, near the center core of the Milky Way, as the images were taken left to right. These are 1:1 cropped into the top of the images. You'll notice near the top of the image, the stars change sizes due to being near corners of the image.


Big Bend Milky Way 1:1 Crop Top Of First Row Pre Stitch
This second set of images is the second row above the first set of images, but the core in this case is more central in the frame, where the best part of the lens is located. These images are 1:1 cropped into the center of the frame of each image and show how little coma or astigmatism is in the center. The images were taken right to left, but cropped to stay around the Omega Nebula near the center core of the Milky Way.


Big Bend Milky Way 1:1 Crop Center Of Second Row Pre Stitch
If you found this tip helpful, let me know in the comments. If you’ve already been using this technique whether to eliminate astigmatism and coma or not, let’s see some of the images you’ve created at night.


thanks for helping us to know when we can use the panorama head.
how easy it can be to be mean
If you have nothing nice to say, say nothing at all.
I'm here for to be up to date and learning. and I thank from everyone can teach me any thing.I think that appreciation is good and it's first thing everyone must learn at first.
One of the better 'how-to' articles I've seen here.
Question: for us crop-frame users, your concerns about coma would be multiplied by 1.6, correct? Example, if I use a 20mm lens on a Canon 80D, where the effective focal length / angle of vision is that at 32mm full-frame, I'm going to have more coma to handle, correct?
Second question: for us amateurs on a more limited budget (that's why I shoot crop-frame :-) how about a lower-cost alternative to the Nodal Ninja? That's certainly sweet gear but wow, the expense.
Again, good article.
No, if you're cropping in from a full-frame lens, you'll have FAR LESS coma to worry about, because you're literally already cutting away most of the coma with the smaller sensor itself.
If you have a dedicated APS-C lens, you'll have a "normal" amount of coma to worry about, which is to say it depends on the lens more than anything. (The Tokina 11-20 f/2.8 and 14-20 f/2 are insane, almost zero coma!)
Very helpful and thank you.
Thanks for the idea. Well written, too.
Very nice article. Thanks!
Informative article JT, thanks for posting. You mention stacking briefly, but then never come back to it in the article. When shooting the night sky I like to capture many light frames, then dark frames, and then use tools like Starry Landscape Stacker with as many as 64 source images to significantly reduce noise by the equivalent of several stops. I've been interested in night sky panoramas for a while, but I can't see how to get around the issue of the stars moving too much between each of the pano positions if you're also using stacking, and therefore not stitching properly in post. Have you found a way to take stacked night sky panoramas without running into such problems? Or do you find that the extra resolution of a panorama taken at longer focal lengths allow you to mostly hide the noise by scaling down the final result?
A great technique to have in the tool kit for sure. I personally went with a cheap iOptron Sky Tracker Pro, ($300 on Amazon). This allows me to use my Rokinon 21mm F/1.4 at F/2.0 and have basically zero coma and astigmatism. My Rokinon 12mm, i'll stop down to F/2.8 with the same results.