Dina Belenko is a creative still-life photographer from Russia and incredibly successful 500px Prime photographer. Her artistic images capture magical stories behind everyday inanimate objects.
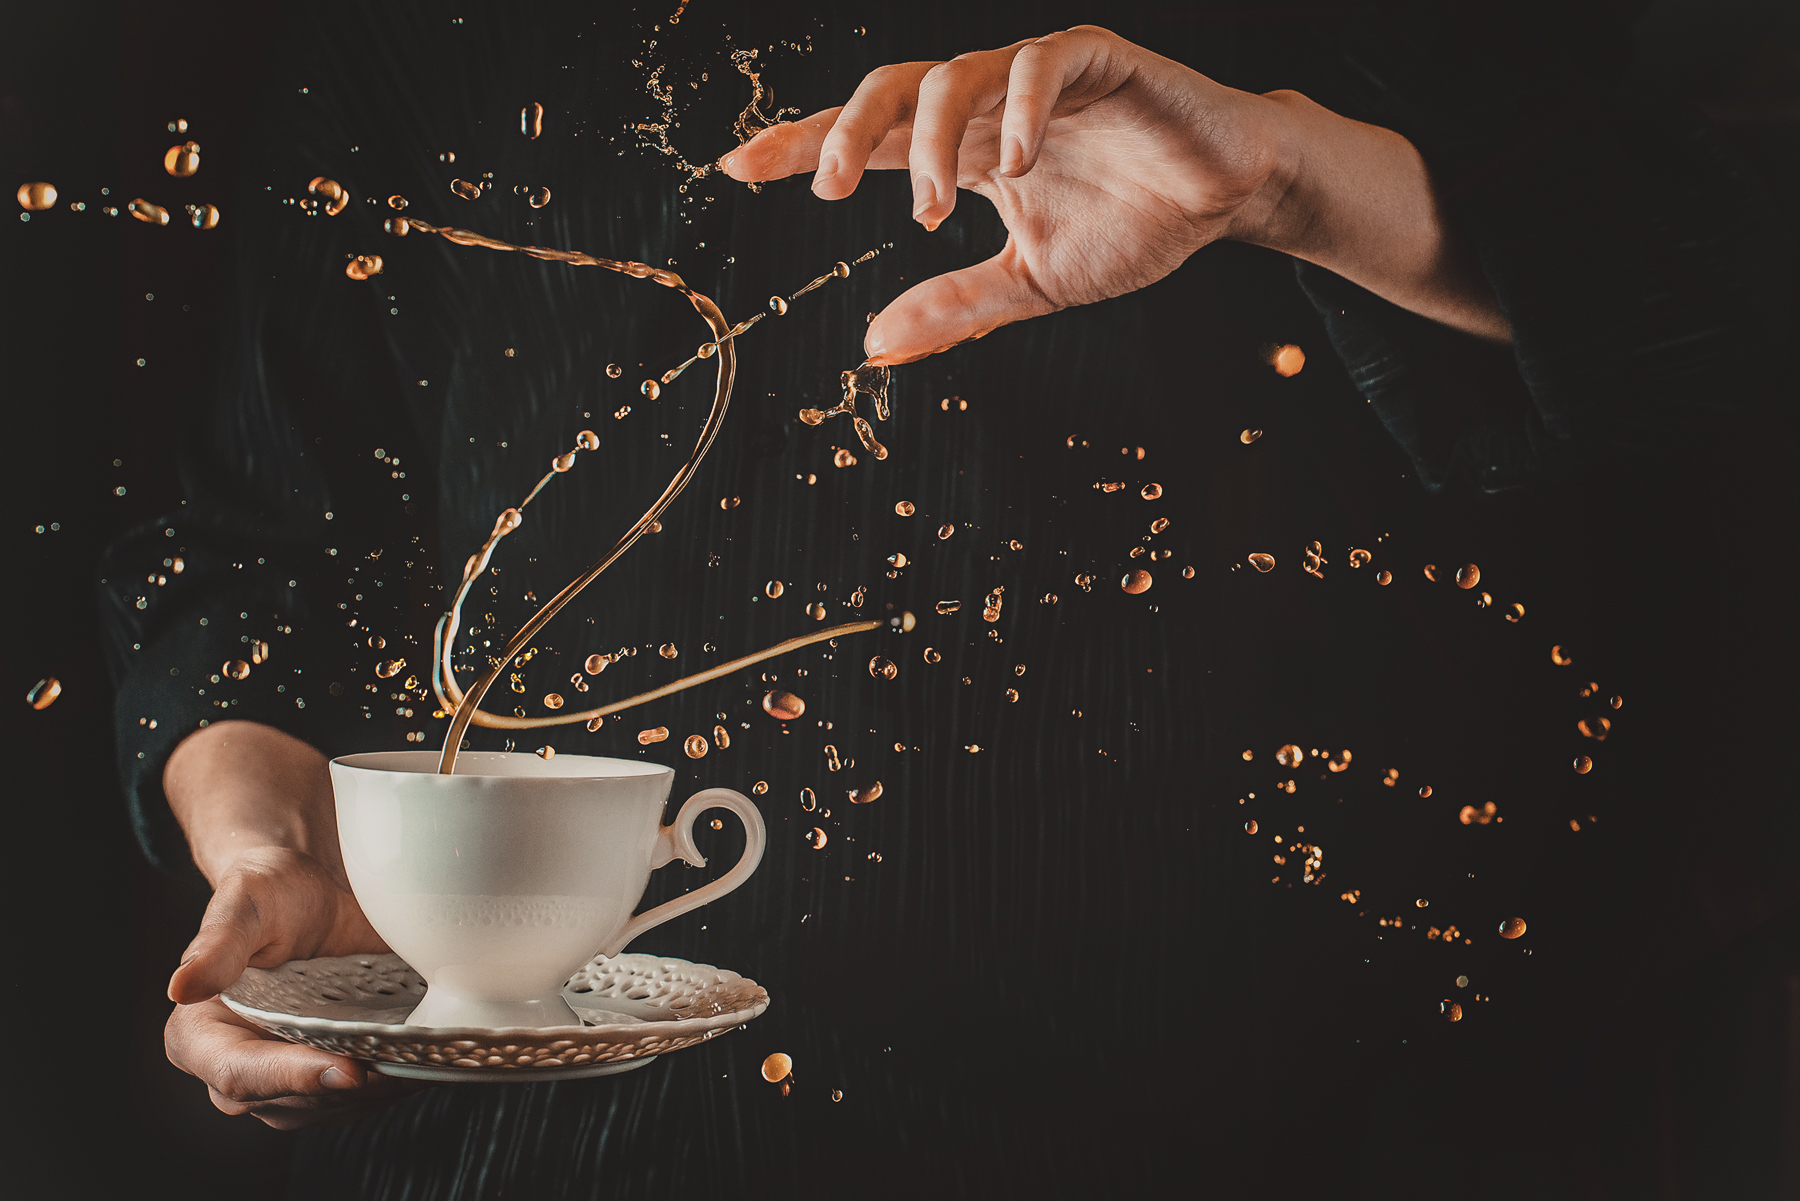
In this tutorial, Dina shows you how she captures crazy “twisted” coffee splashes that defy gravity and wow viewers. Read on, stay inspired, and enjoy!
Shooting splashes is always great fun, even if it’s a simple image with a coffee cup and a falling piece of refined sugar. Plus, there is always so much room for experimentation—in other words, for even more fun!
When I made the “Empty Cup” image, many people asked me how I shot it. And I thought it would be better to show you in a step-by-step breakdown rather then answer individual questions. So, this is how:
1. Props
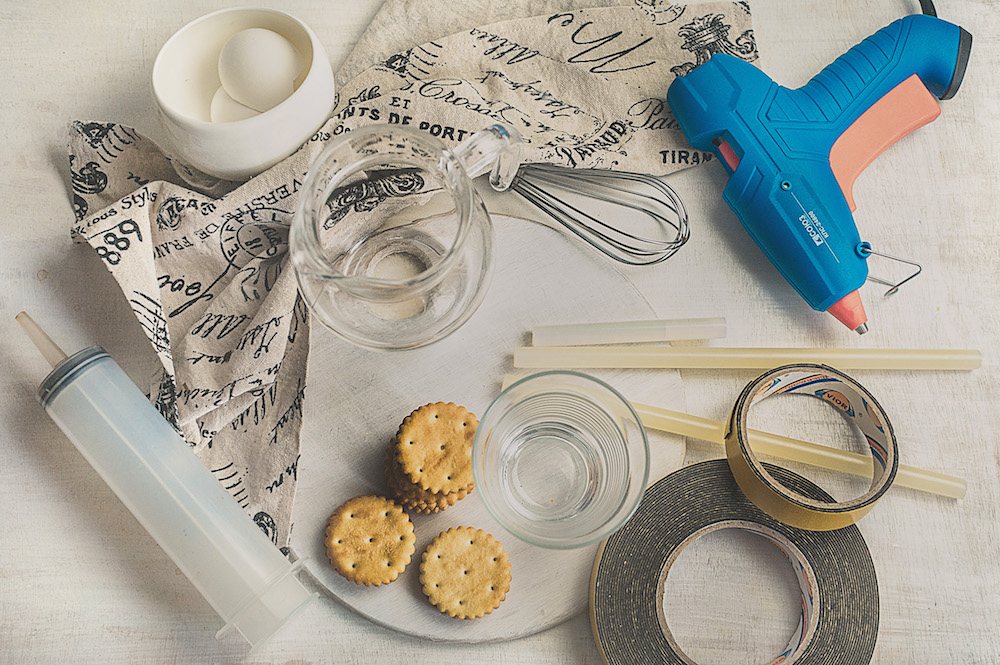
First of all you will need a solid background (paper or set of boards only will make things more complicated; I used a sheet of painted plywood), a large syringe without needle, glue gun, reliable double sided tape and any components of your still life that you like.
Besides that, as for any splash shooting, you will need a tripod and an external flash.
2. Set up

Arrange a still life composition, keeping in mind that it will be turned upside down. Make sure that it’s a composition you like to see, because later there won’t be a chance to modify it.
And now glue everything steady to the background. Use the double sided tape foe light wooden items and the glue gun for heavy glass ones (and eventually for cookies and napkin).
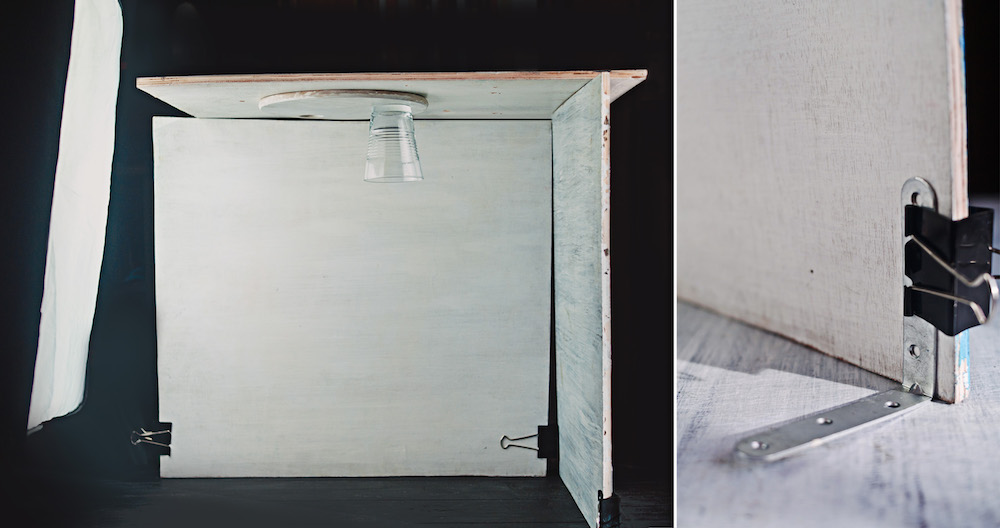
Check whether everything is held down firmly, and then turn the background upside down. I put mine on two sheets of painted plywood; the right one, since it’s pained white, actually works as a makeshift reflector.
It’s very important to make sure that your construction is steady and still.
3. Lighting
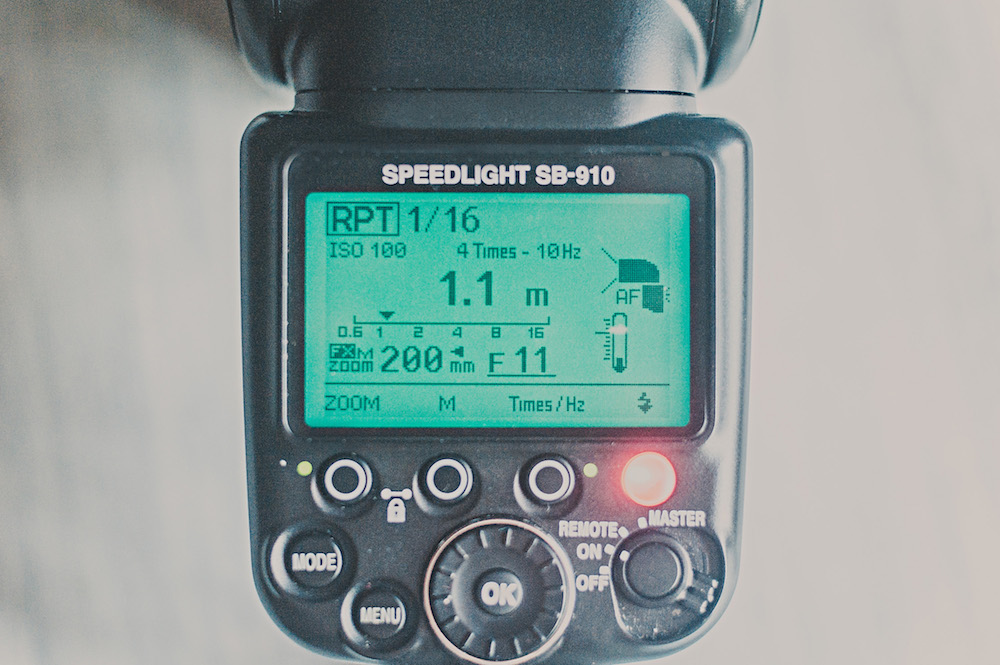
For lighting, I used a typical speedlight on low power (1/8 up to 1/128 of the power provides a very short pulse that will freeze the motion of liquid) and set to RPT mode, which allows it to take a few shots in a row.
I also used a softbox, and as mentioned previously, the sheet of plywood on the right side played the role of reflector.
4. Have fun!
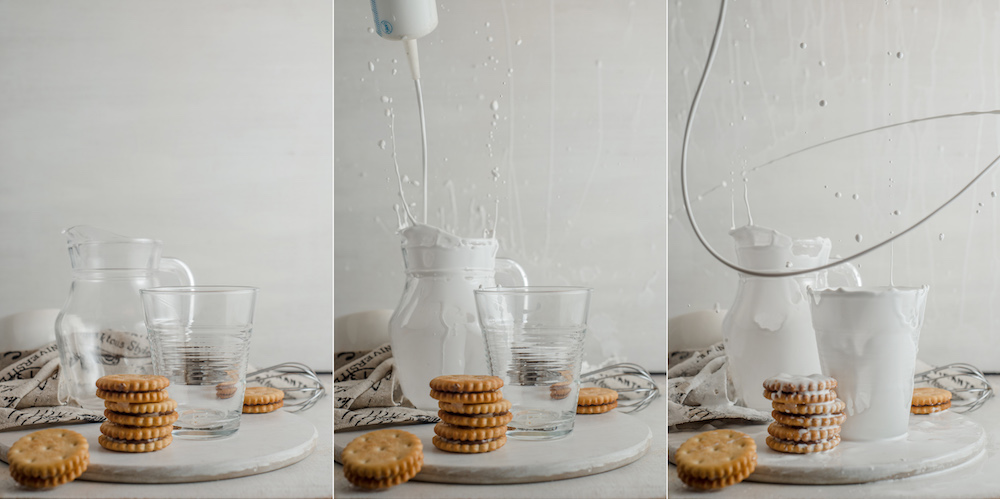
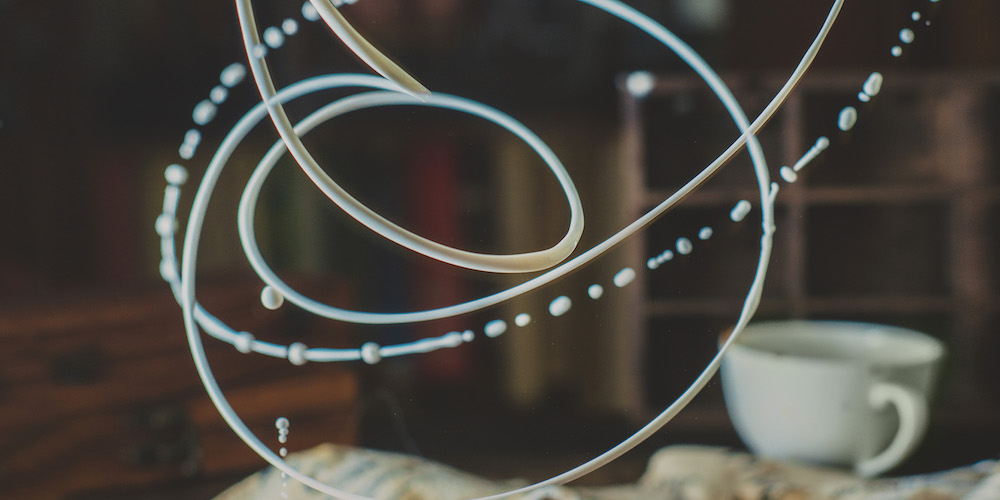
Now fill the syringe with coffee, milk, or any other liquid, point it up, and start spraying! Make circular motions the entire time so you can get a twisted splash. This is the best part, isn’t it!?
After shooting you can choose the most beautiful splashes and combine them in Photoshop into one picture. Than you can give your image a little polish (i.e. adjust the tone and contrast) and voila!
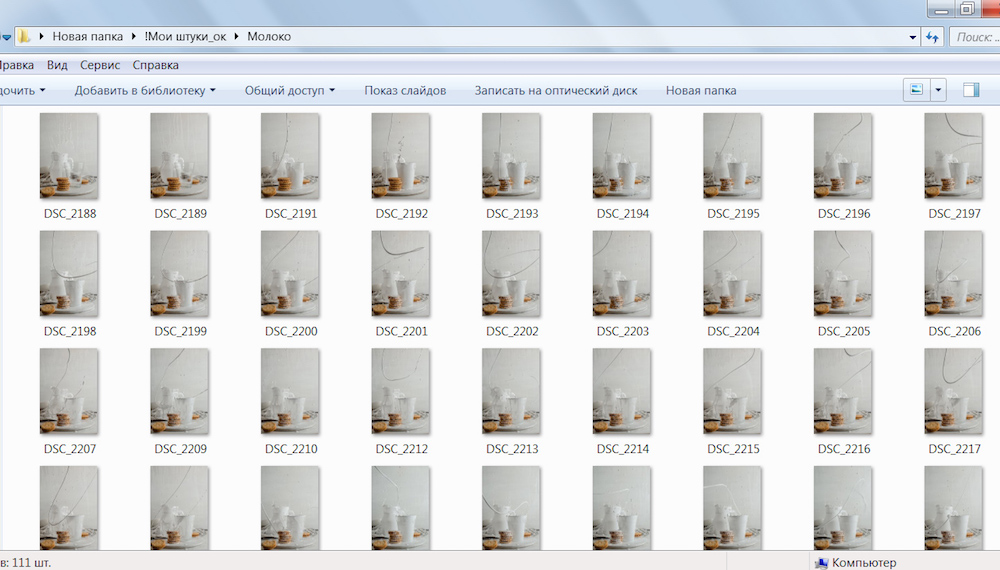
Choose your favorites
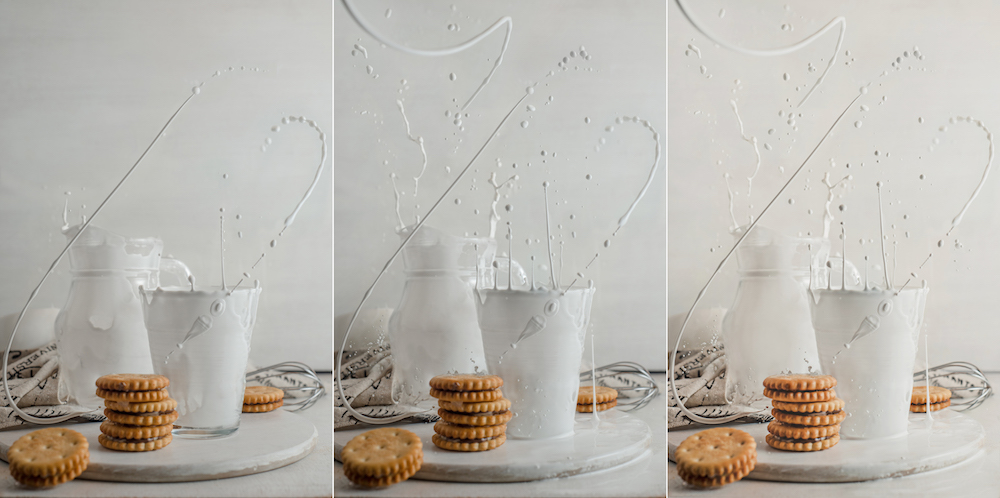
Combine them into a final image
The Results


Hope it didn’t turn into a giant mess and you had fun.
Stay inspired and good luck!


Leave a reply