A Spine Injury Left Me Immobile… So I Built a Giant 20×24 Camera
I recently found myself with a spine injury, which proved to kinda be a big road block to my photography. My photo projects usually involved lots of driving and walking, two things that proved to be extremely painful due to my crappy health. One day, sitting around bored, I decided to create a camera that was as immobile as I was. Armed with a rough sketch, and a misguided sense of self-confidence, I built a 20×24 camera over a weekend.
I first built the film/paper/glass etc holder. A laminate of Masonite roughly cut with a jig saw created a fairly conventional double-sided film holder. The sides were lined with velvet, and to my surprise it was light tight. Next was the ground glass, which is how you focus a view camera. I couldn’t really afford a ready-made one, so I sandblasted some acrylic. It’s dim, but still pretty usable.

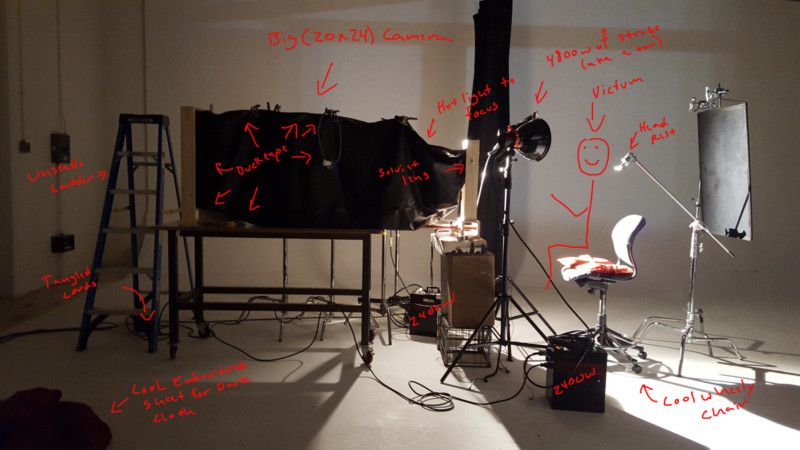
The front and rear standards where next, and were built out of some scrap pine. The rear standard has no movements and is basically just a frame for the film holder to slide into. A dado was cut into the frame saw for the film holder, and everything was held together with dowels. The front standard is a similar frame, with a smaller frame inside it for the lens. Tilt and swing are possible, and by moving apple crates I can get some rise and fall.
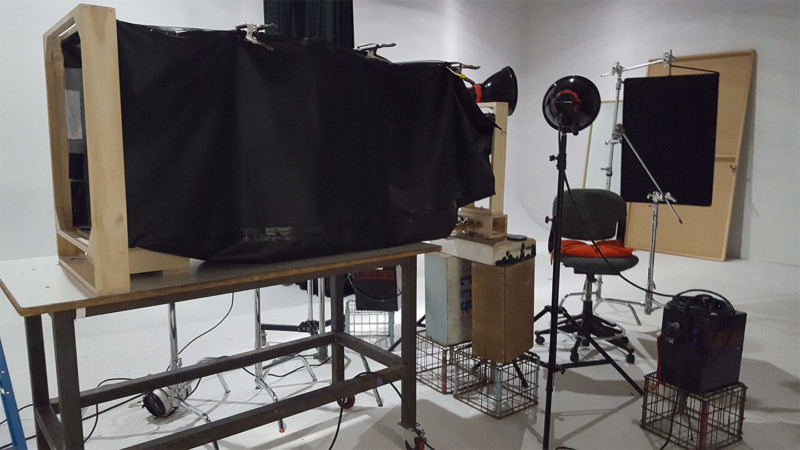
Focusing is done through some copper pipes, that are held to the standards with some pipe clamps. I kinda moved pass the realm of tripods, and instead used a table and a bunch of apple crates.

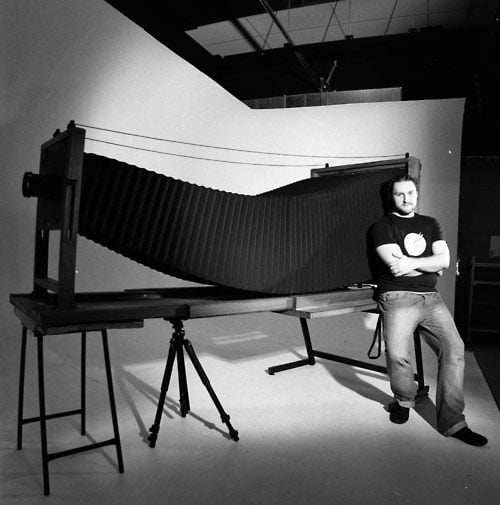
Making real bellows was beyond my skill level, and would take a bit longer than I would like. I knew I wanted larger than life portraits, which would require rather long bellows. Rough math said I needed around 8ft of bellows. A more elegant solution likely exist, but I ended up taping together a bag bellows out of some vinyl, and supported it with some C stands. A staple gun and some gaffers tape helped attach the bellows to the standards, and I was done.
The camera is extremely rough, but its does its job, and is light tight. Construction took place over two days, and cost me less than $80 US (not counting the lens).
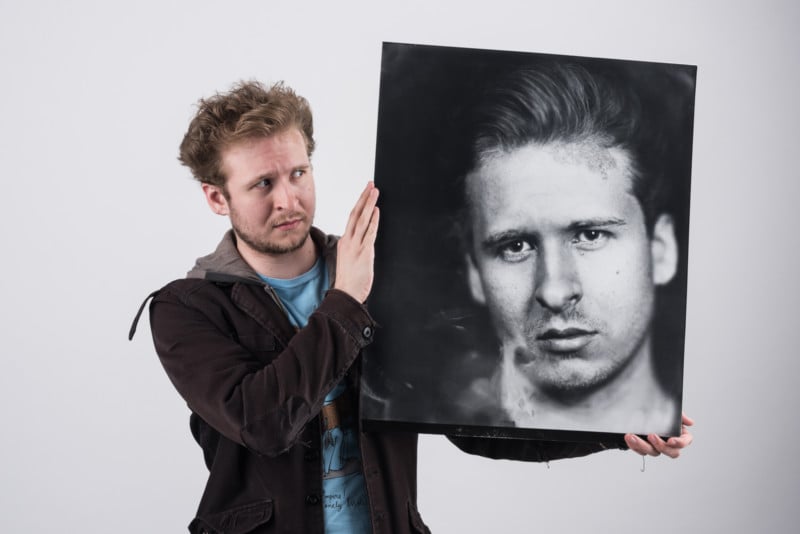
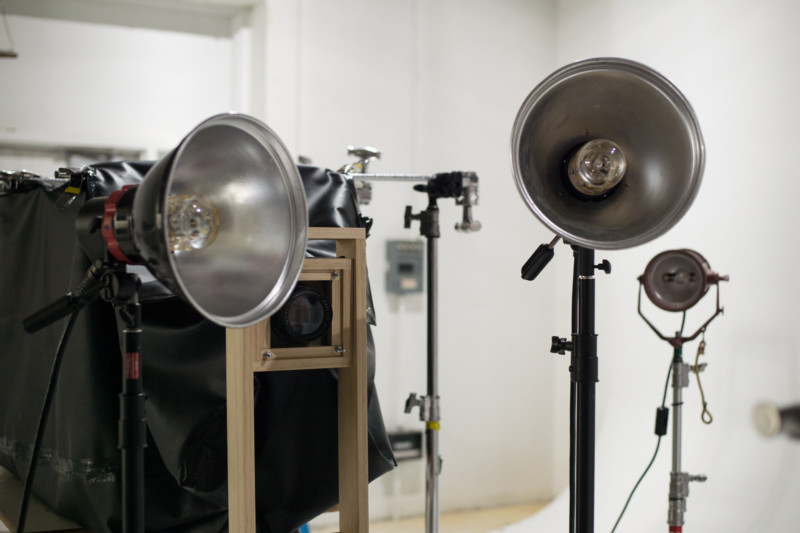
Shooting obviously was the next step, and it was pretty damn fun, mostly because I got to use more flash than ever before. The paper negatives I use effective speed is something less than ISO 3. My lens was wide open, and my bellows factor is monstrous. This meant I needed a ton of light. I used two strobe heads, with a combined 4800W/s. They were positioned less than a foot from my subjects. There was no diffusion, just 11” reflectors. Exposure ended up being f/32 at ISO 3. Huge shutters proved to be too expensive, so the exposure was made by removing the lens cap in a dark studio, firing the strobe, then replacing the lens cap and closing the dark slide.
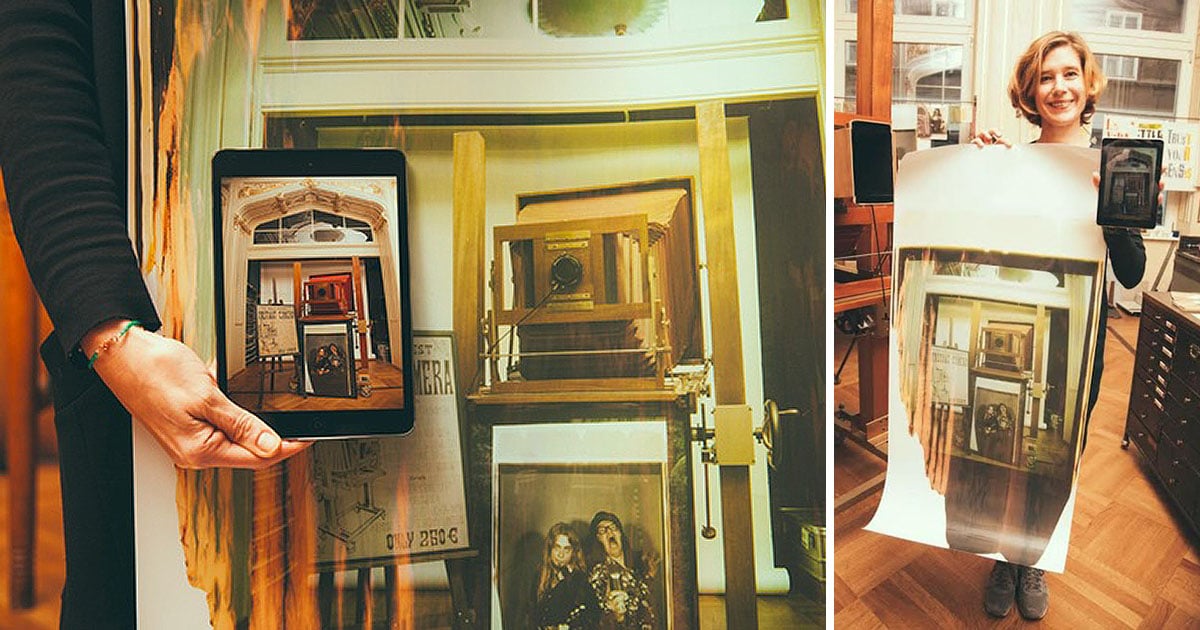
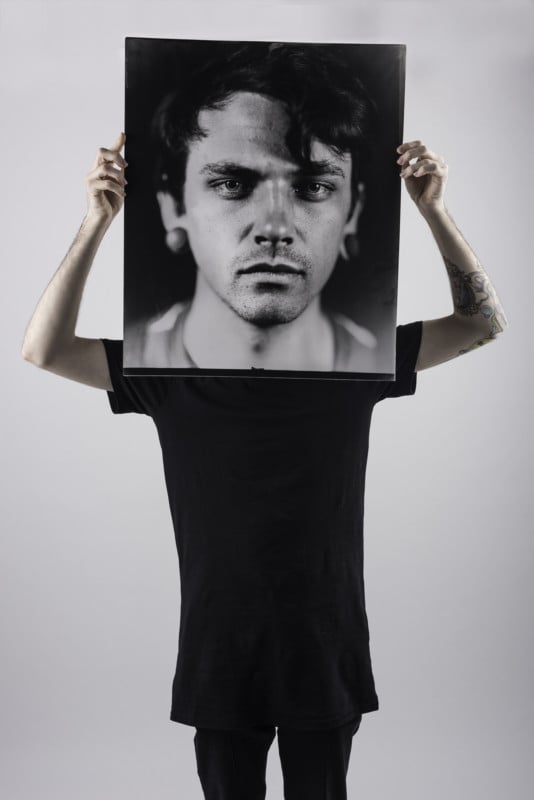
Since I was using paper negatives, I developed them like you would any darkroom print, then wet contact printed them to produce my positives.

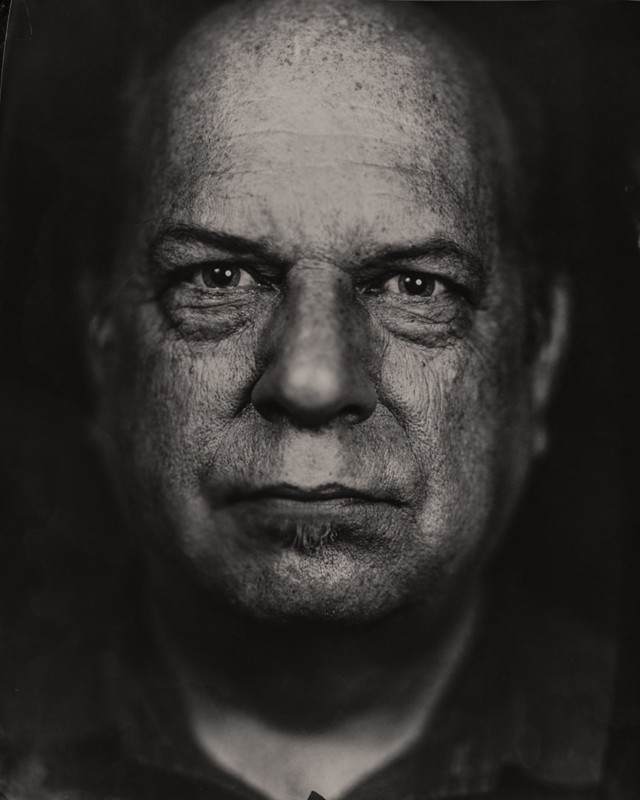
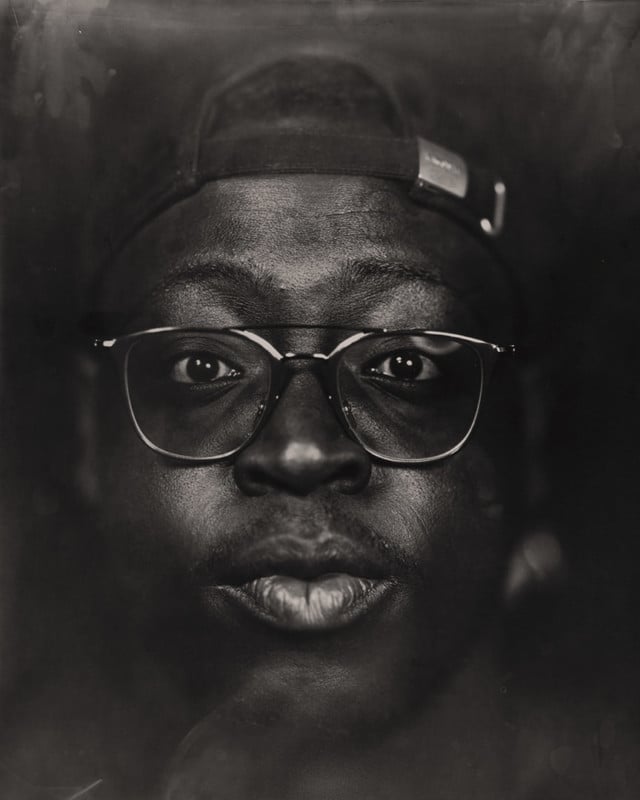
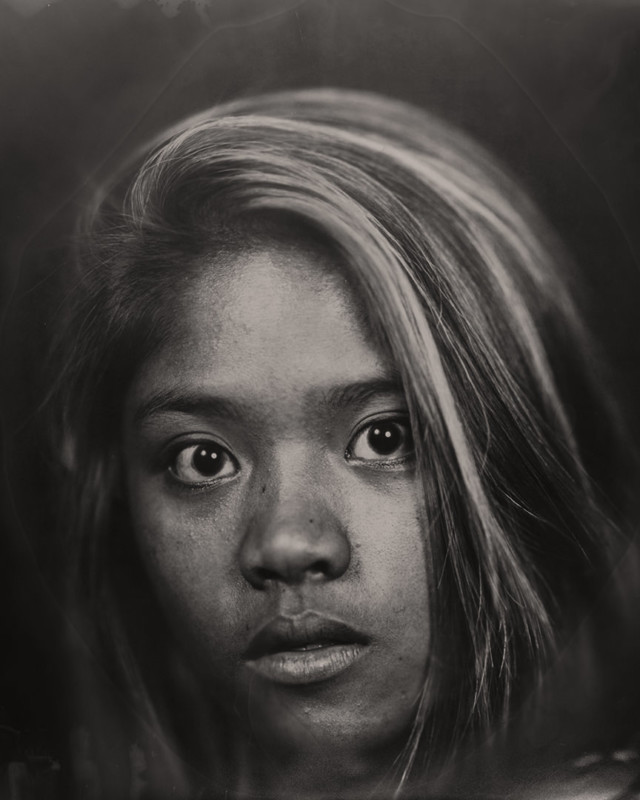
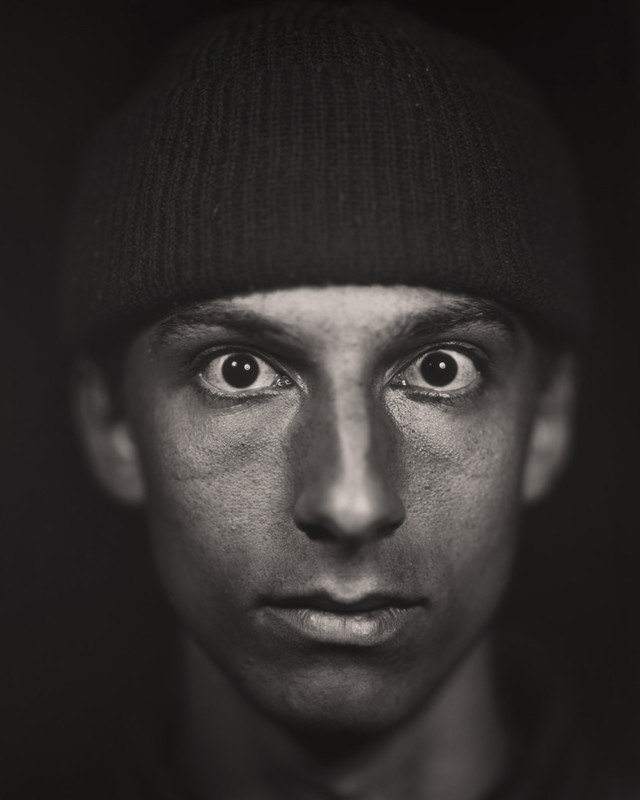
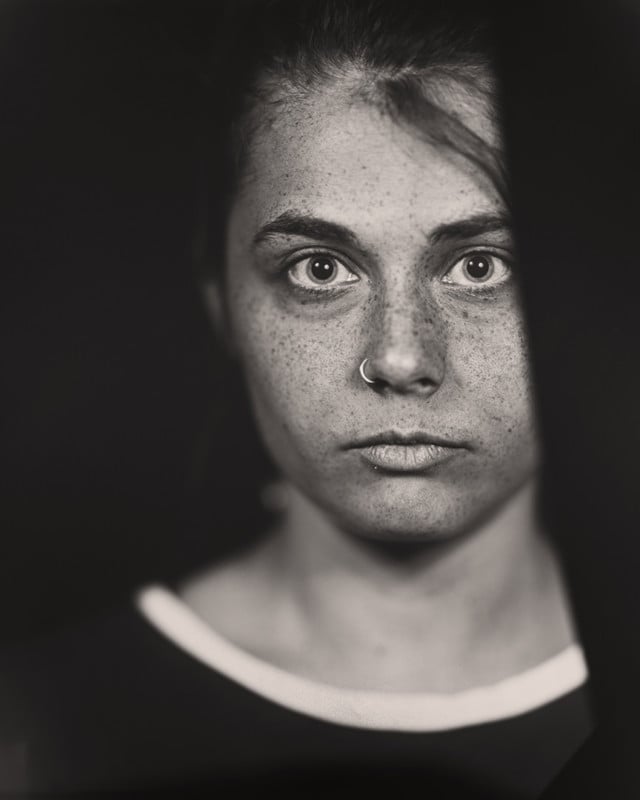
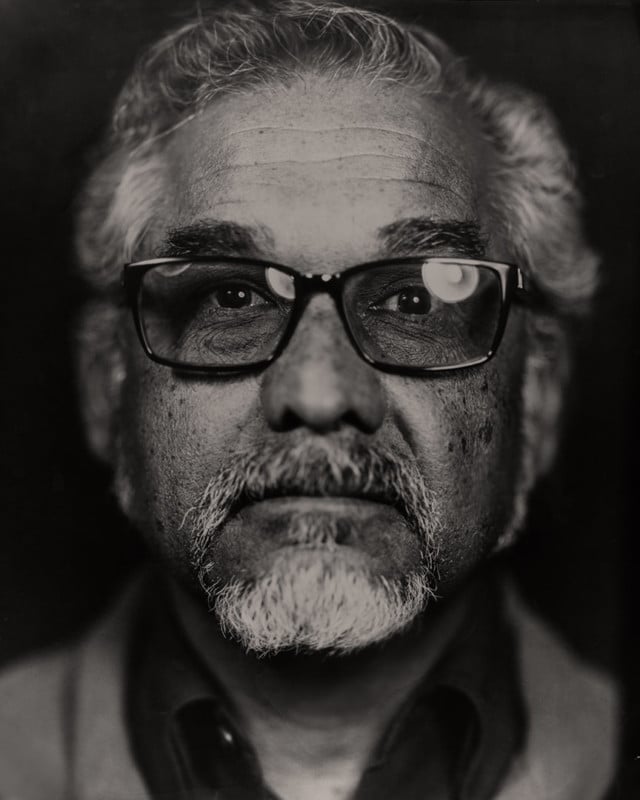
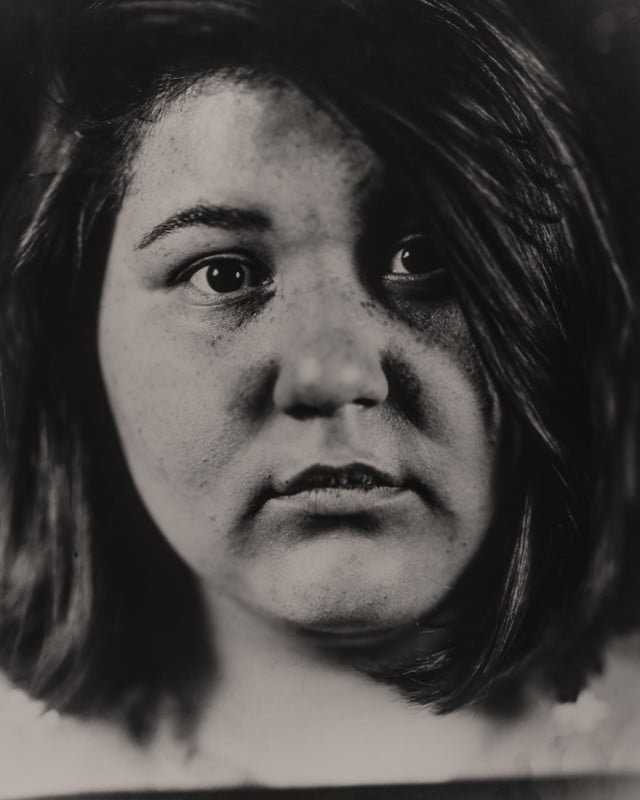
Here’s some of the results. The project is titled The Anti Selfie:

About the author: Erik Henderson is a photography student based in Detroit, Michigan. Prior to his injury, he focused on shooting lifestyle and street photos. You can find more of his work on his website and Instagram.