Is This Editing Technique Better Than the DeHaze Slider?
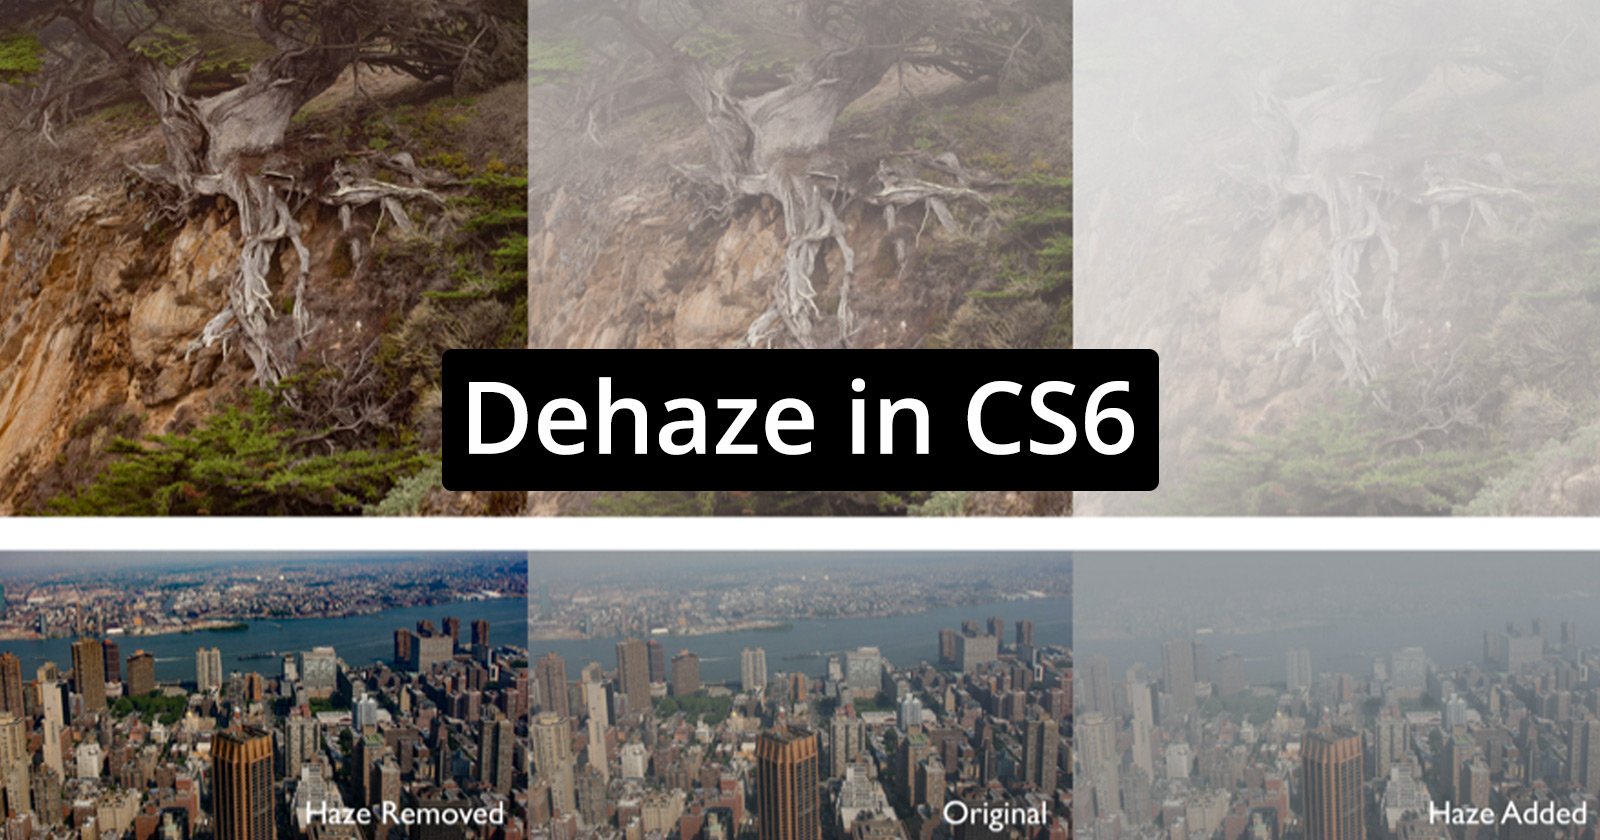
If you’ve ever dealt with atmospheric haze in your images, you know that it can ruin an otherwise great image. Years ago, Adobe developed the Dehaze slider to deal with it, but photographer Andrea Livieri argues it’s not the best solution in this 11-minute video.
Livieri says that the atmospheric haze he plans to address can be broken into two types: fog, and mist. It’s especially visible when you look at an image’s histogram.
“Haze removes most of the contrast from your photo, and that’s what gives it the flat, washed-out look,” he says. “There are different approaches to tackle de-hazing, but contrast is for sure one that will make the biggest difference in your shots. The phenomenon of haze is pronounced when you use a telephoto lens, and chances are it’s totally washed out and lacking any punch at all.”
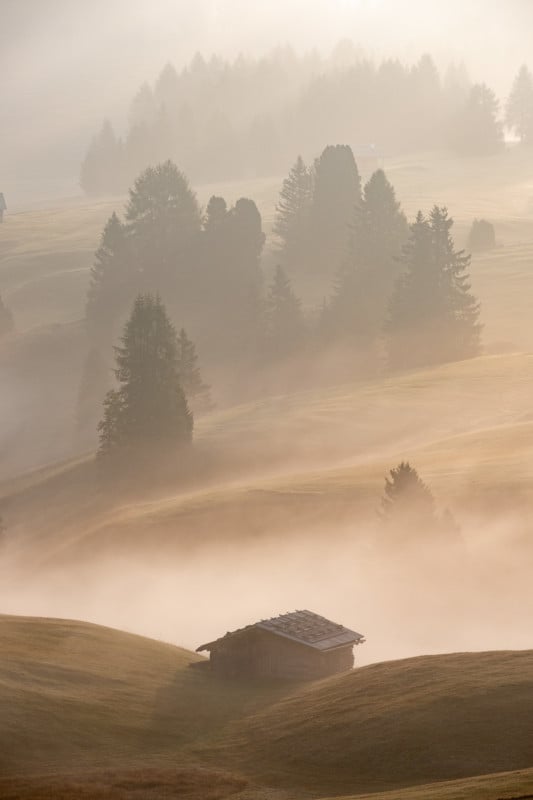
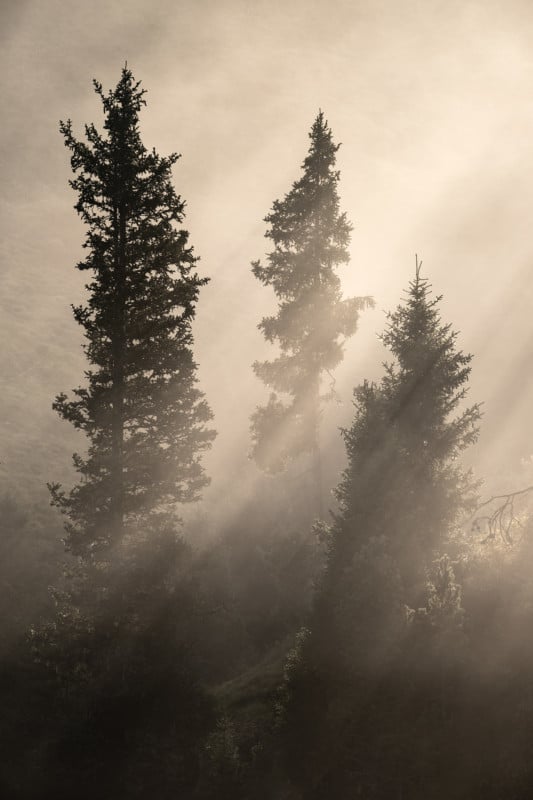
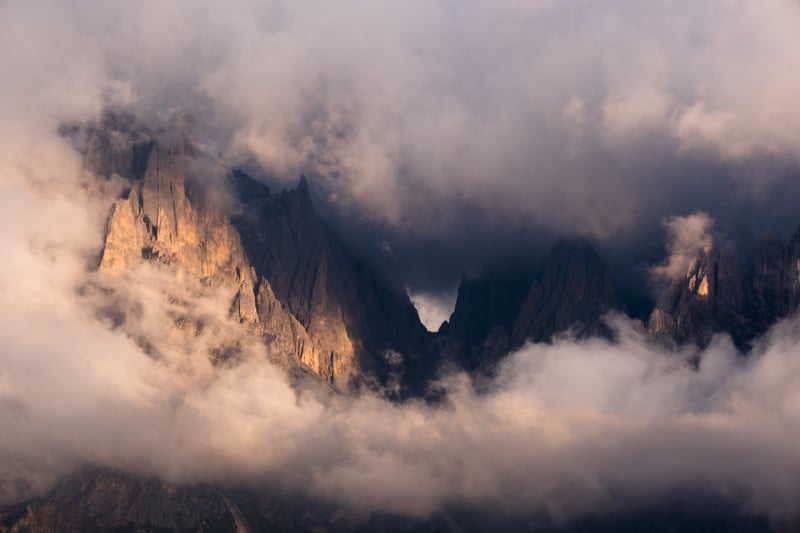
Below is a reference image that Livieri uses to show how different methods affect the image:
Livieri’s method, which he calls the Luminance Range Mask method, involves creating three gradient filters for the shadows, midtones, and highlights and then setting a Luminance Range Mask to limit the range of each adjustment. The goal is to adjust shadows, midtones, and highlights individually without each affecting one another.
While he uses the Dehaze slider a bit in some of the range adjustments, the changes he makes to the image using that slider are done with a much lighter hand thanks to the limits he sets with the Range Mask. Most of the adjustments are done using the Exposure, Highlights, Shadows, and Contrast, sliders. You can see exactly how he adjusts each of the masks in the video above.
Livieri says it’s important to periodically zoom in to 100% to make sure that the adjustments you are making do not cause unwanted artifacts.
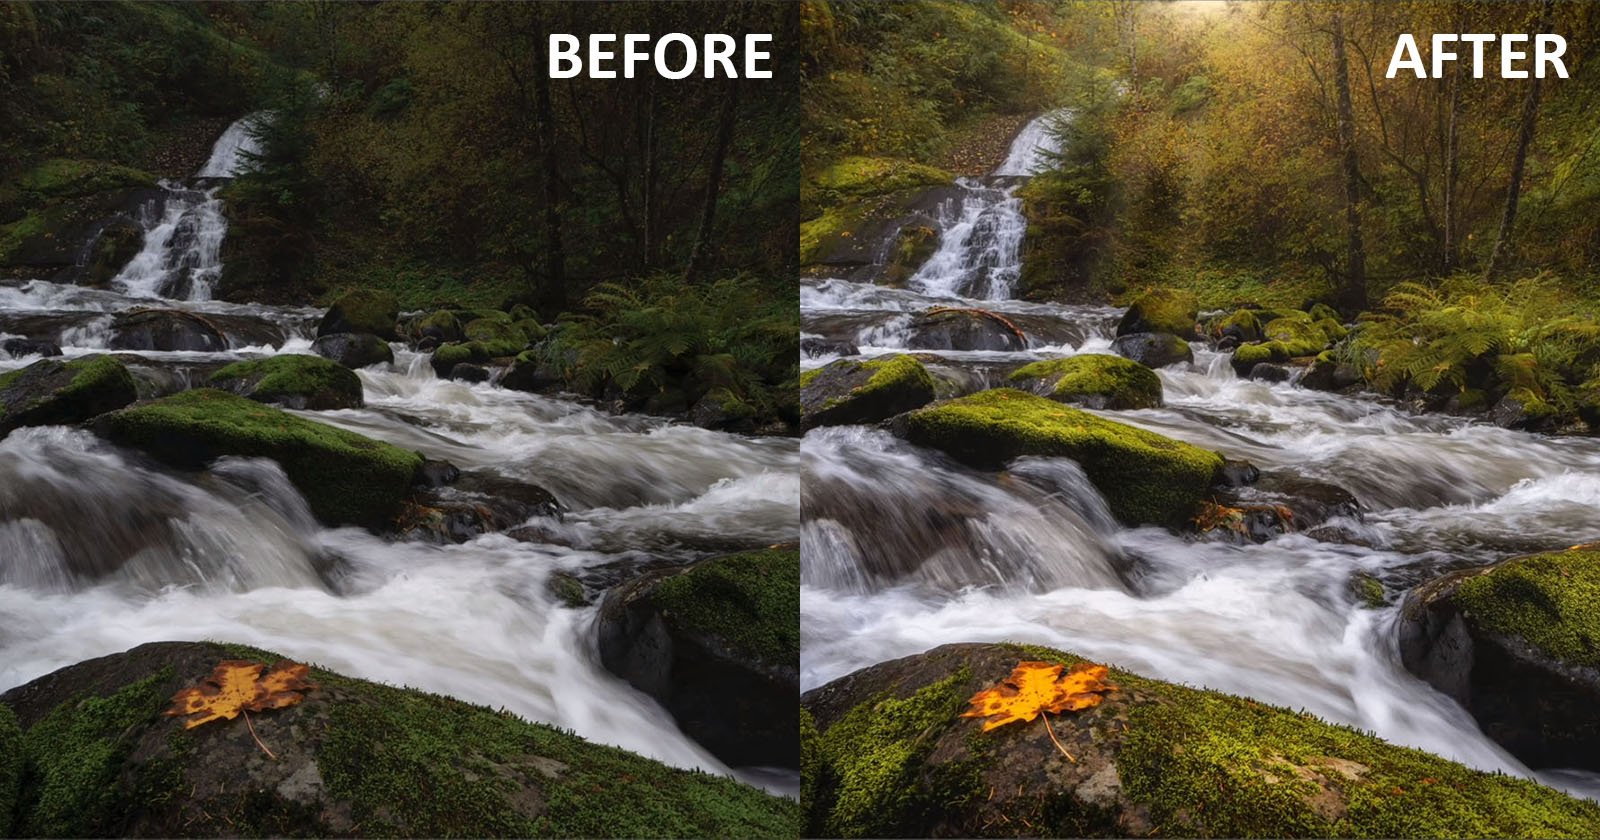
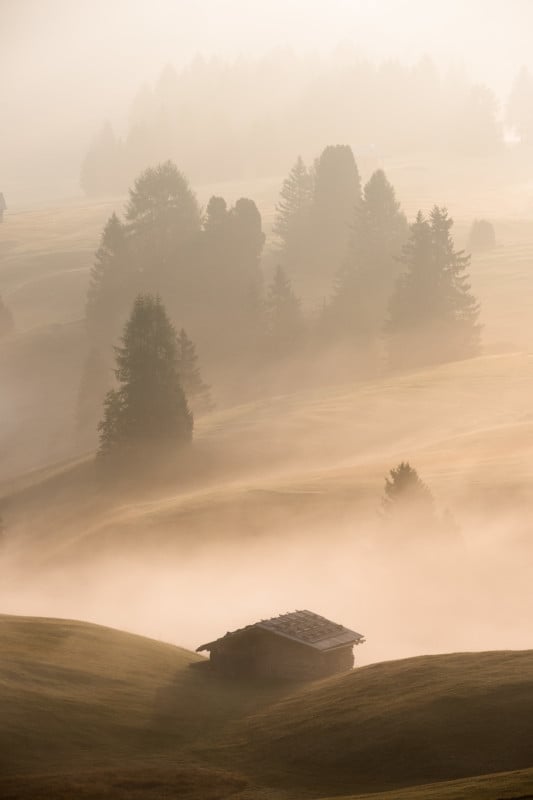
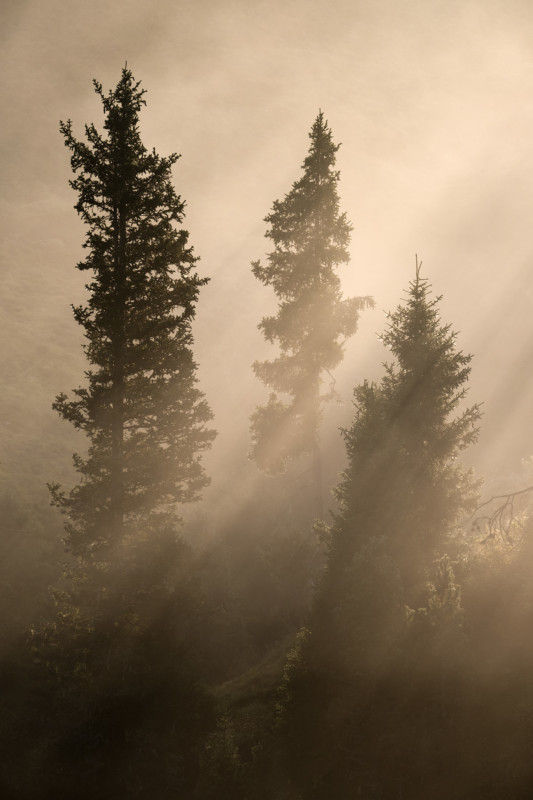
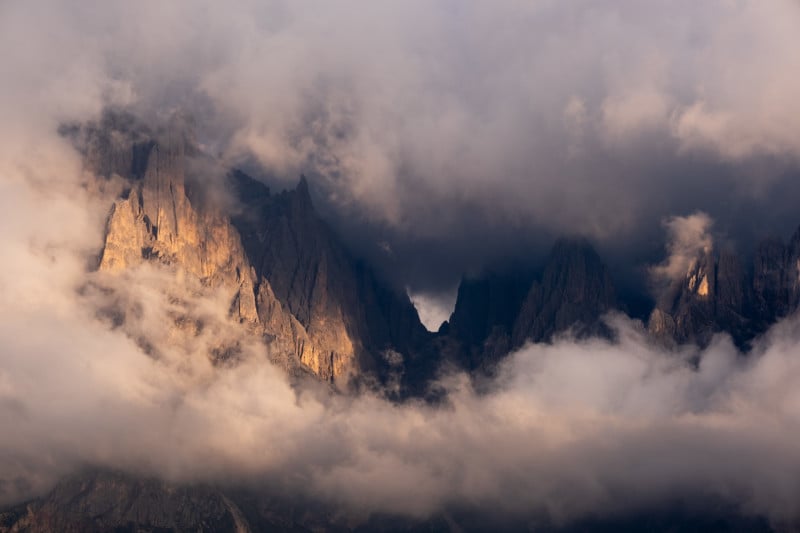
“The result is an image where the atmosphere is clearer, more balanced, vivid, and quite punchy,” he says.
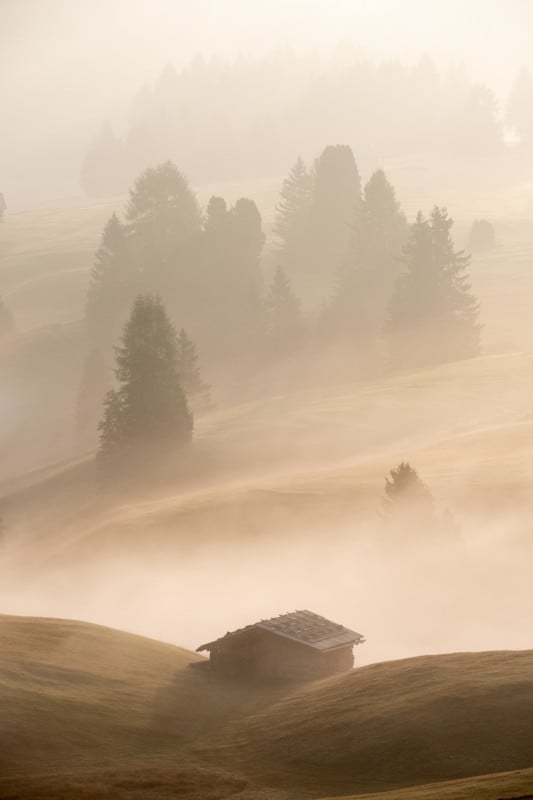
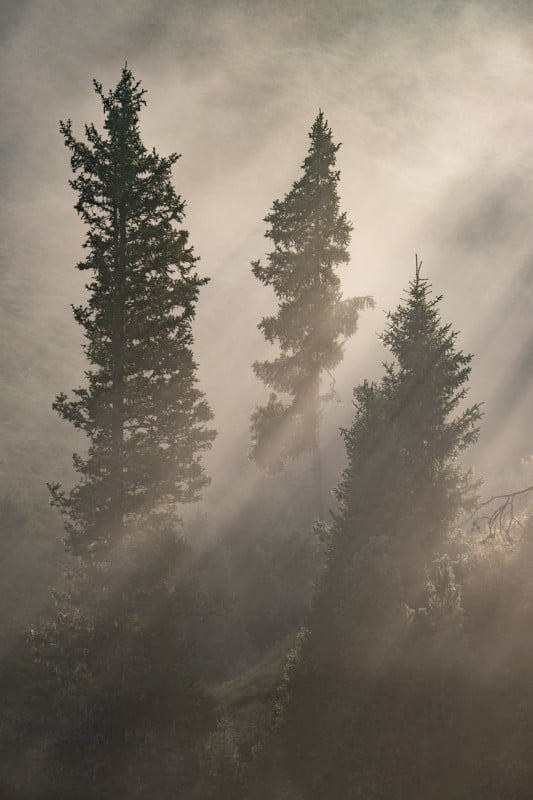
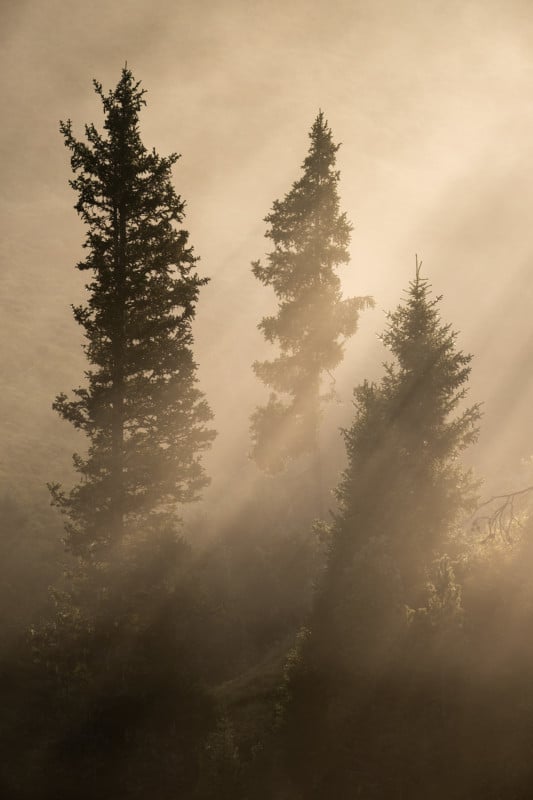
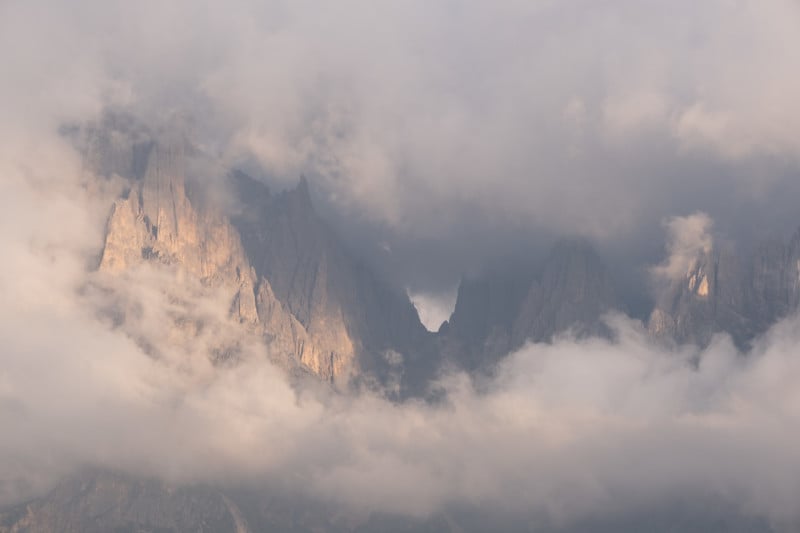
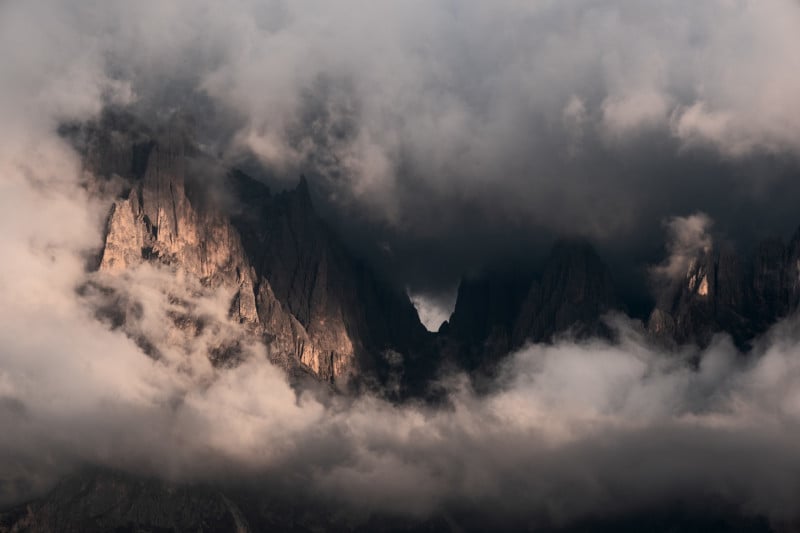
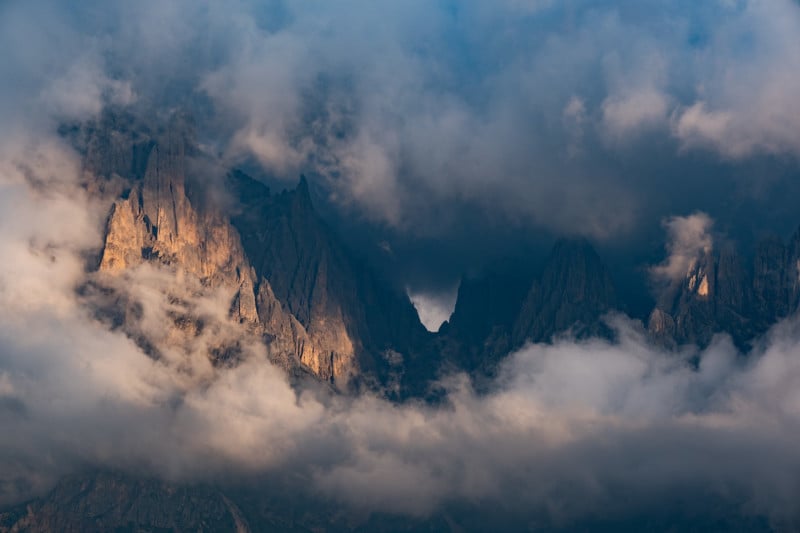
Livieri shows how the original image compares to using a Dehaze global adjustment, blacks/whites/exposure changes, and tone curves when compared to his Luminance Range Mask technique:
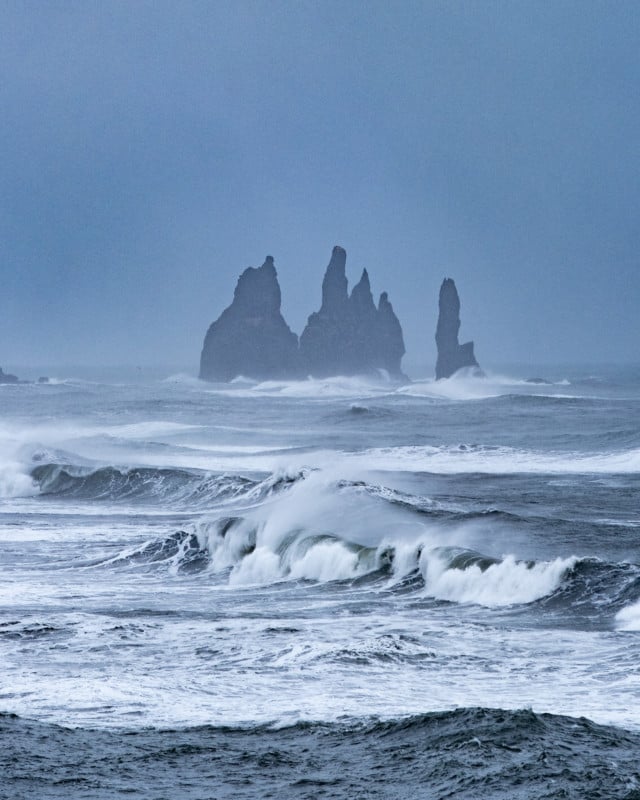

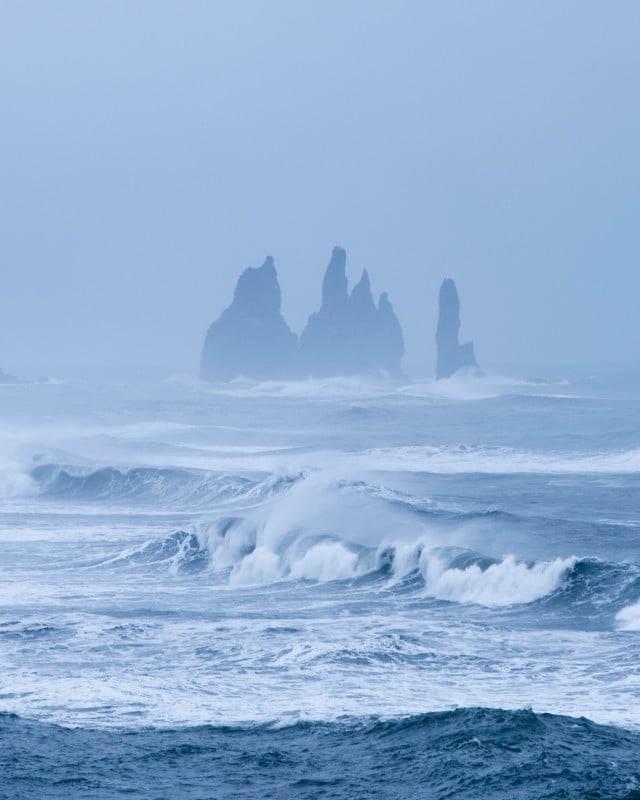
Livieri says that the Dehaze slider alone, as illustrated above, can cause counterproductive effects, while the blacks/whites/exposure adjustments and the Tone Curves methods both caus strong color shifting.
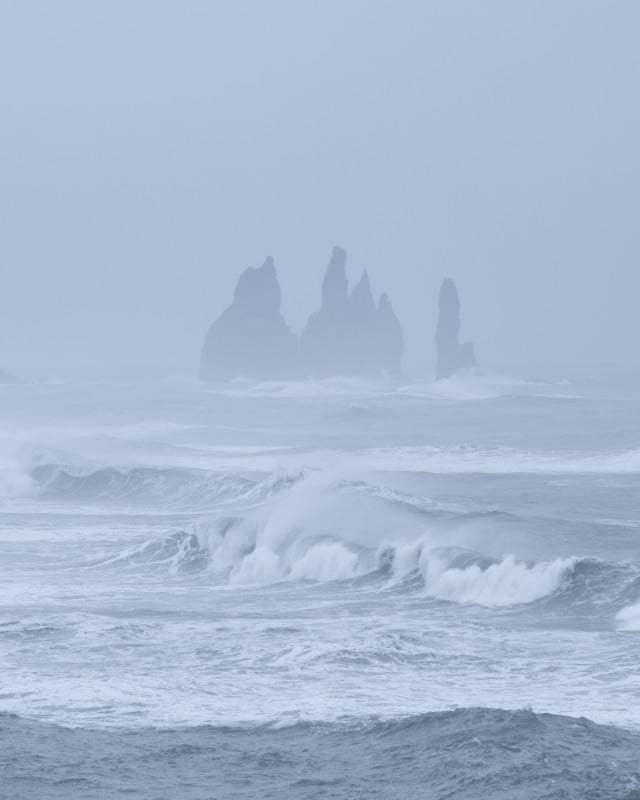
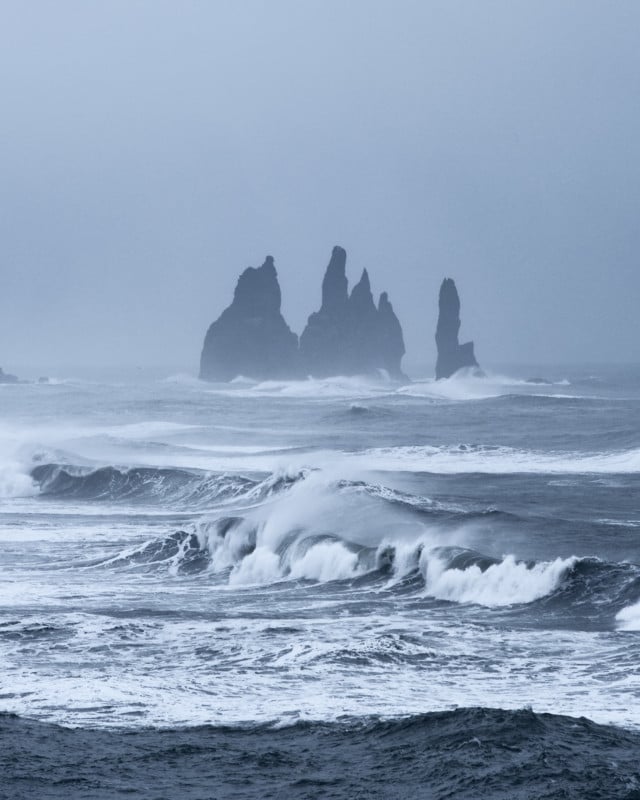
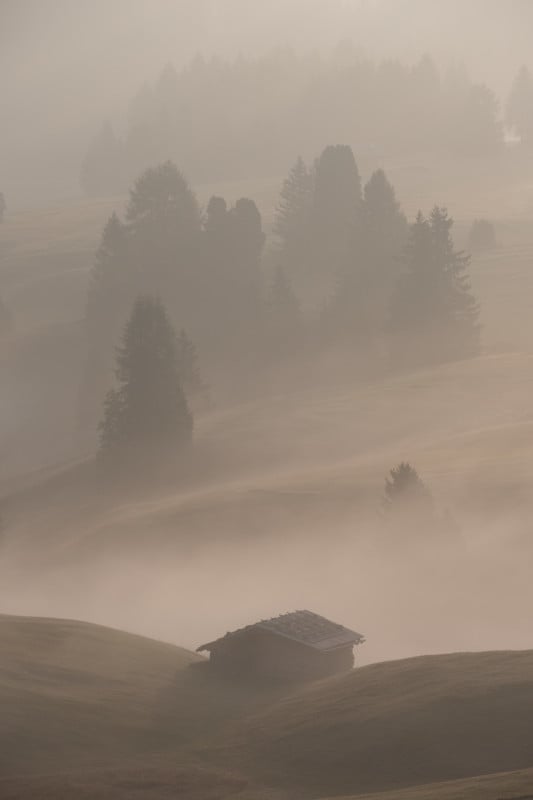
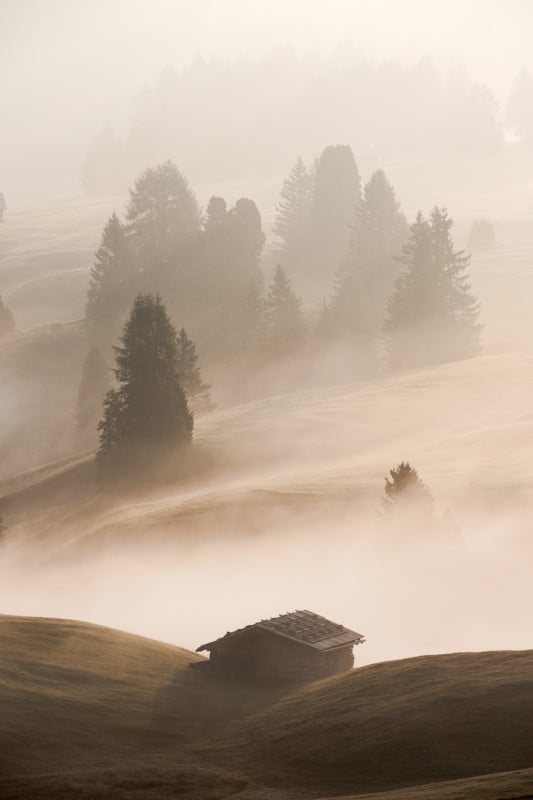
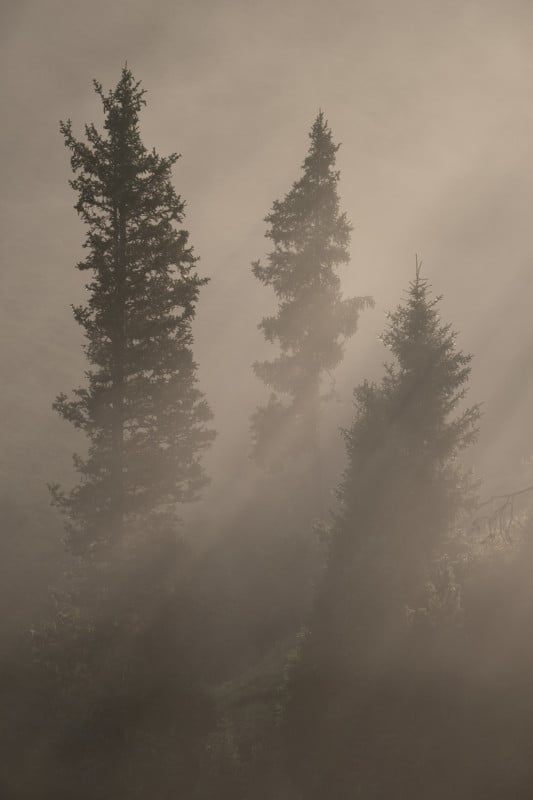
Below are a few more examples of different scenes edited using the varying techniques.
Second Example:
Third Example:
Fourth Example:
What do you think of Livieri’s techniques? Let us know in the comments. For more from Andrea Livieri, subscribe to his YouTube Channel or follow him on Instagram.
Image credits: Photos by Andrea Livieri and used with permission.