Dina Belenko is a creative still-life photographer from Russia. Her striking images capture magical stories behind everyday inanimate objects. Read on, and do try this levitation tutorial at home!
Motion in still life images is a nice way to make a viewer to look at your picture a bit longer. Rising steam, falling sprinkles, or spilled coffee can hint at the human presence and make the picture look more alive. Levitation (a big trend in food photography nowadays) also counts. Usually, you have to hold and photograph every levitating object individually and combine them together later in post. It’s pretty convenient, but you have to draw all the shadows and reflexes by yourself, and if you’re anything like me (not able to draw a straight line to safe your life, that is), that may be rather tricky.

So, let’s try it another way and combine levitation with a movement of many tiny objects like drops, flour particles, spices, herbs or even flower petals. All these objects would overlap with each other, casting real shadows and make the image look natural and believable.
1. Gear and props
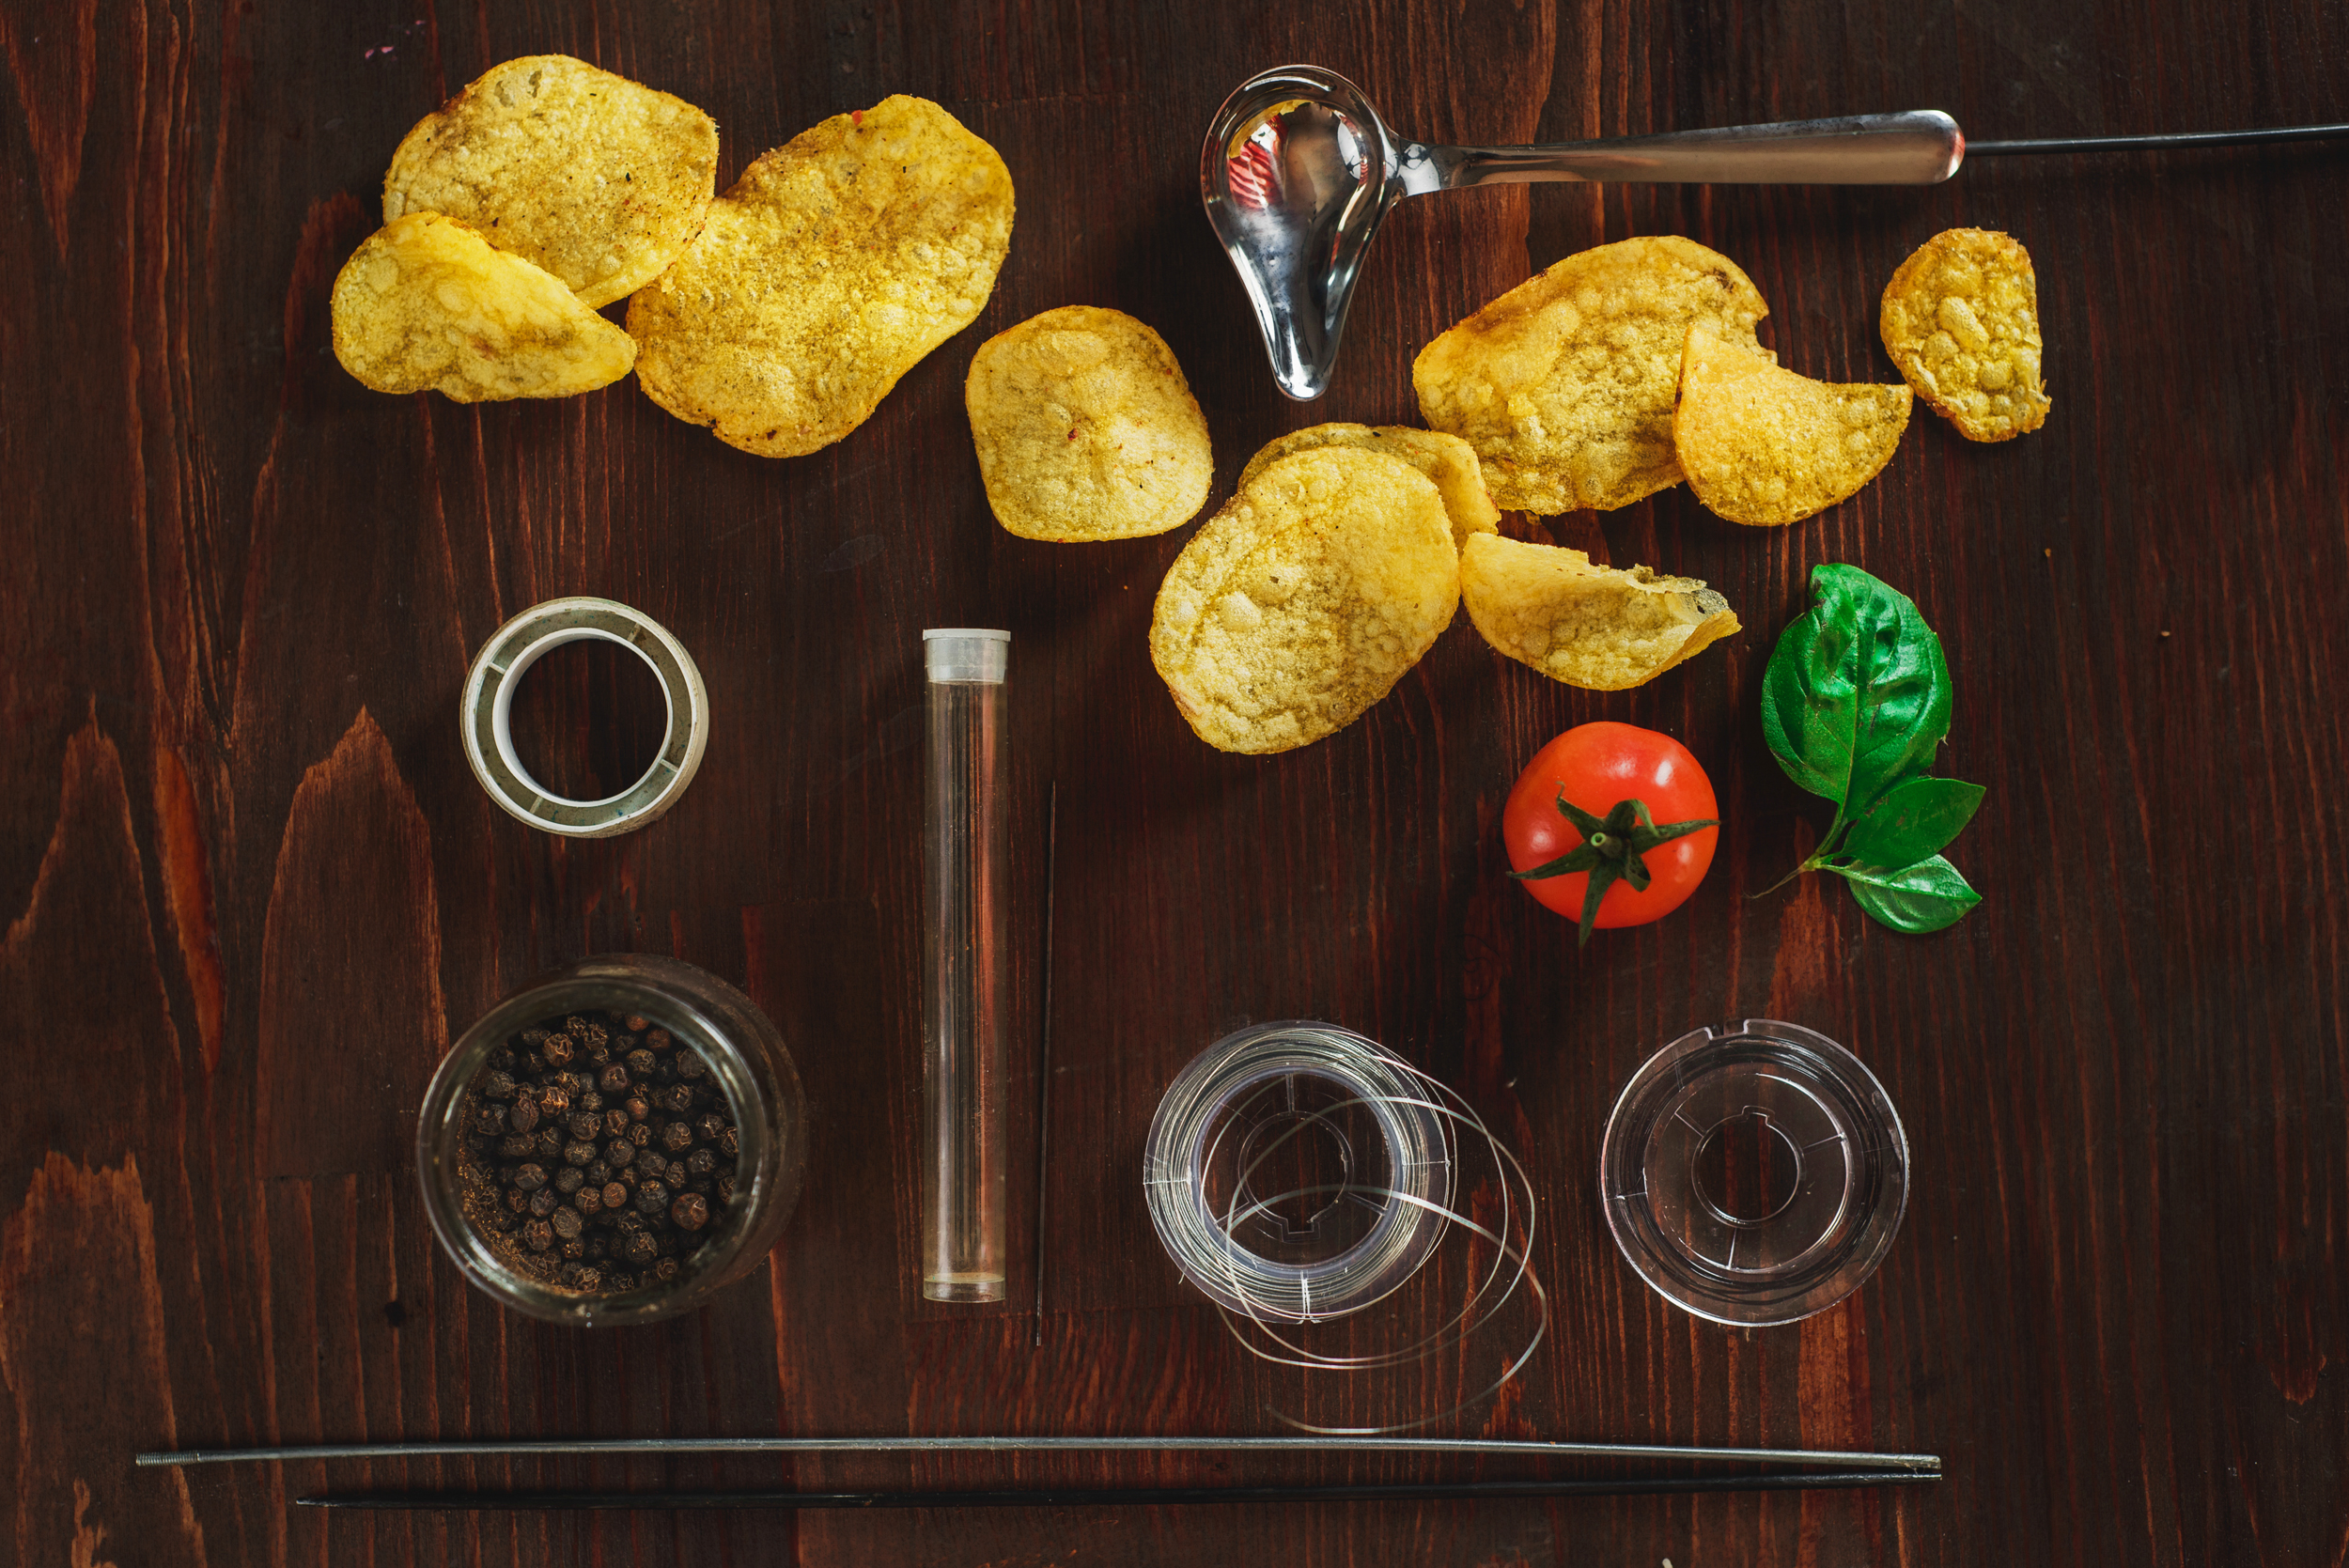
You will need:
A camera and a tripod
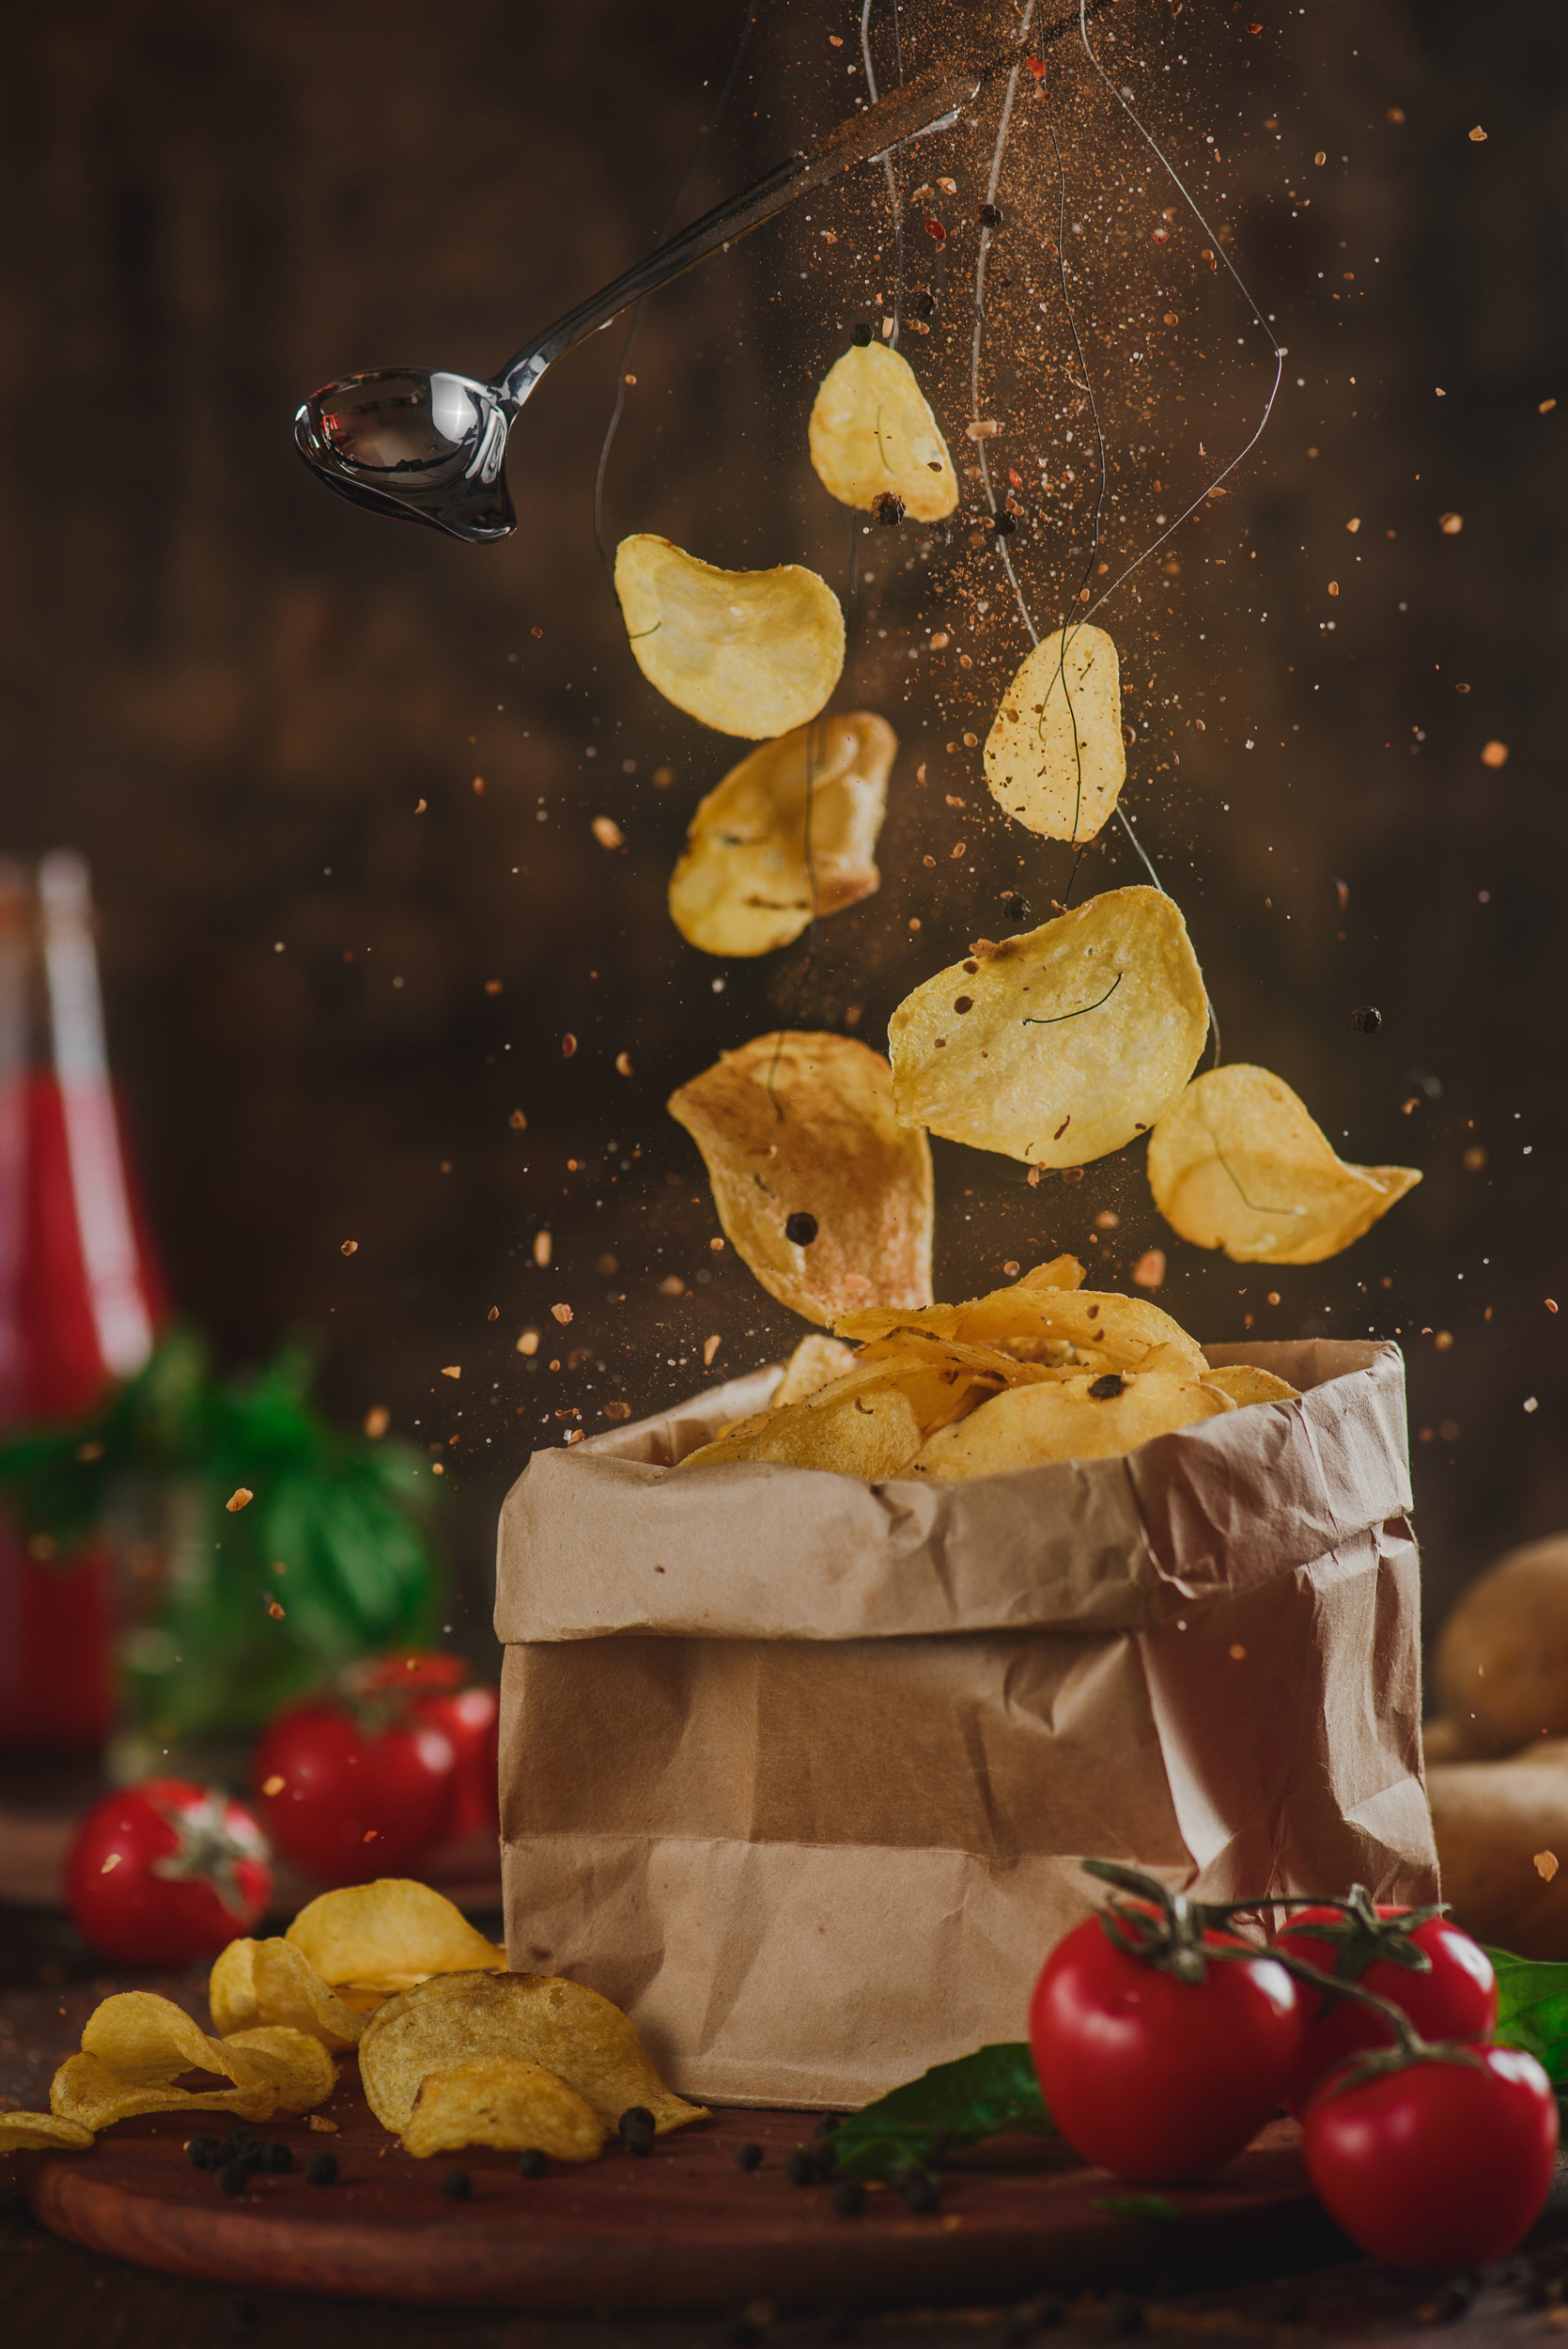
Your still life subject. In this case some potato chips, basil leaves, pepper, and tomato sauce.
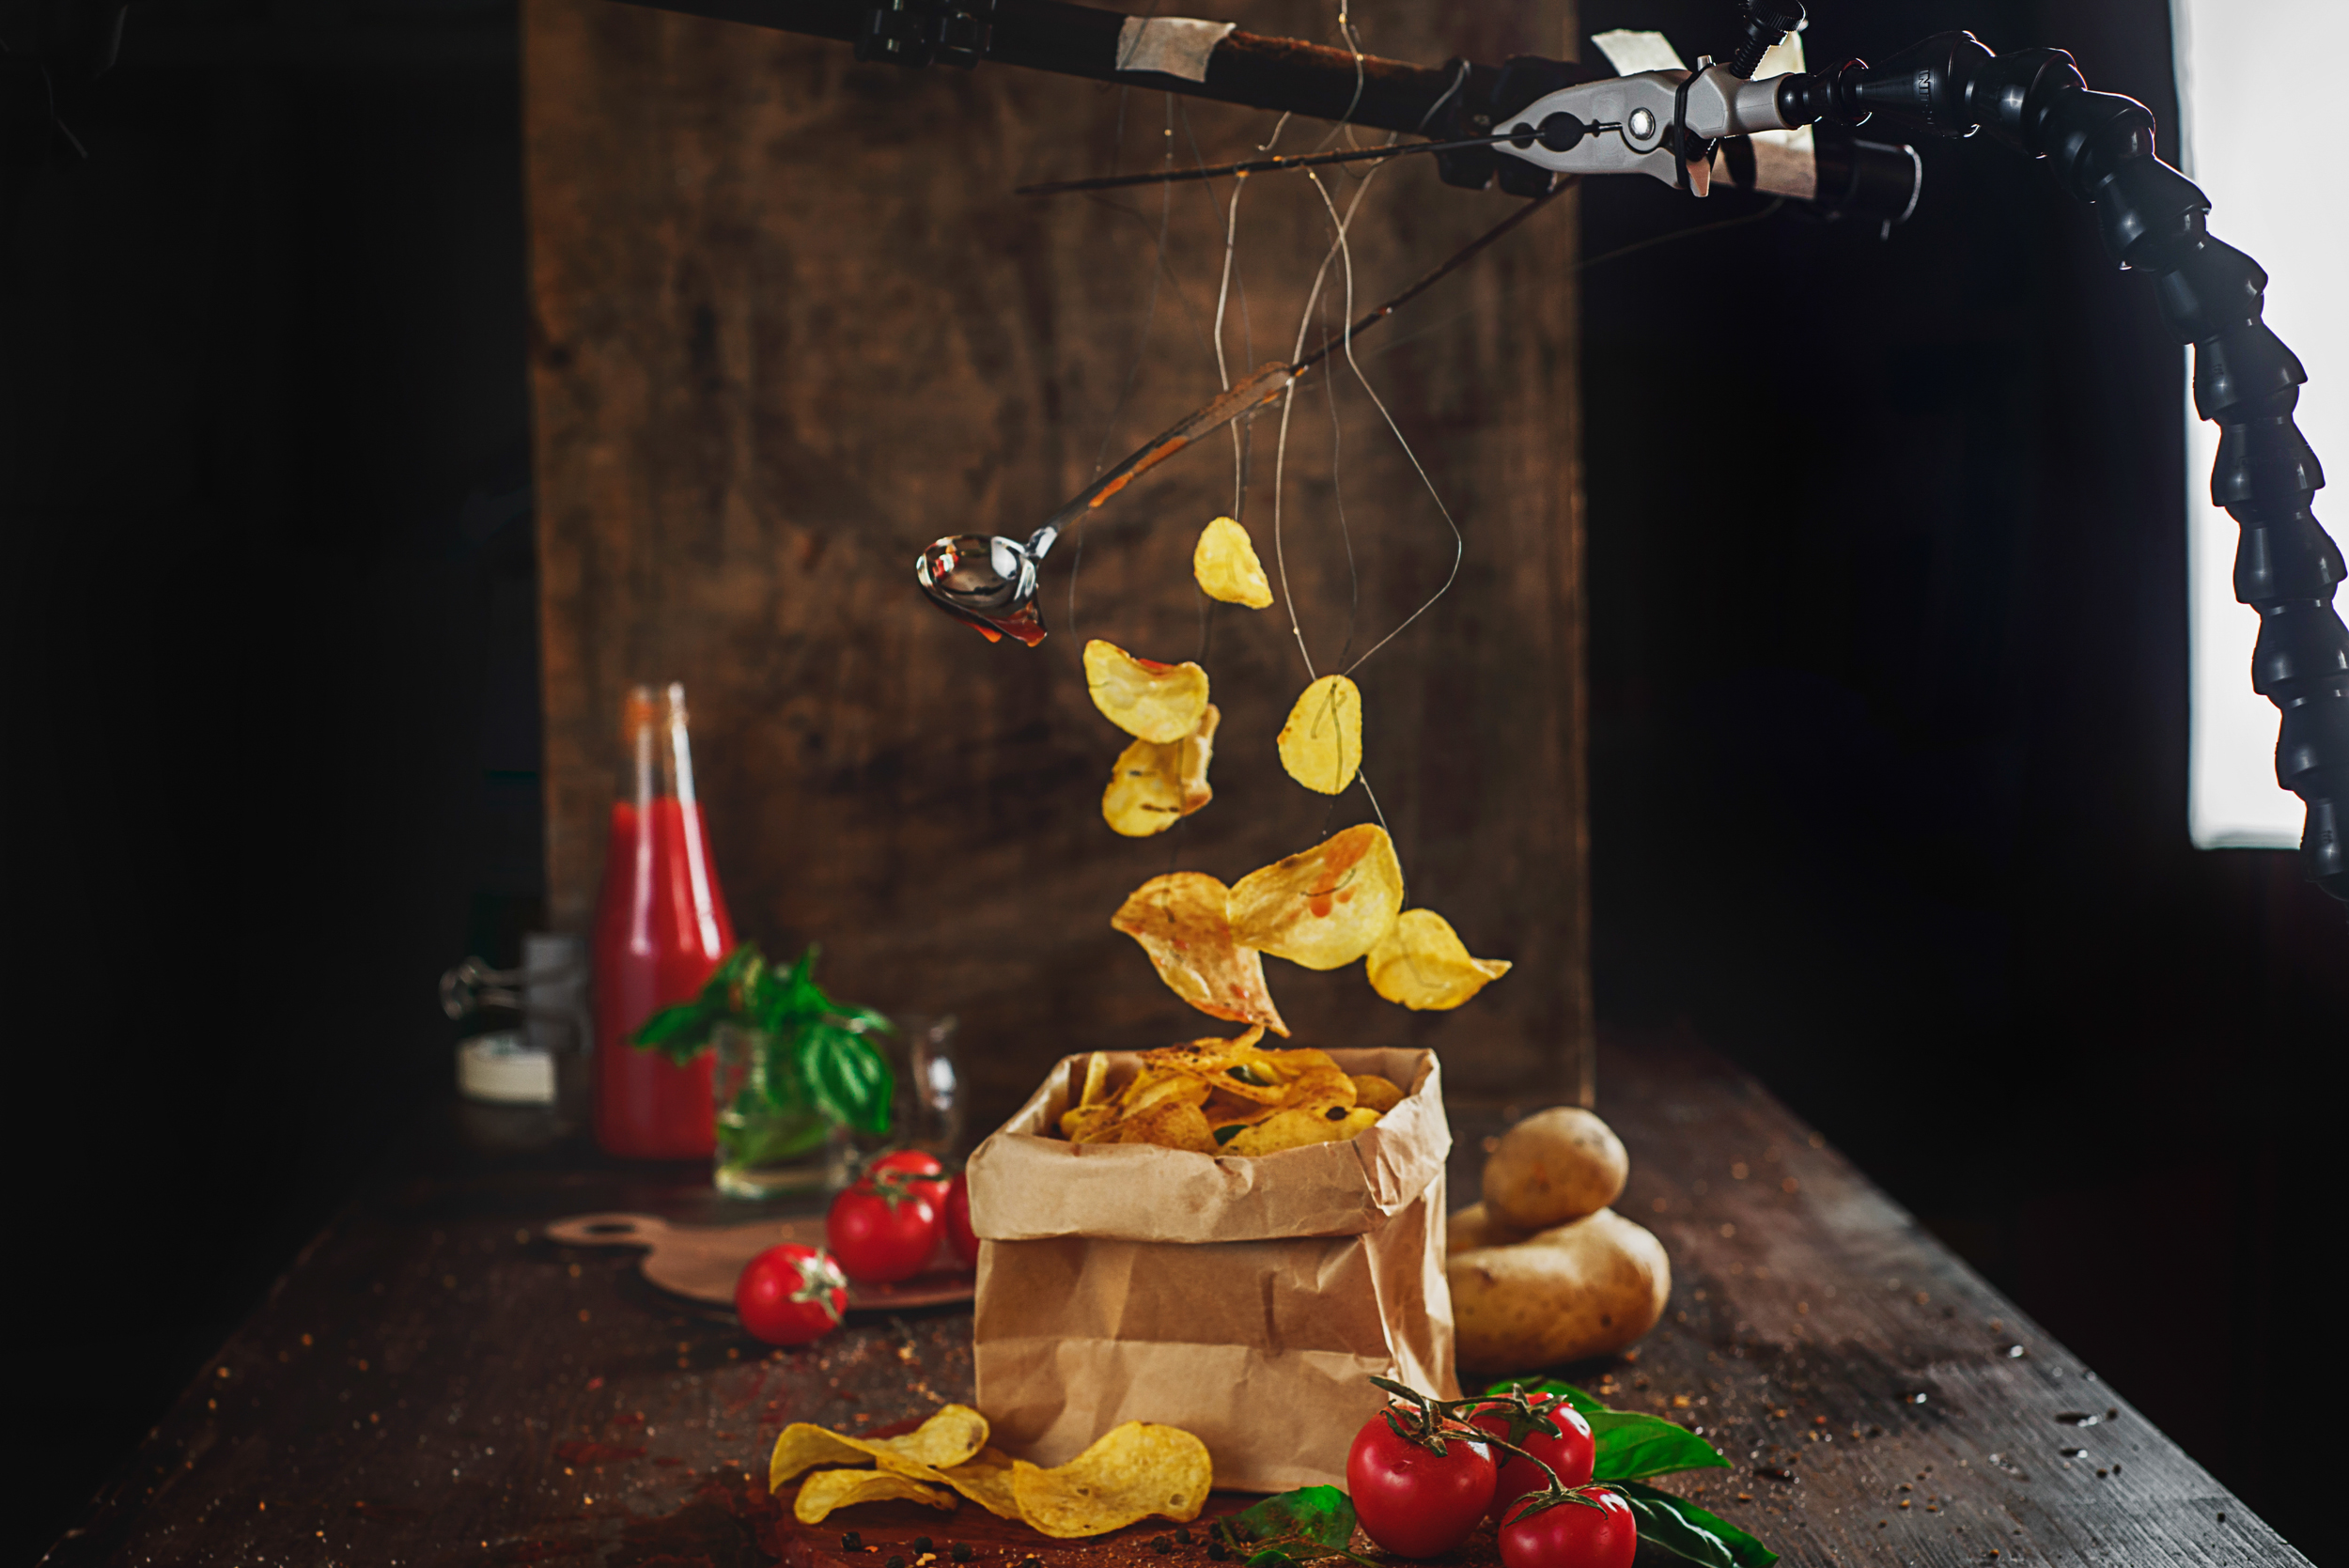
A way to fix objects in the air. (For example, wire for light objects, like chips. And metal skewers for heavy ones like spoons),
ó any light source suitable for freezing the motion (two speedlights in my case)
2. Preparation

Choose the most beautiful chips and made a couple of holes in each one with a needles so you can thread a piece of wire through them (two holes make for more stable fixation than just one).
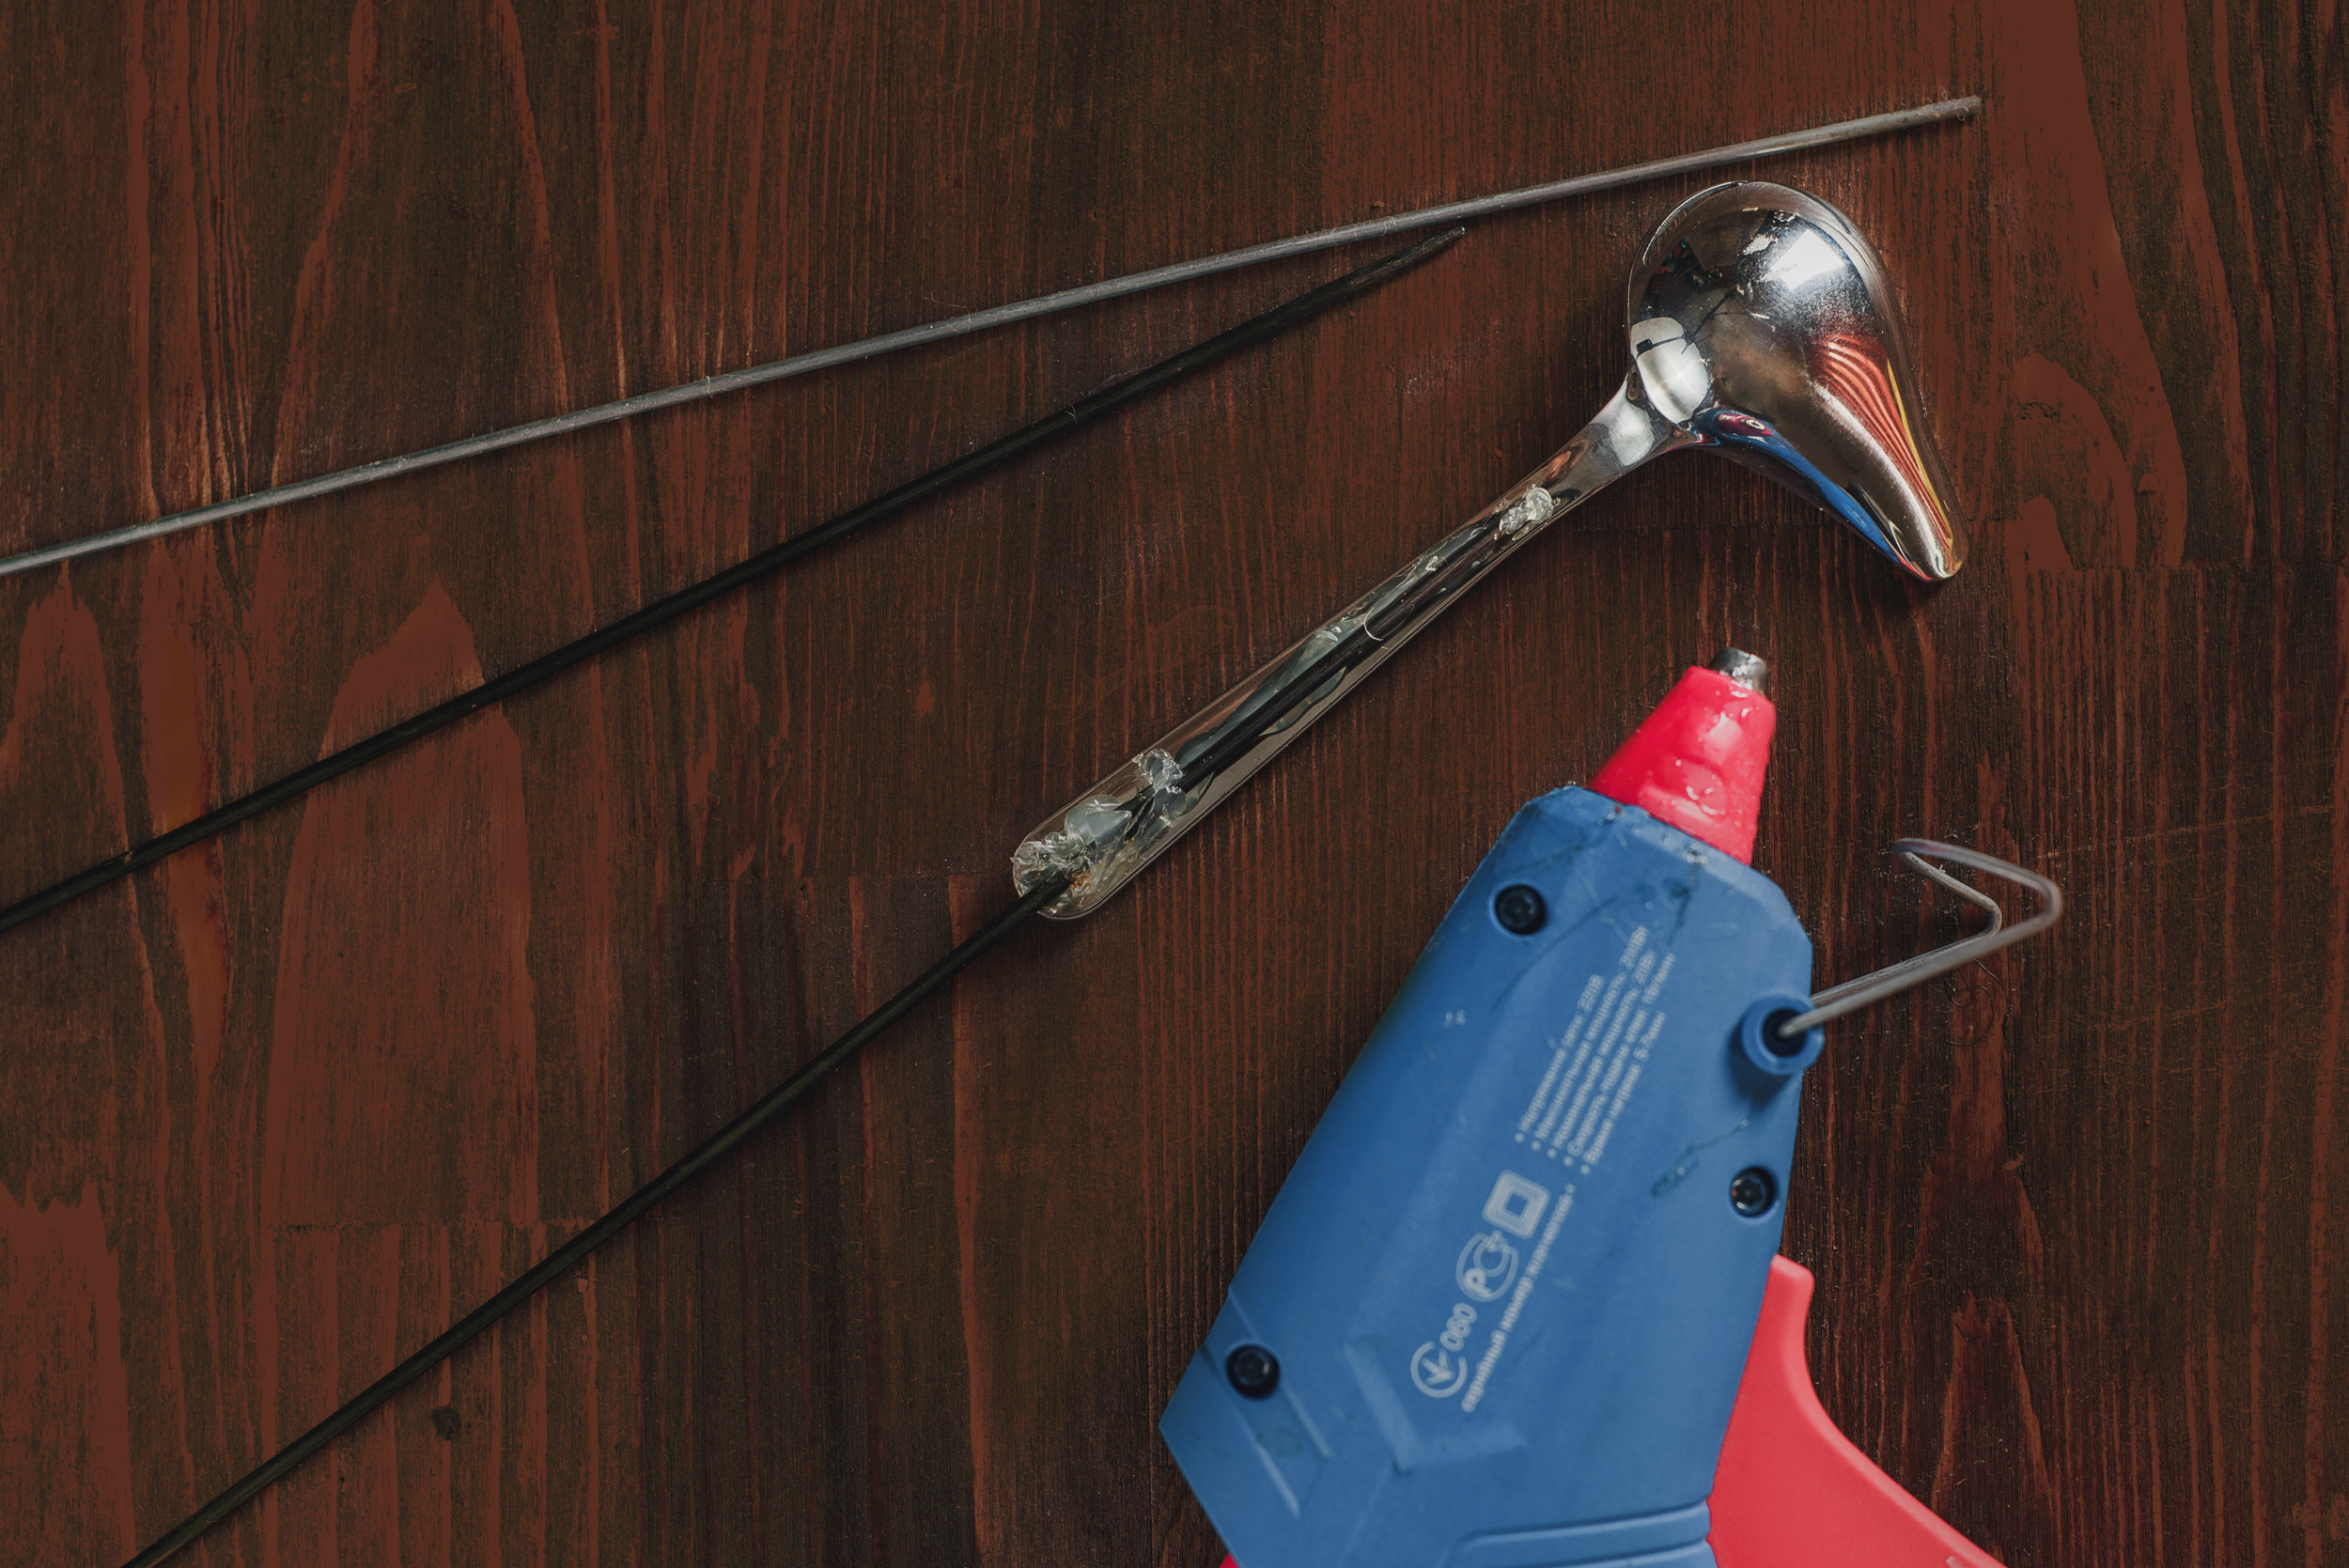
You can use fishing line instead of the wire, but it seems to me that wire allows you to adjust the position of chips more conveniently. Use metal skewers and a glue gun to fix heavier objects in place.
3. Composition
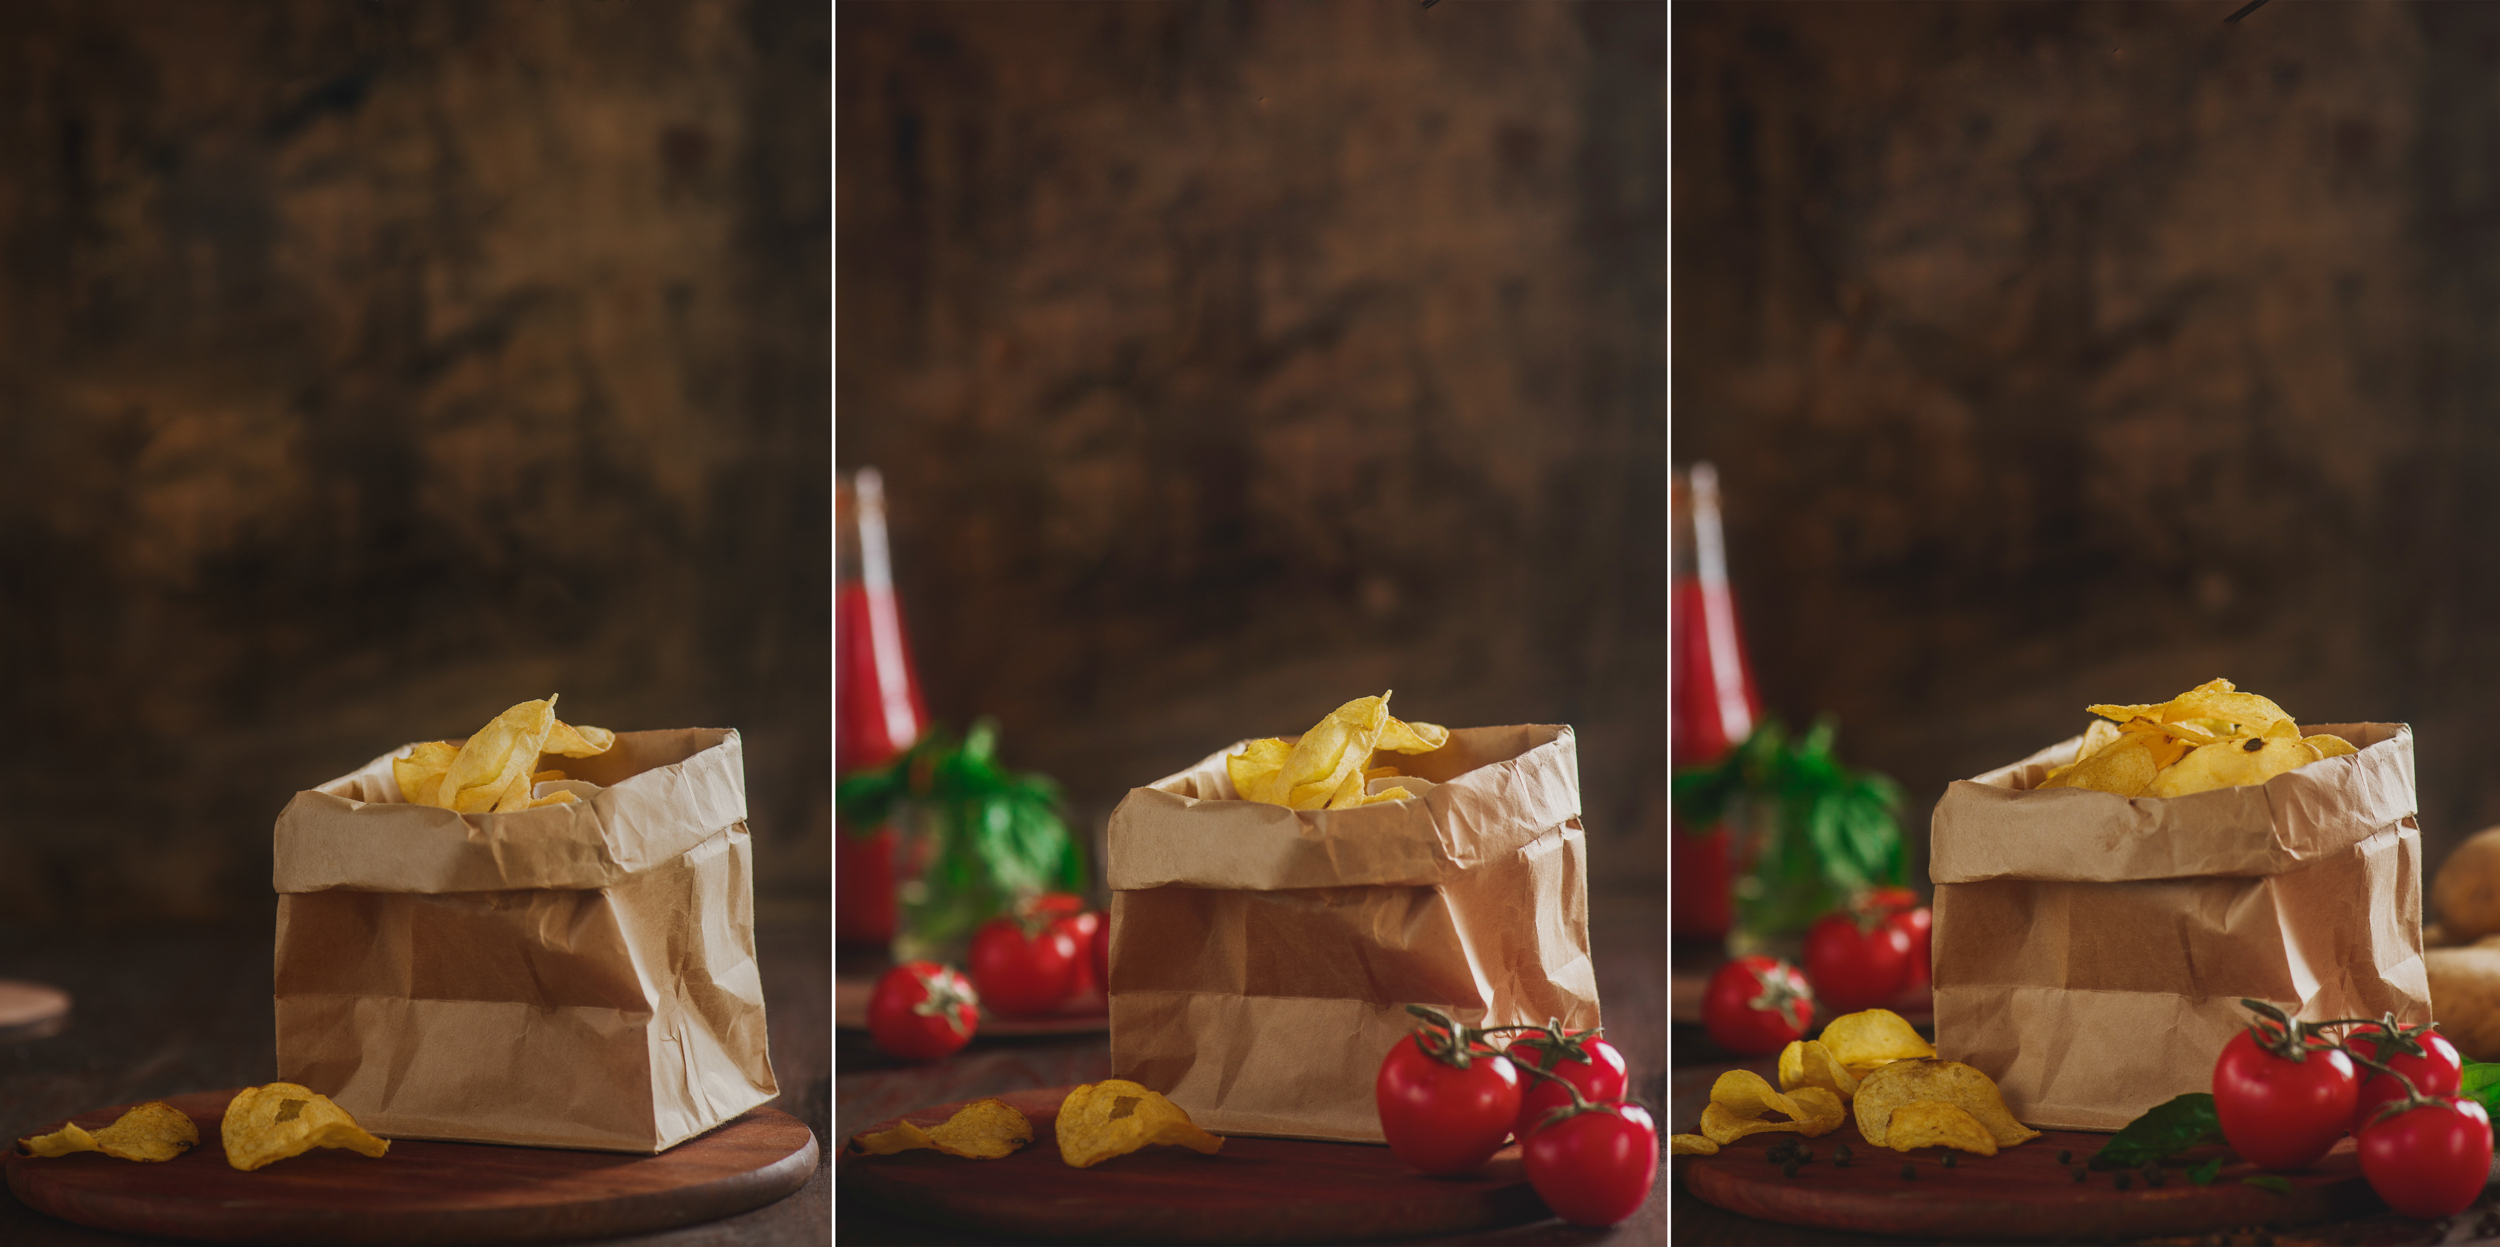
Arrange your composition, leaving some space for flying spices and making chips overlap slightly. Keep in mind that chips could move a bit during shooting of action part, so regard this a space for chaos.
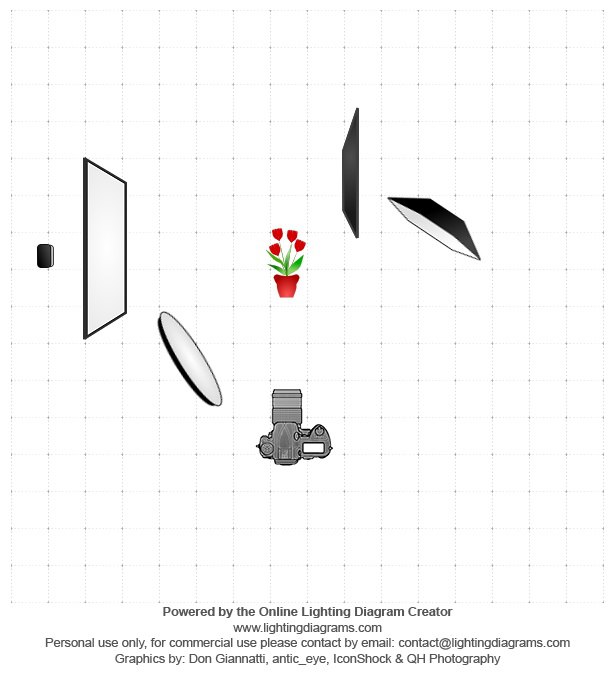
4. Lighting
In my case the scene is light with two speedlights.
One in a strip softbox on the right side and slightly behind the scene (key light). Another behind a large diffuser on the left side (fill light). Both speedlights are set on the low power (from 1/16 up to 1/128 power provides a very short pulse that will freeze the motion of liquid).
Set your shutter speed to the flash sync speed ñ usually between 1/160 sec and 1/250 sec. From there, take a test shot to establish what maximum aperture you can get without underexposing an image. Set your camera in a burst mode (continuous high) to take a few shots in a row. That’s all, you’re ready to shoot!
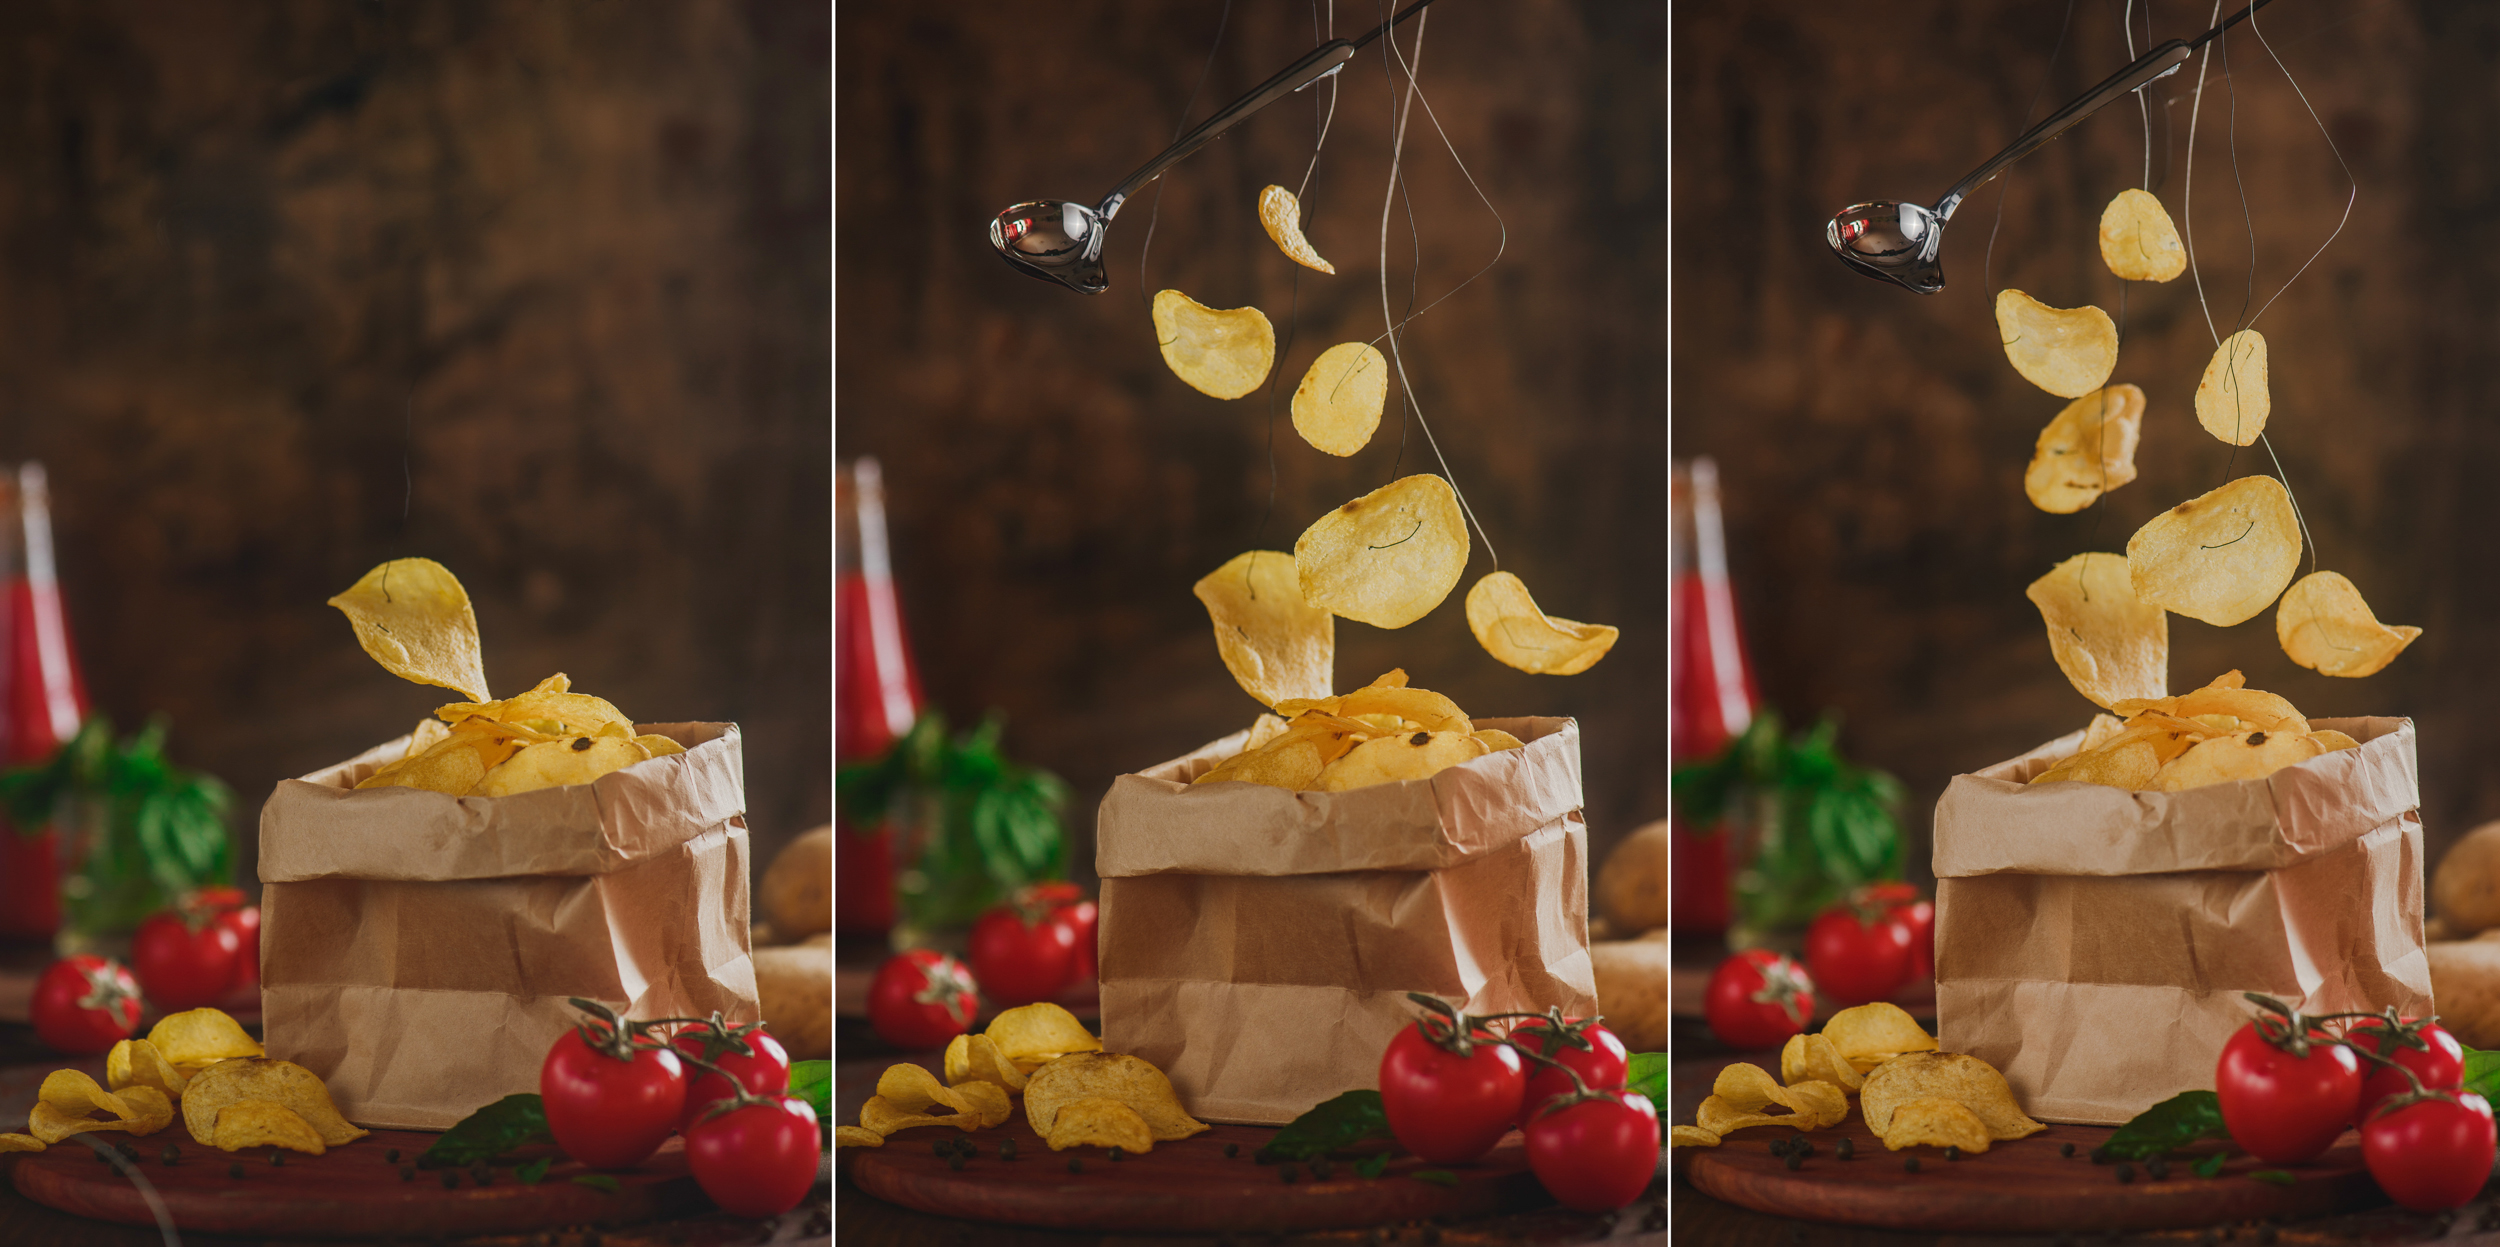
5. Shooting
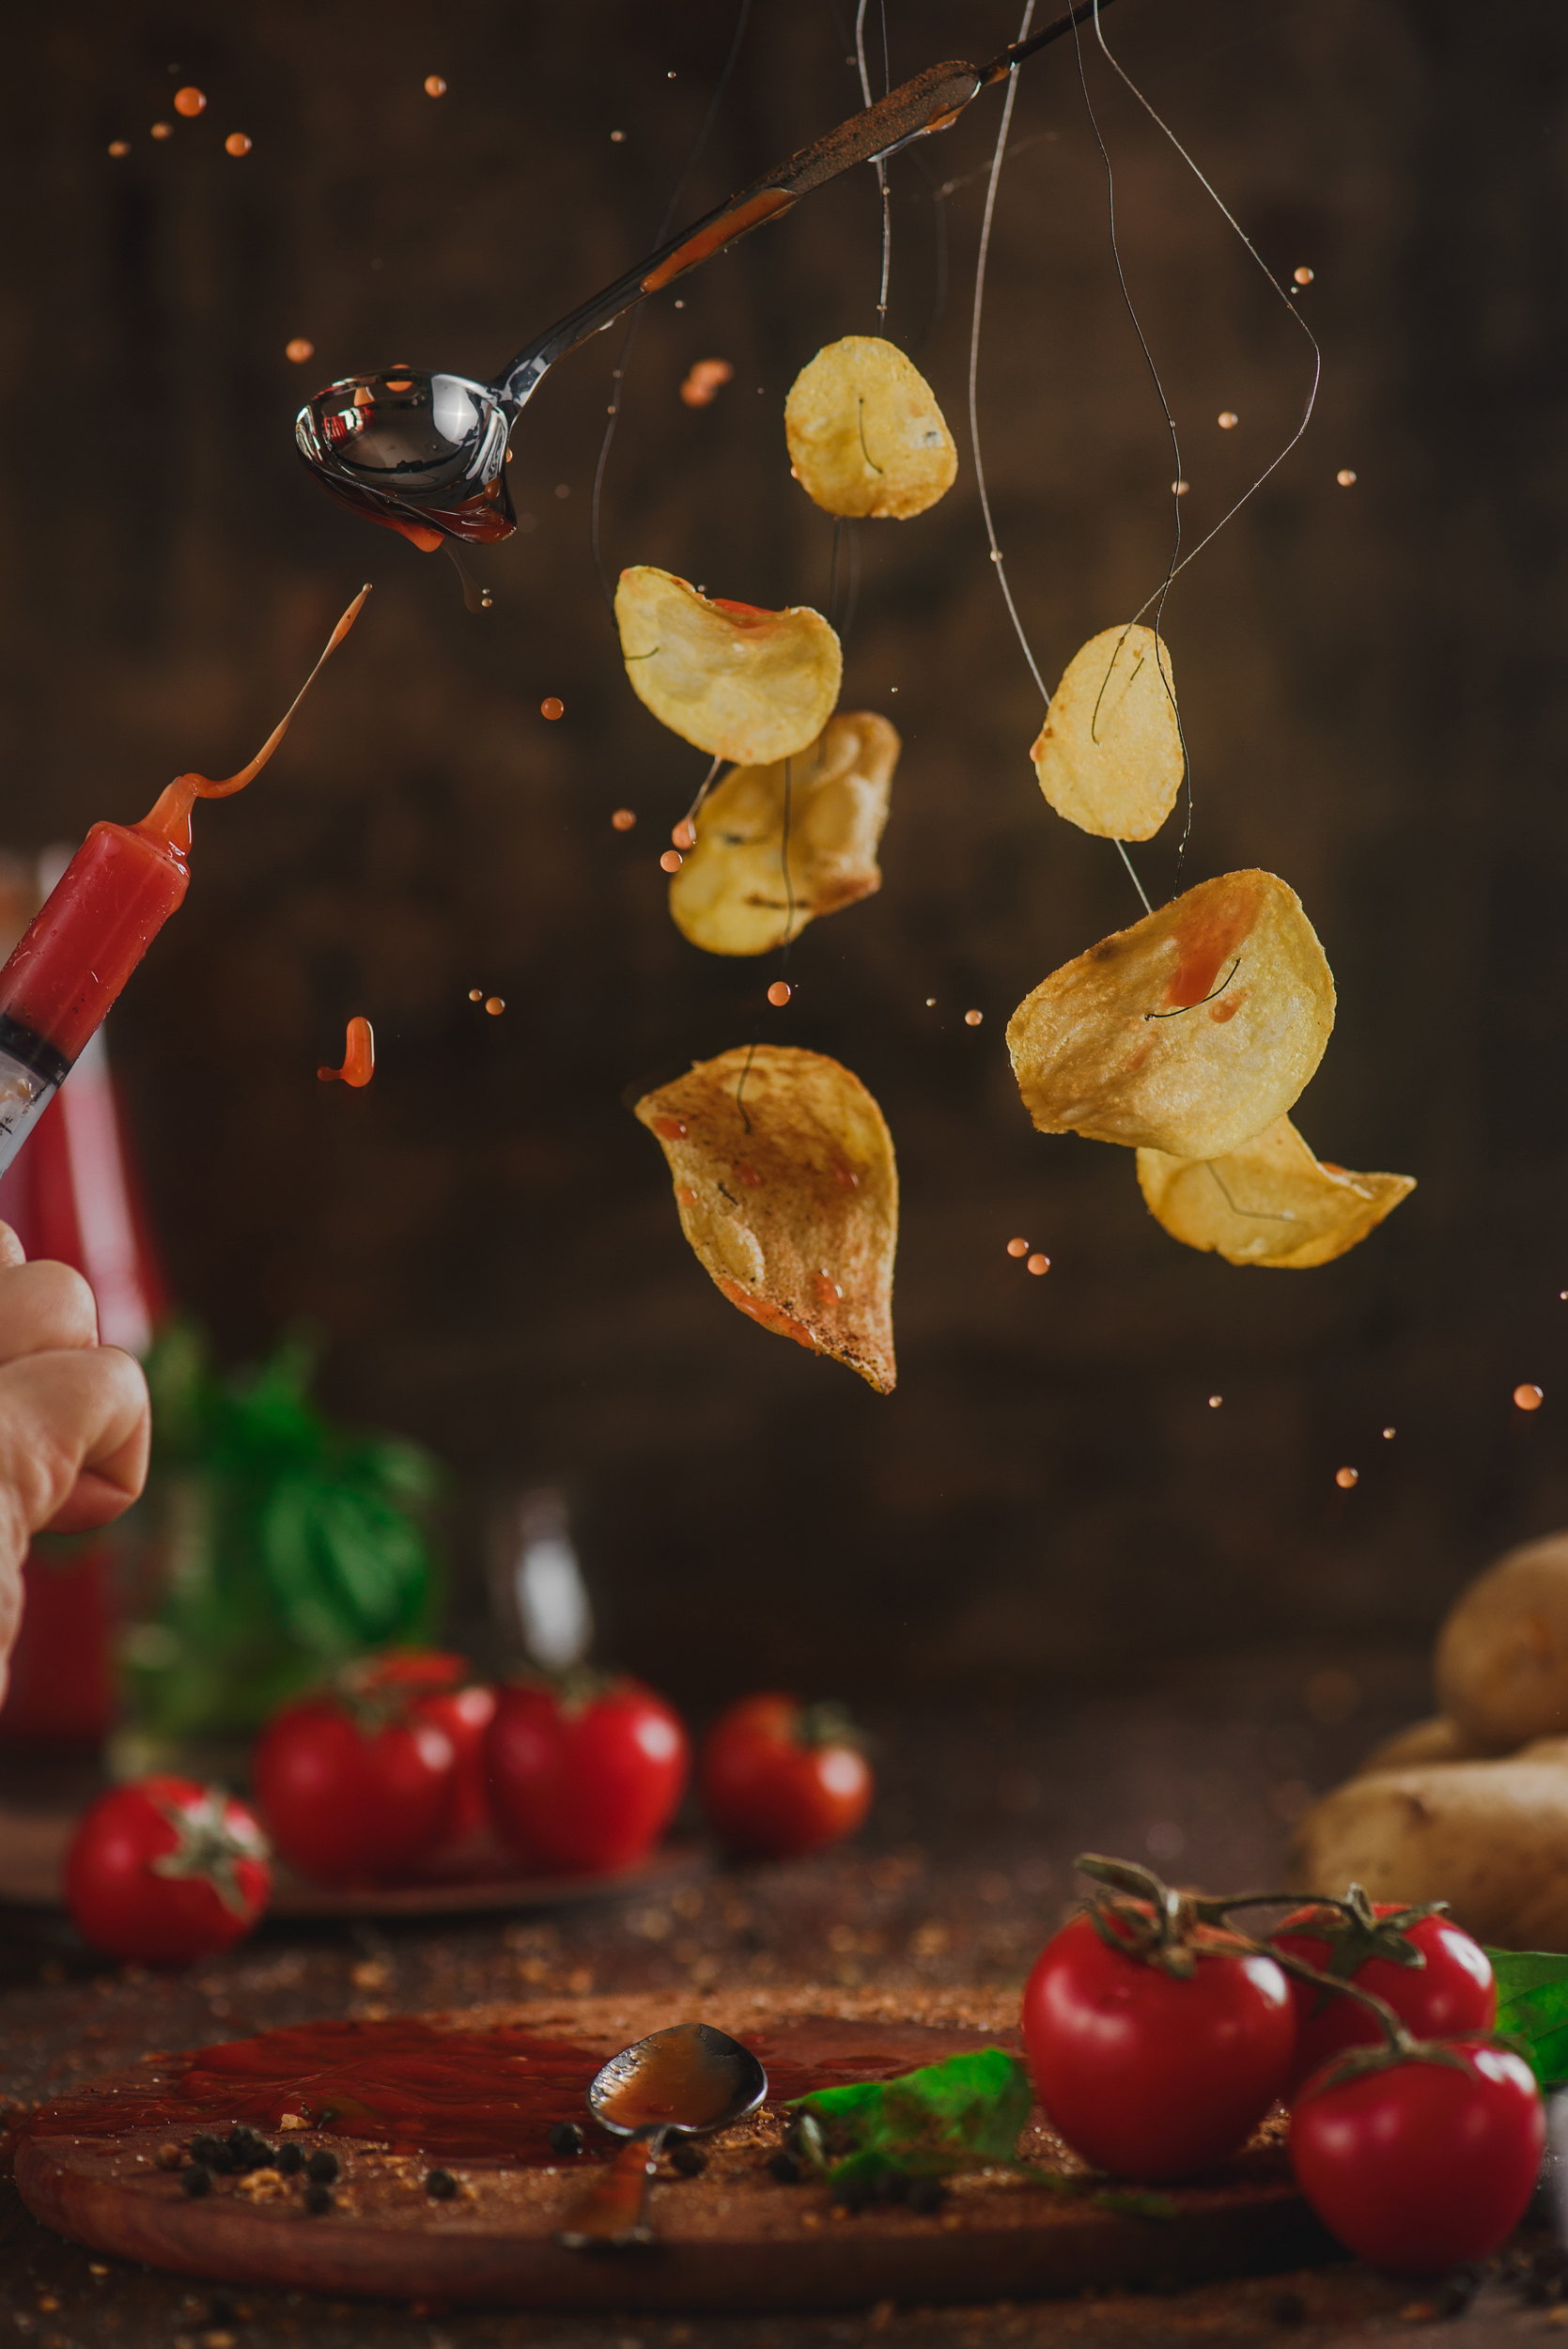
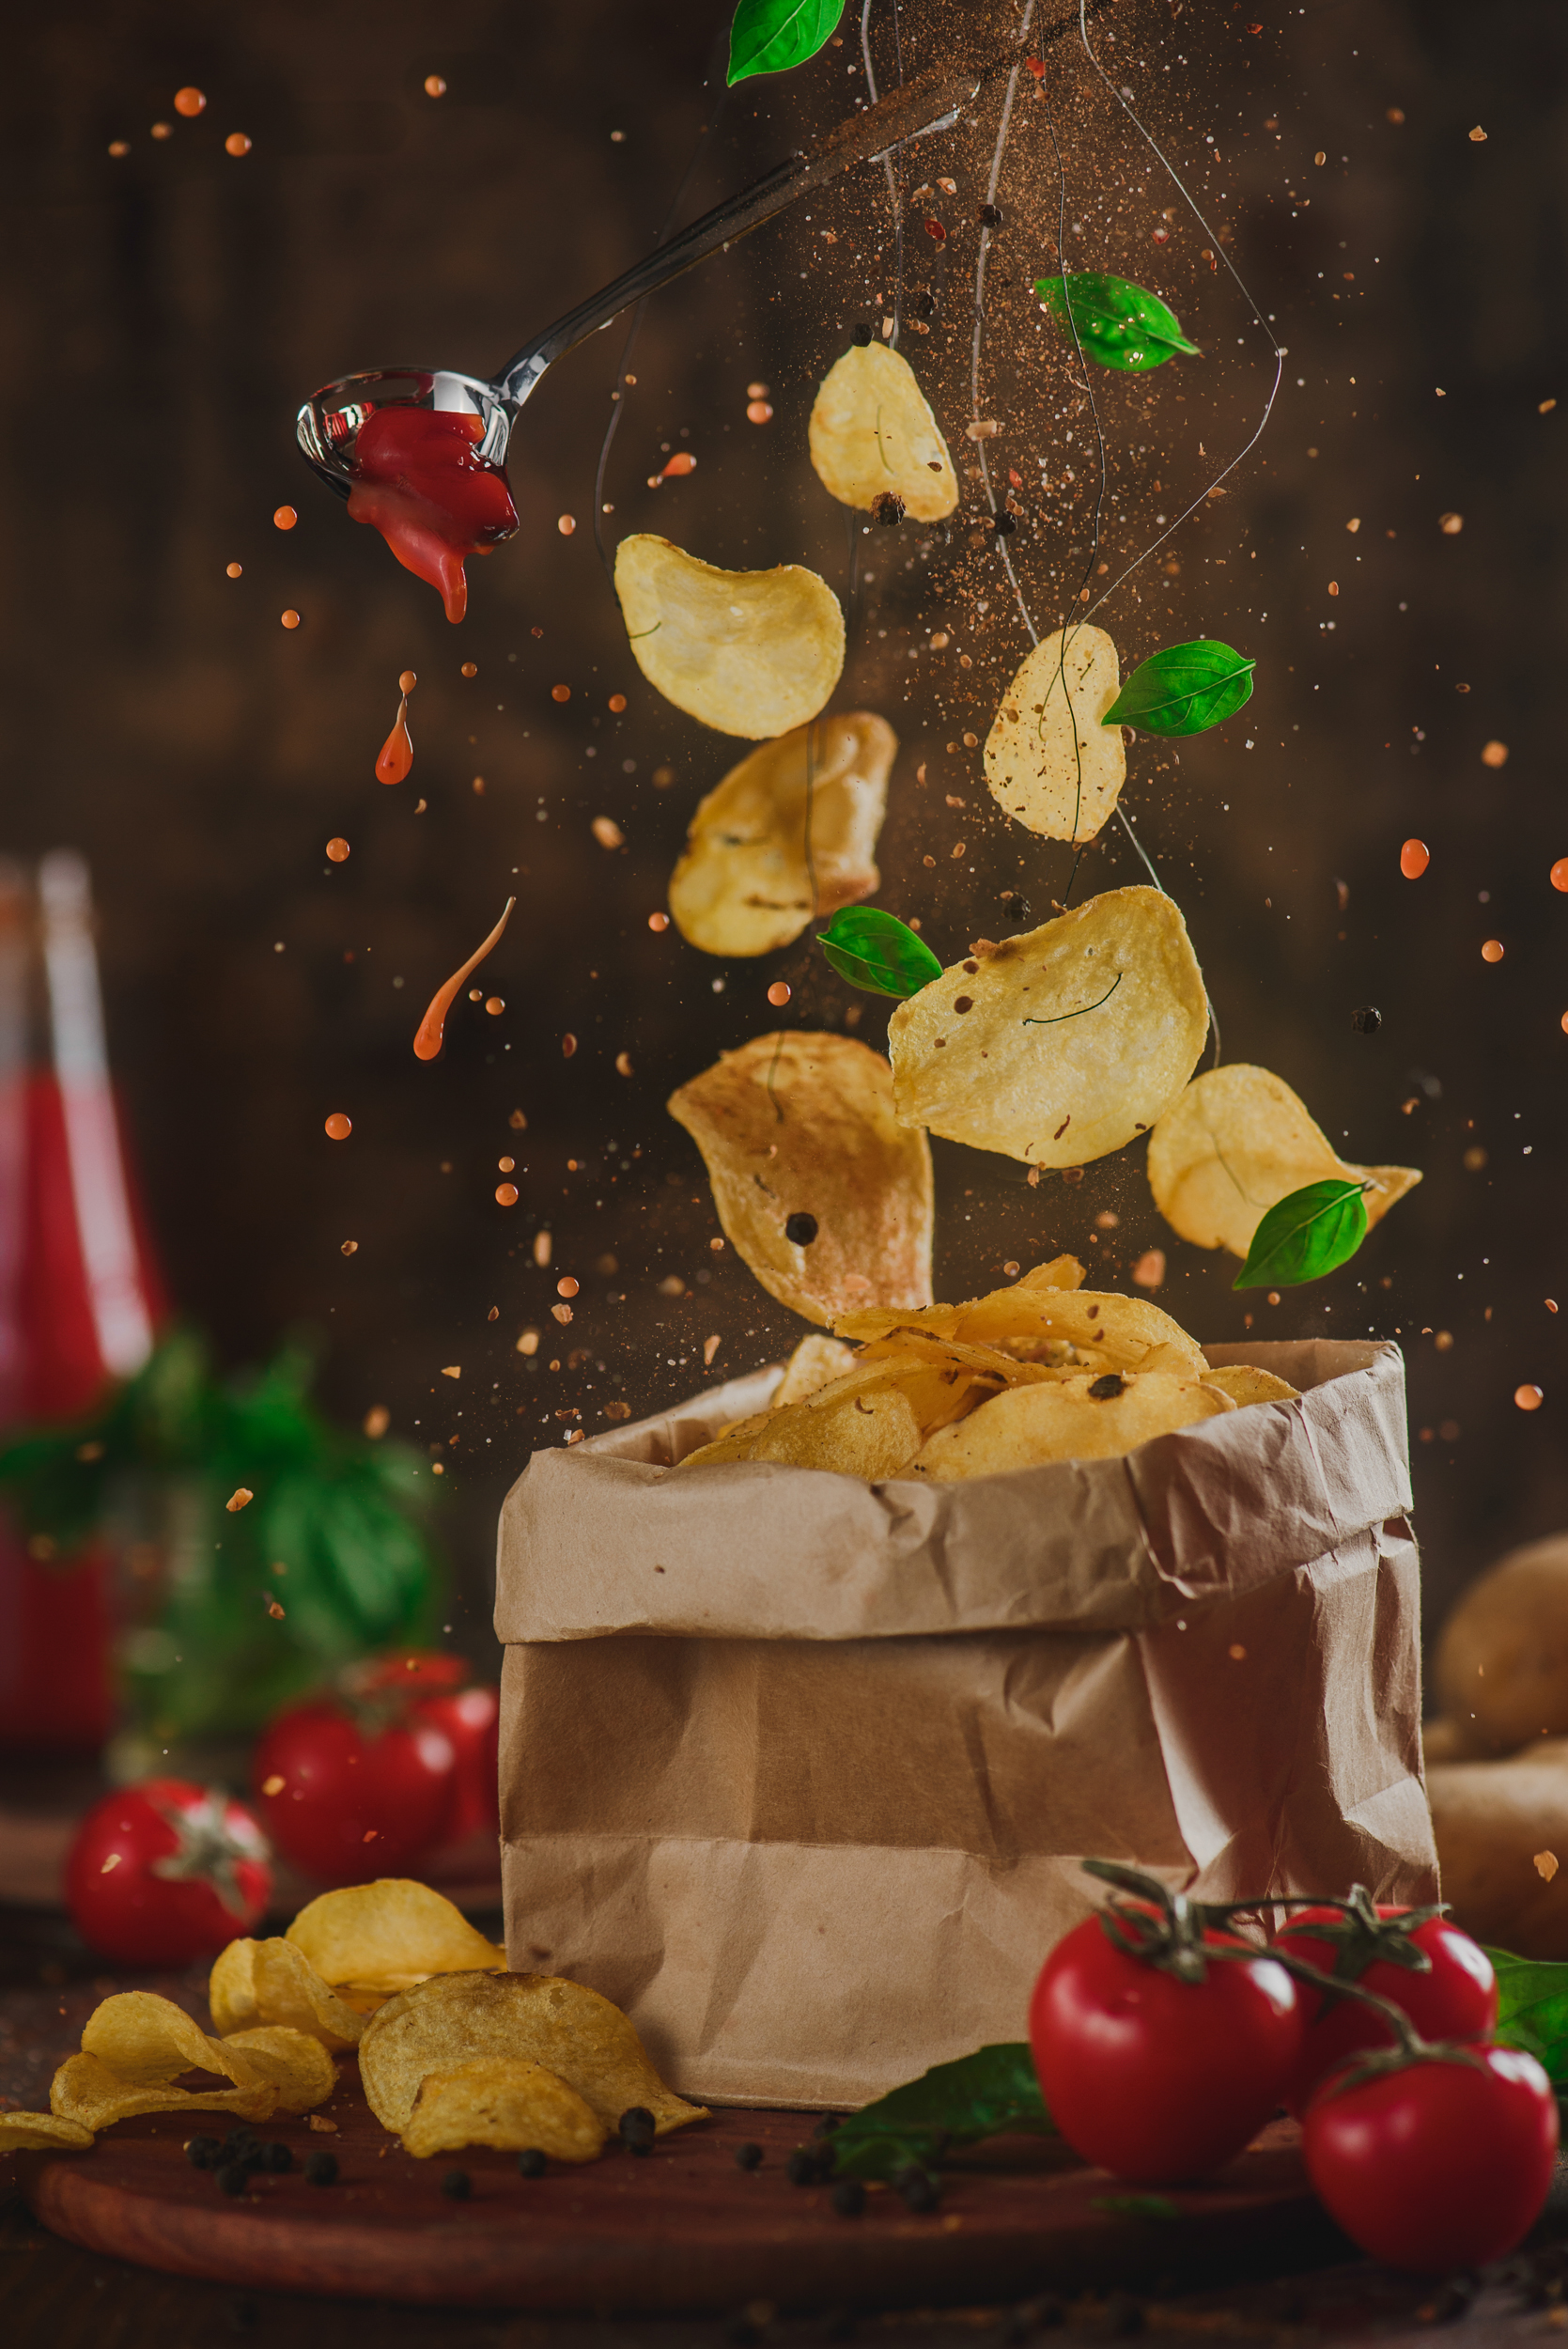
Make sure you like your composition, add some final touches and take a sequence of shots sprinkling chips with a spoonful of pepper and paprika. At the second iteration you can pour some tomato sauce (you can create nice round drops using syringe).
Add a couple of basil leaves and try not to worry about the mess.
6. Post-processing
Choose the best shots and combine them together putting each one on a separate layer and using Layer Mask.
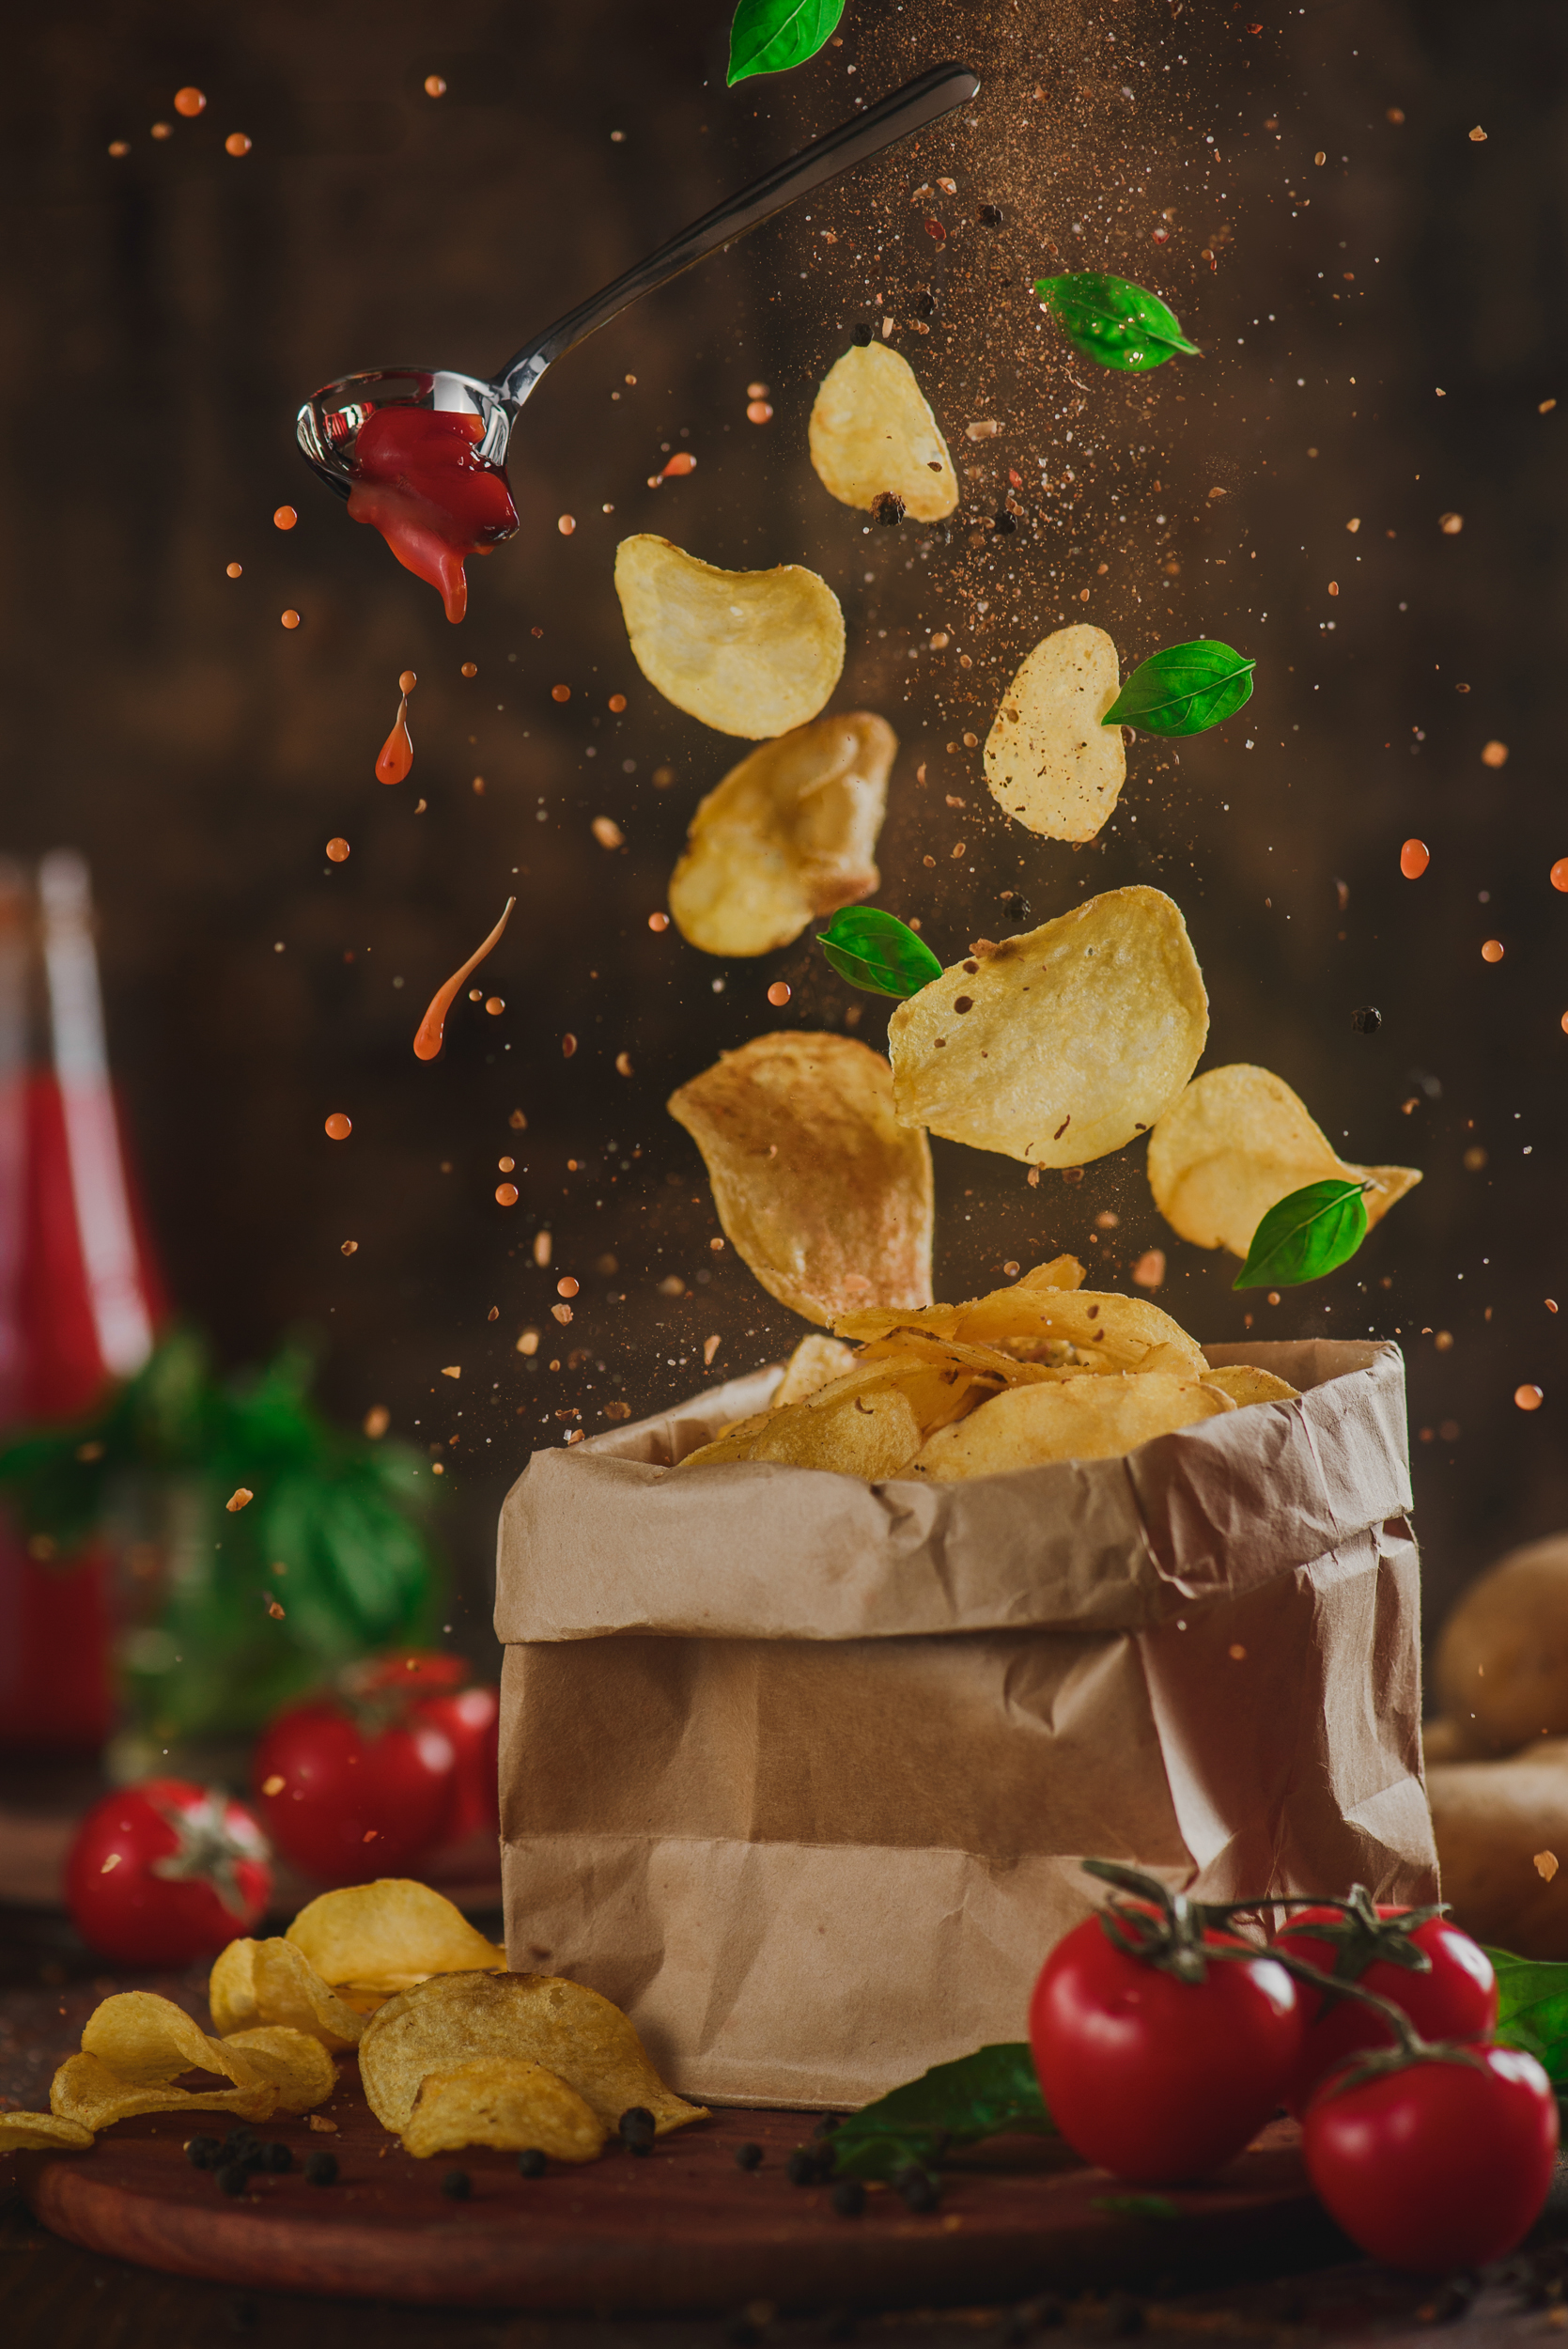
Delete wire and supports with Clone Stamp or Patch, and give the picture a little polish adjusting colors and contrast.
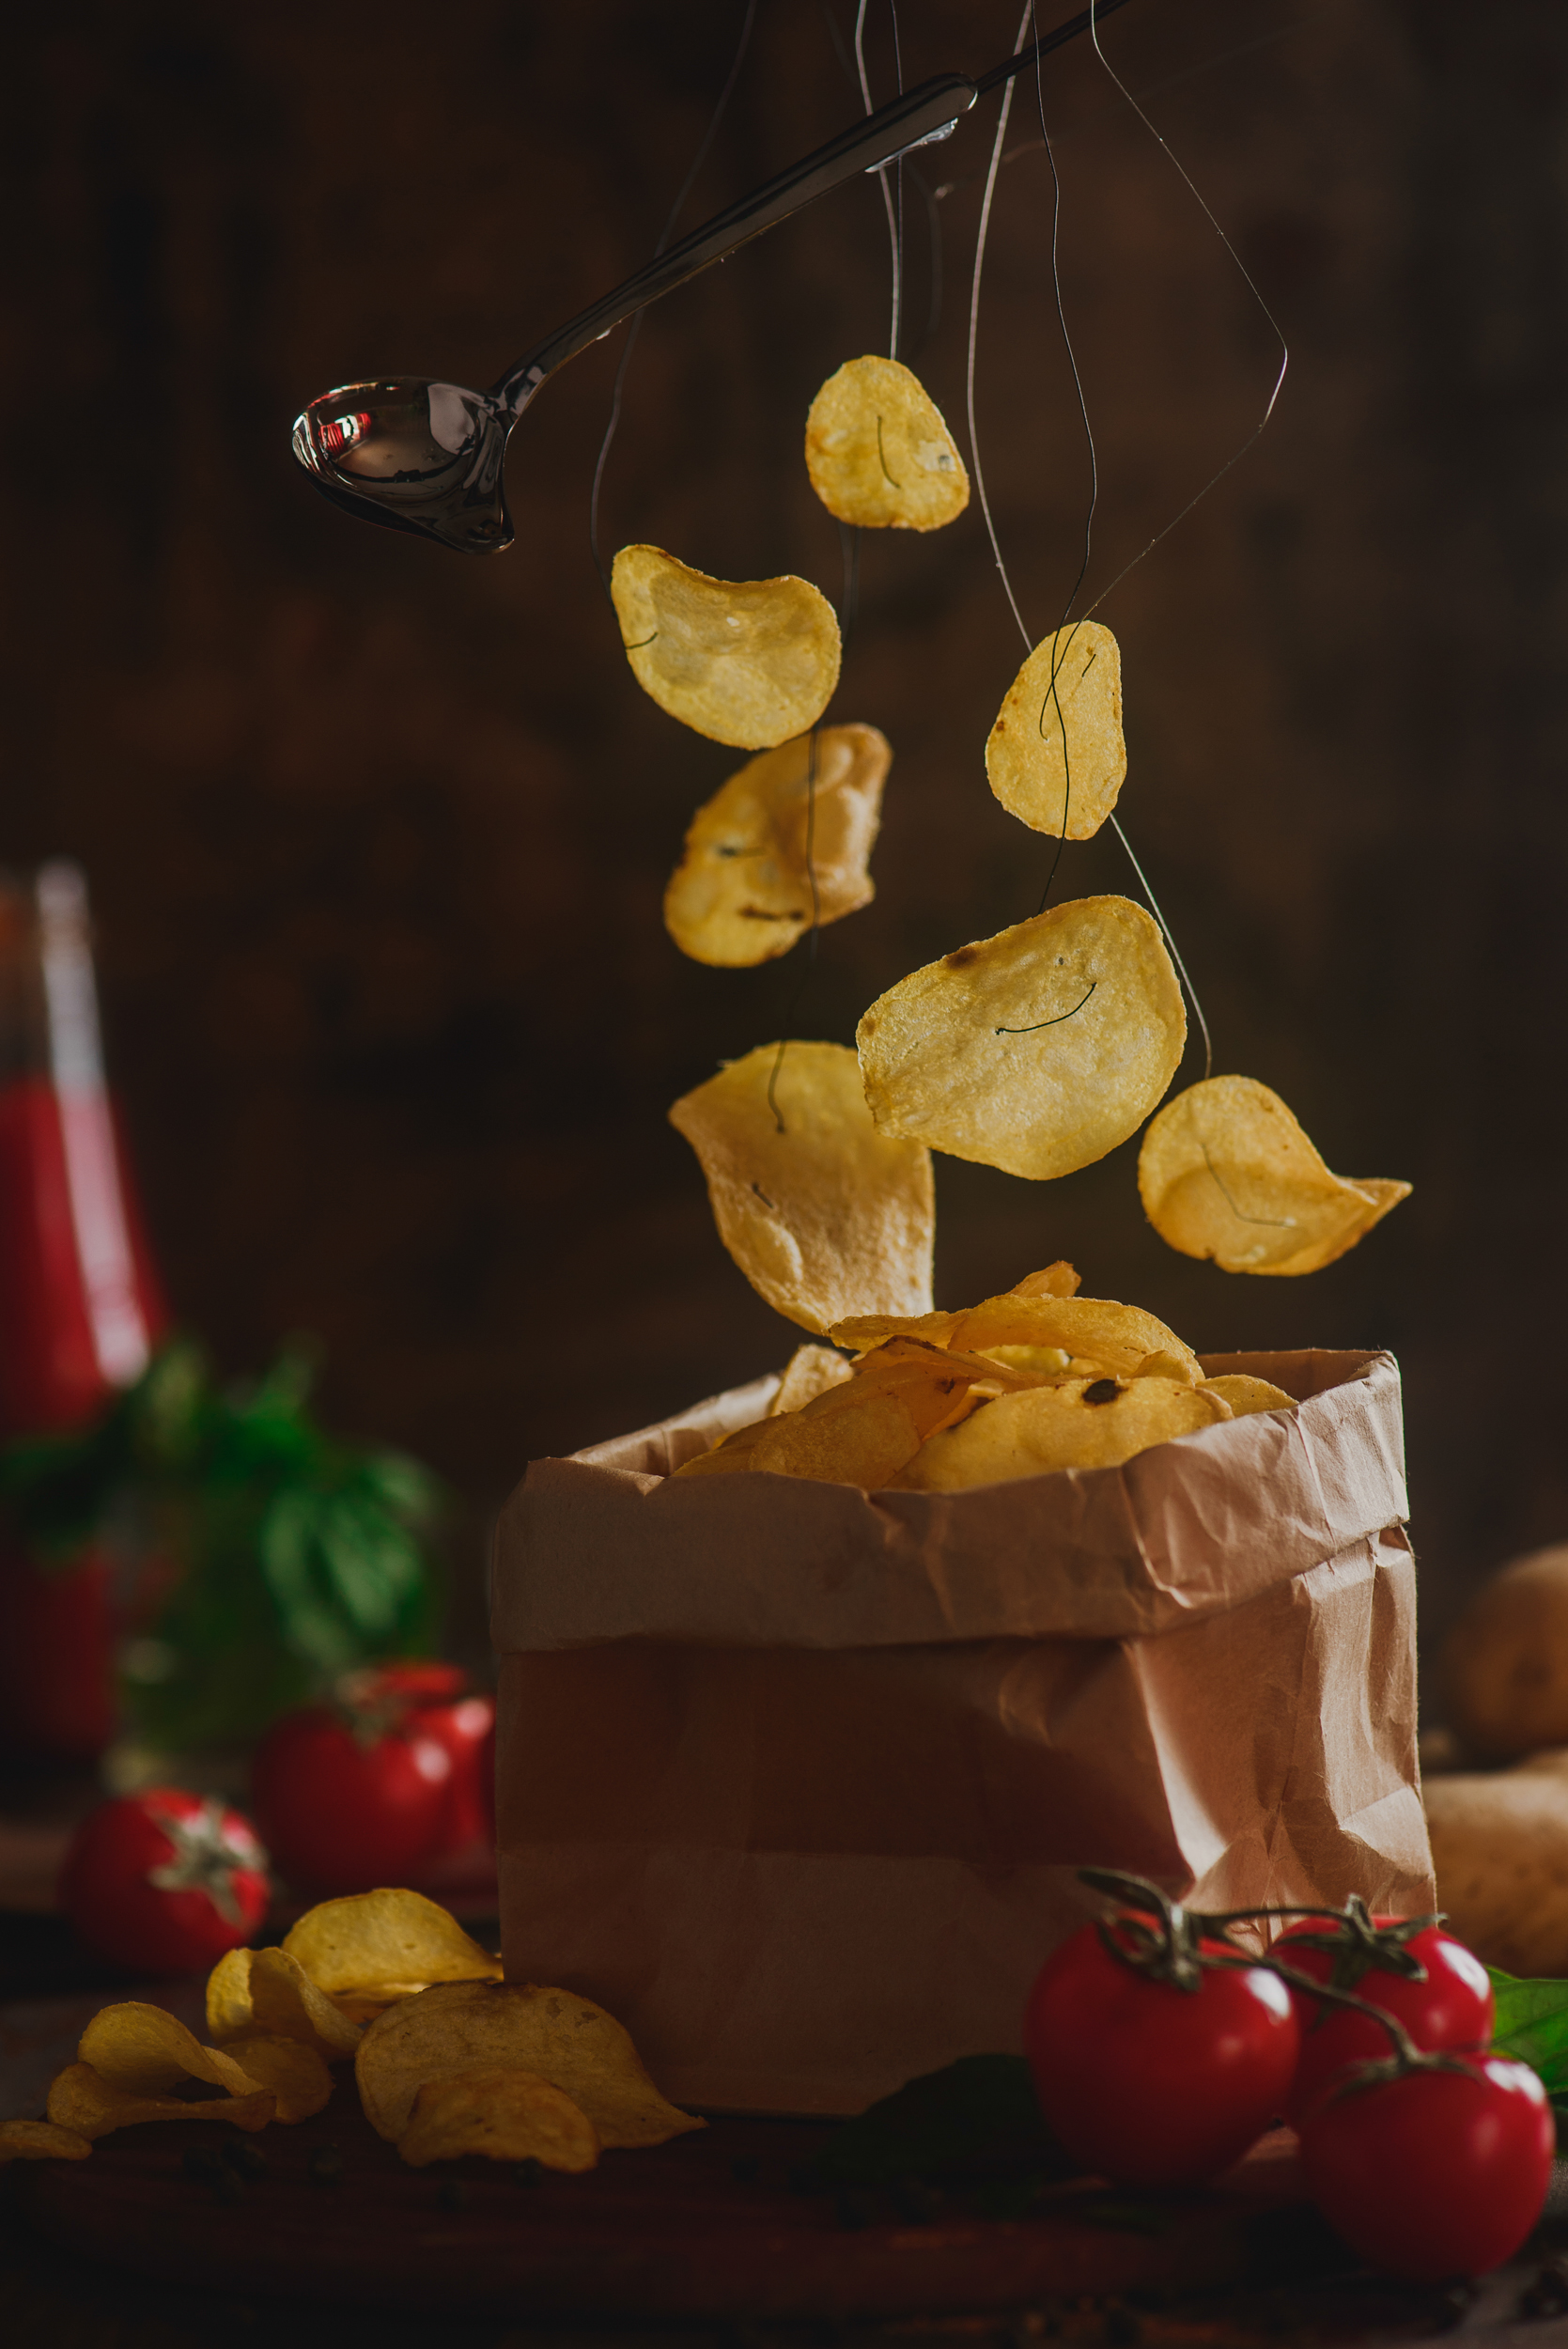
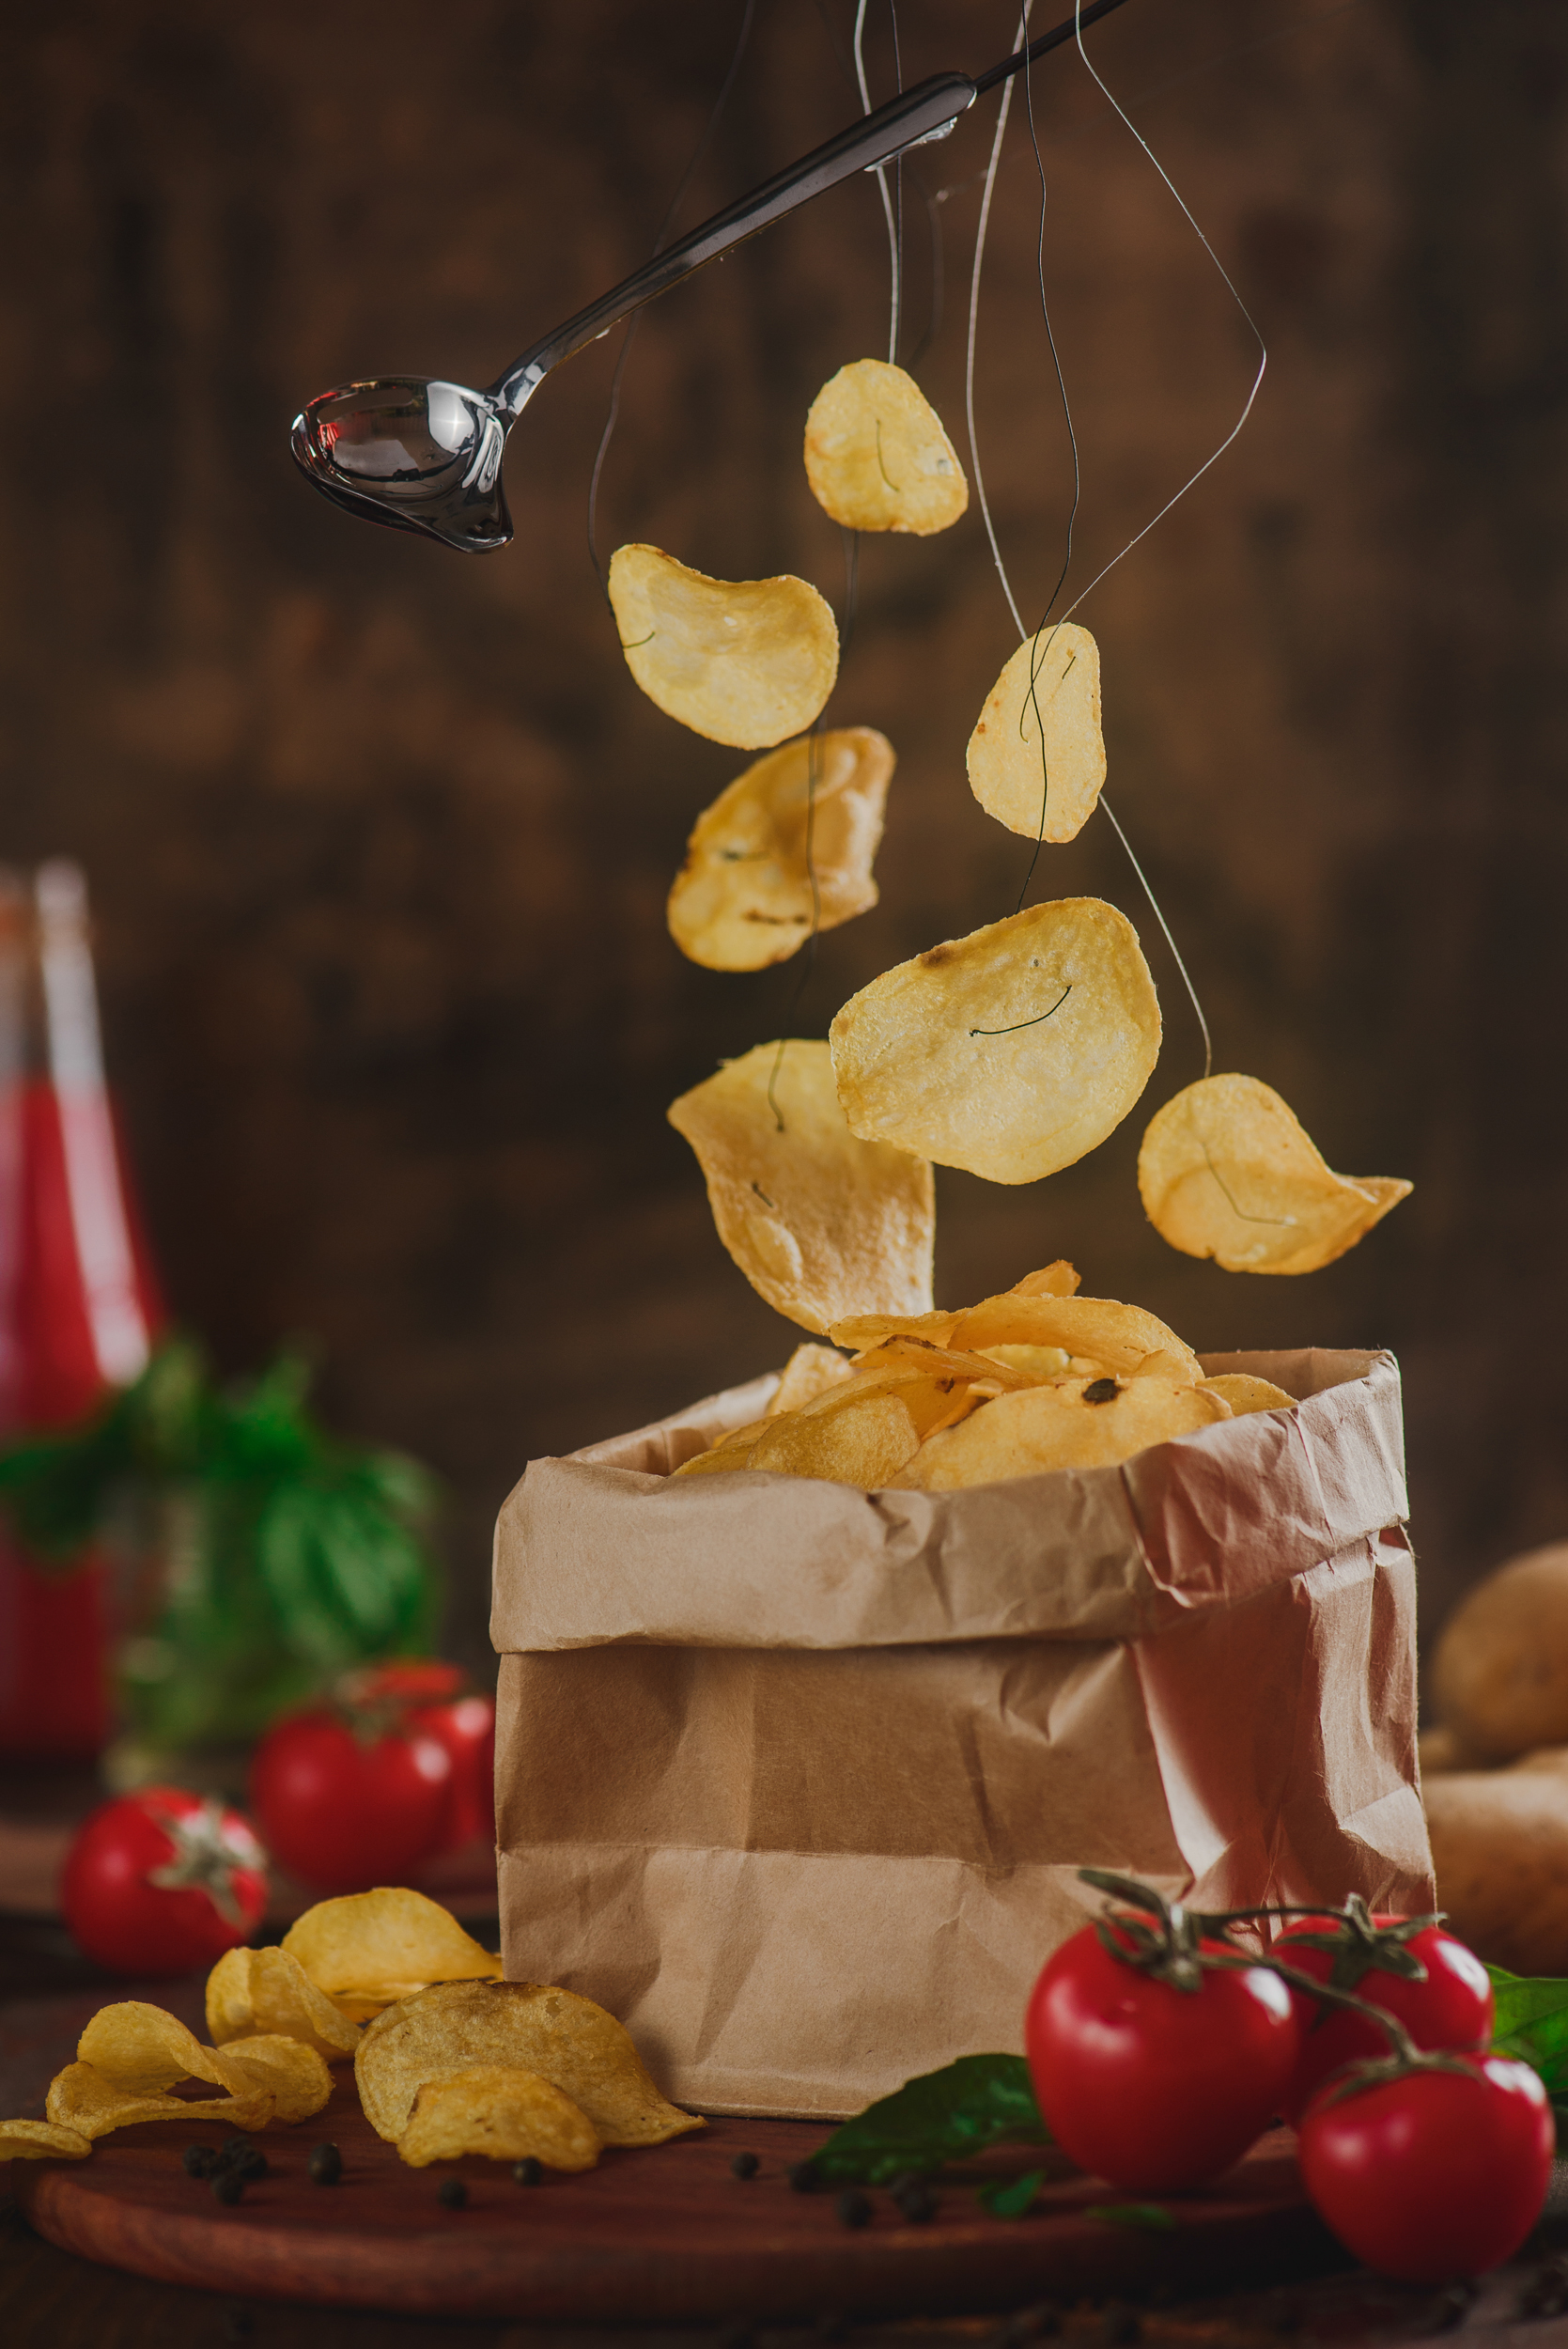
Voila! Here’s the final image…
Now you can try the same trick with coffee and macarons!
If you have any questions for me about my work and process, don’t hesitate to drop them in the comments!
You Might Also Like These Articles:
- How To Create A 17th Century- Inspired Vanitas Still Life Photo
- Tutorial: How To Shoot A Fiery, Festive Still Life Photo…with SPARKLES!
- 35 Mobile Photography Tips For Taking Better Smartphone Shots
- Bokeh & Light Flares: A still Life Tutorial


Leave a reply