An Intro to Panning Your Camera for a Blurry Feeling of Speed
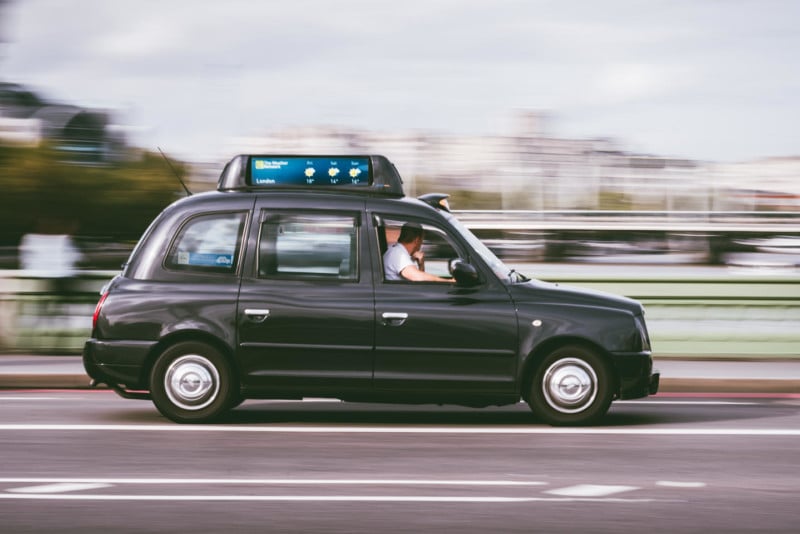
Looking to add some drama or action to your photos but not quite sure how? Look no further… In simple terms, camera panning (or motion tracking as some people call it) is a technique where you follow a moving subject, shooting with a slower shutter speed to create a feeling of speed or action.
I’ve been spending quite a lot of time in London recently and occasionally take my camera with me. It’s such a busy city with people, cars, and cyclists rushing around all the time. It’s this constant feeling of motion and action that made me want to capture it as best I could.
I’ve broken down this post into a number of categories that focus on what I feel are the key elements to a successful attempt at tracking a moving subject and creating the feeling of motion.
Camera Settings
From a technical point of view, if you’re looking to isolate your subject against a blurred background, you need a shutter speed that will allow for this. Shutter speed is the most important part of getting the desired results. If you set it too fast then chances are you will either freeze the subject altogether or the image will just look blurry and like a ‘bad photo’. The slower the shutter speed, the more chance there is that the image won’t be sharp. It’s very hard to track a subject handheld for 1/4th of a second and not lose any sharpness.
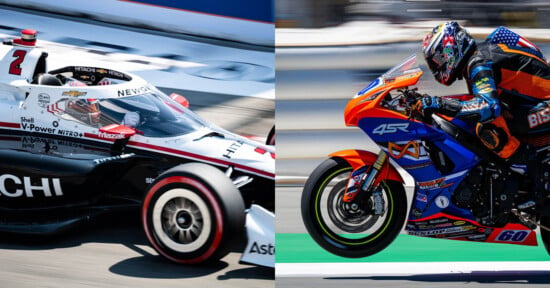
I found the best shutter speed was 1/8th or 1/10th at the slowest and about 1/20th at the fastest. If you’re tracking a subject that’s moving really fast then you’ll be able to use a faster shutter speed and still create the same effect.
It’s important that you balance the exposure properly. When shooting with a slow shutter speed, you always run the risk of allowing too much light into the camera and overexposing the image. Here’s where the ISO and aperture come into play: they’re not overly important in the look and feel of the image but they will play a part in ensuring your image is exposed properly.
It will usually take a couple of test shots to get your settings right, but a general rule is the lighter it is, the lower your ISO and the smaller your aperture (represent by a higher f/ number). The opposite applies when it’s starting to get a bit dark: you’ll want to increase your ISO and widen your aperture (smaller f/ number).
As an example, if it was quite bright, you might be shooting at ISO 100 and f/16. If it’s darker, you might use ISO 400 and f/2.8.
Location
So your camera’s set up and you’re ready to start taking photos. All you need now is a location. You can create these images pretty much anywhere so long as there’s a moving subject, and naturally there will be places that are better suited. When you’re first starting out you’ll probably want to practice the technique a few times so you want to make sure there’s a steady flow of subjects moving by.
This is why London worked so well for me, as there’s literally traffic everywhere and because it’s so busy and there are so many tourists taking photos you’ll feel pretty relaxed and inconspicuous, allowing you to get the best results and not worry about people questioning you!
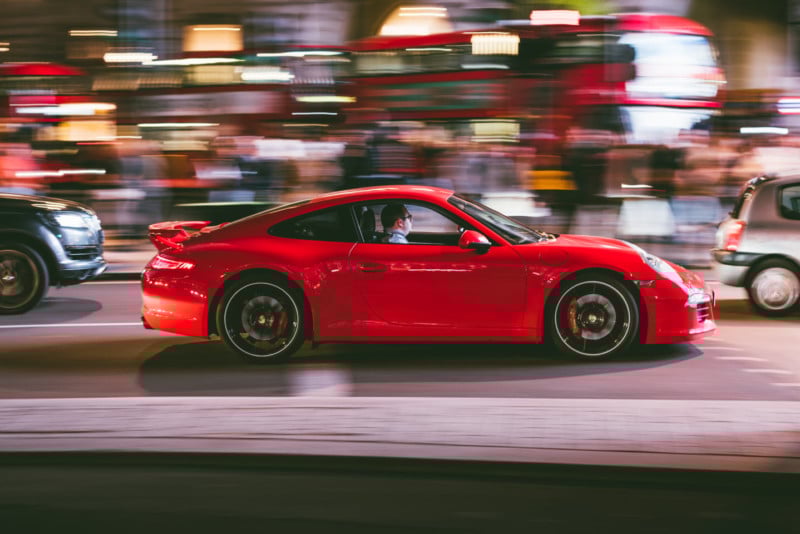
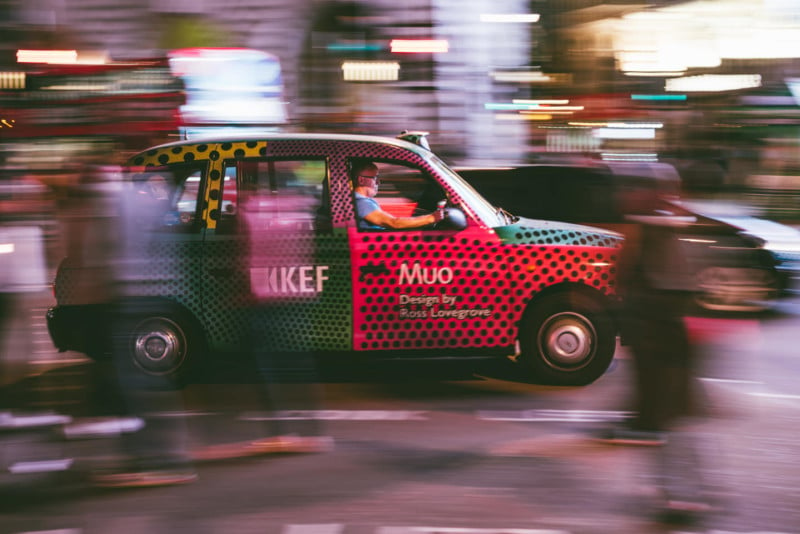
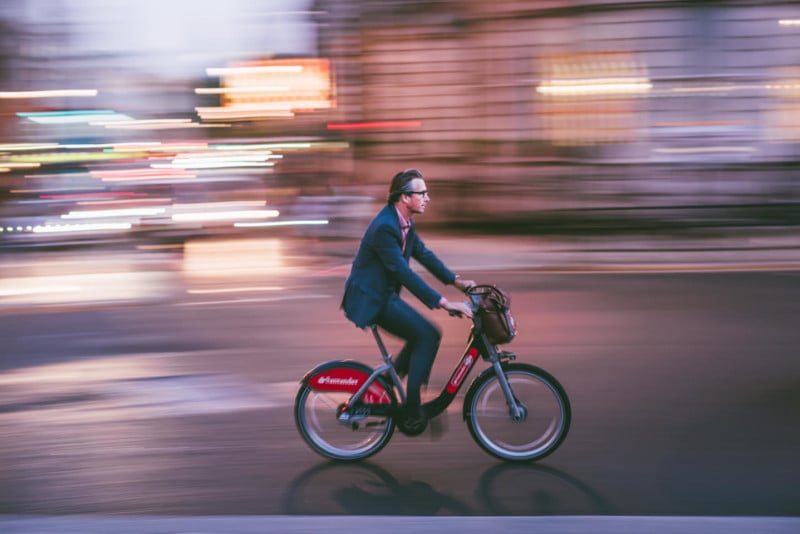
I took most of mine in central London, around Trafalgar Square and Piccadilly Circus. These locations are great because there’s often a lot of artificial light in the background which can add streaks of colorful light to the image, further creating a feeling of motion and action.
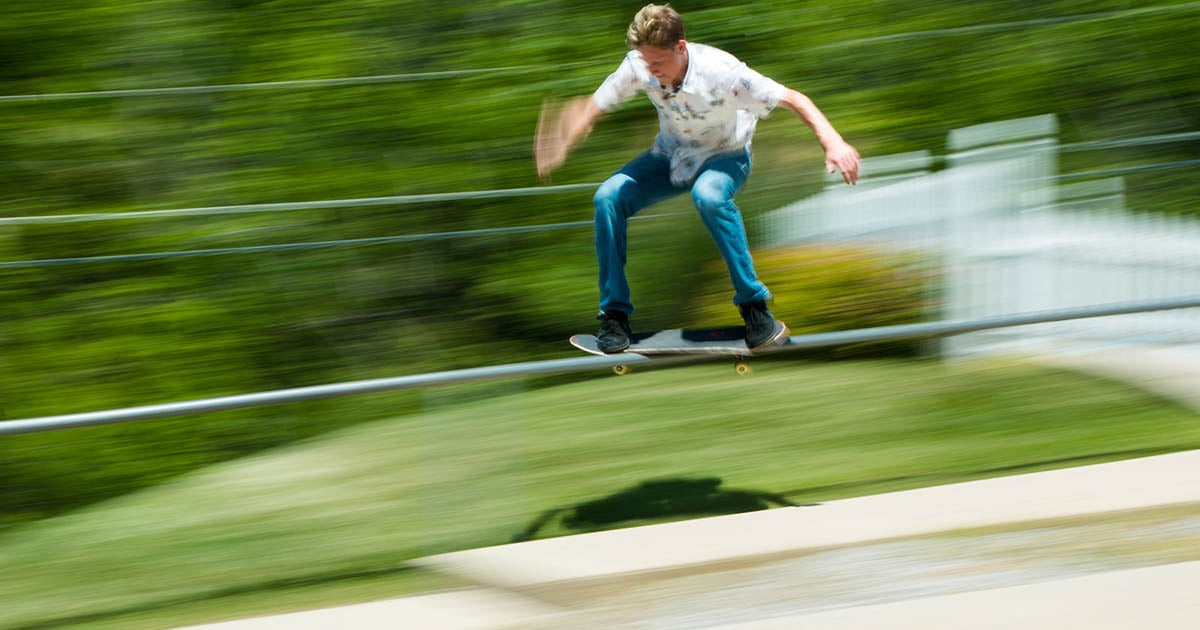
I’ve also found that finding a spot where the subject will remain parallel to you is important and allows for much better results. Think of a roundabout or corner — the subject is moving but the distance to yourself should remain fairly constant, therefore you’re more likely to get a sharper image. If you’re tracking a car or bike that’s moving towards you, you’ll find that during the exposure it moves out of focus.
Technique
Found a good location? Got your camera set up? Perfect, let’s start taking some photos. Firstly, it goes without saying that to get the best results you want to pan the camera and track your subject as smoothly as possible. Some people will prefer to use a monopod and others find that handheld works best. I’ve got a pretty steady hand so I’m happy shooting handheld.
The technique I use is pretty simple: I’ll keep an eye out for a subject that looks appropriate and isn’t obstructed by other cars or foreground details, then I’ll watch it approach through the viewfinder on my camera. This is where I’ll get a good indication of the subjects speed. I’ll try and track it for a few seconds as accurately as possible before releasing the shutter, and then continue after the exposure to ensure a smooth movement throughout.
When tracking the subject, I’ll always try to keep my arms and wrists as steady as possible and rotate with my hips — I find that manages to keep everything pretty still.
I shot all of these photos using either my 50mm or 85mm prime lenses. They’re nice and light which helps me keep the camera steady. You can achieve these results using most focal lengths, but obviously it depends on how far away your subject is and what composition you’re after.
Overall, I’m pretty pleased with the results I got, and I look forward to using the technique more and seeing what other scenarios it can be used in. You should be able to get similar results using the above pointers.
About the author: Neil Wheeler is a photography enthusiast based in Hampshire in the UK. You can find more of his work and writing on his Instagram and blog. This article was also published here.